


Most Canadian homeowners do not realize that nearly 30 percent of roof repairs in North America could be avoided with diligent DIY inspections and proper installation. Living in Moncton, New Brunswick, you want to tackle roofing projects with the same attention to detail as an American professional while saving on hefty contractor costs. This step-by-step guide will help you inspect, prepare, and install a durable roof so you protect your property and boost its value without compromising quality.
Table of Contents
- Step 1: Assess Existing Roof And Prepare Work Area
- Step 2: Remove Old Roofing And Inspect Structure
- Step 3: Install Roofing Underlayment And Flashing
- Step 4: Lay Shingles And Ensure Proper Alignment
- Step 5: Finish Roof Edges And Seal Vulnerable Areas
- Step 6: Inspect Roof For Quality And Leak Prevention
Quick Summary
| Key Message | Explanation |
|---|---|
| 1. Thorough roof assessment needed | Prior to installation, inspect the roof for damage and document findings for effective planning. |
| 2. Safe work area preparation | Clear surroundings and set up ladders and safety equipment to minimize risks during installation. |
| 3. Install underlayment correctly | Roll out underlayment overlapping edges, securing it properly, and sealing with flashing to prevent leaks. |
| 4. Proper shingle alignment is crucial | Stagger shingles, align them correctly, and ensure overlaps to protect against moisture intrusion. |
| 5. Conduct a final inspection | Inspect the completed roof thoroughly for gaps and potential leaks; document findings and observe water drainage. |
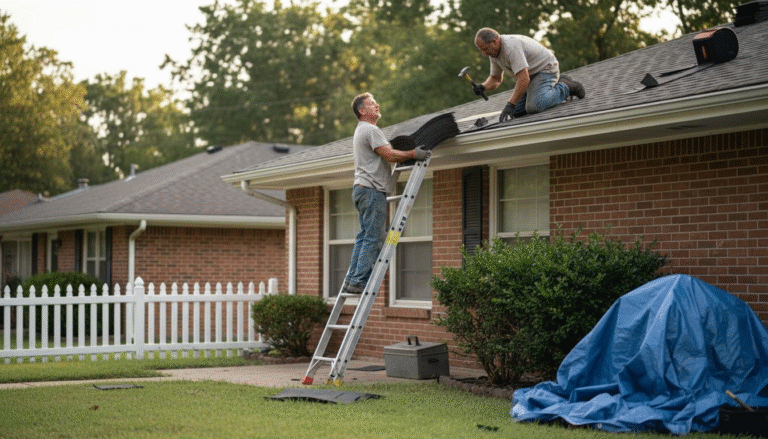
Step 1: Assess Existing Roof and Prepare Work Area
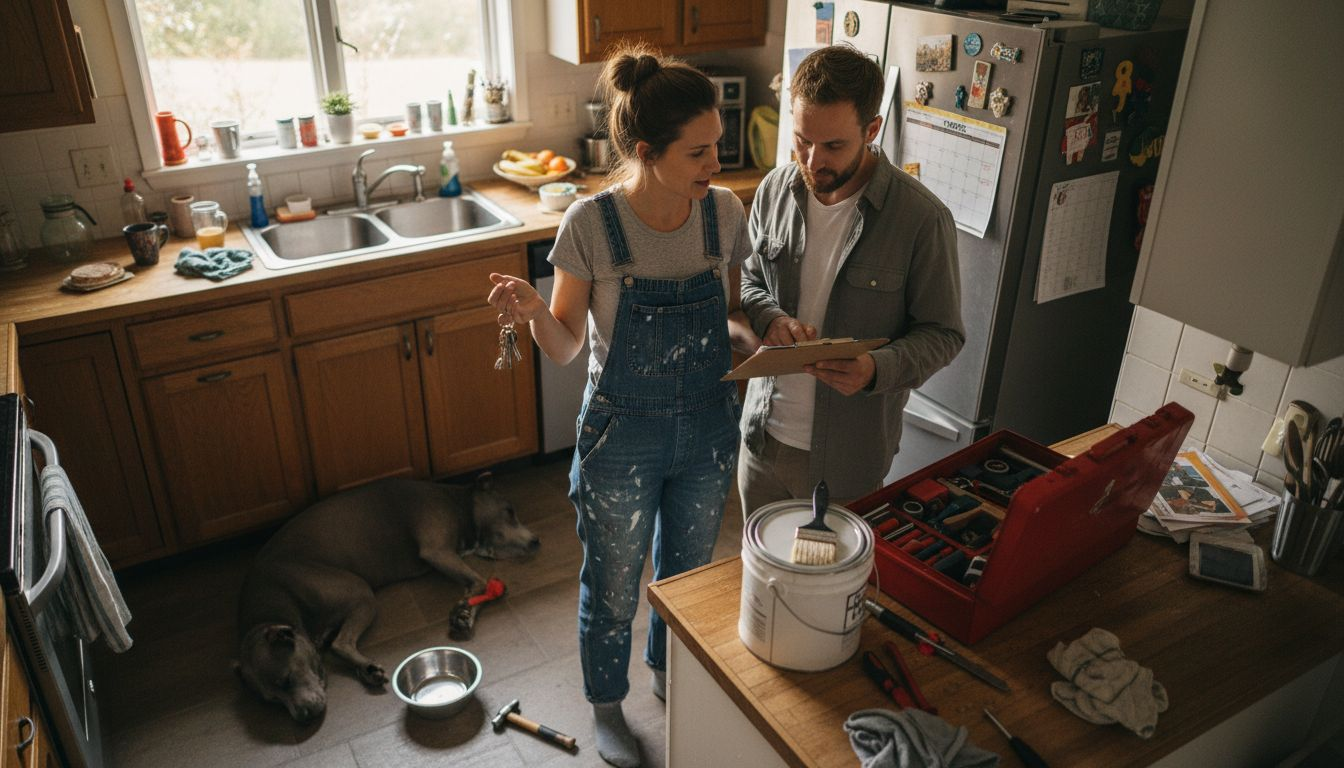
Before starting a roof installation project, you need to conduct a thorough assessment of your current roof structure and set up a safe, organized workspace. Professional roof inspection techniques recommend beginning with a comprehensive evaluation from ground level to identify potential issues and plan your approach.
Start by walking around your property and visually examining the roof for signs of damage such as missing shingles, sagging areas, water stains, or visible wear. Look closely at gutters, downspouts, and roof edges to understand the overall condition. Check for any rotting wood, loose flashing, or areas where water might pool. During this initial assessment, use binoculars if needed to get a detailed view without risking personal safety. You will want to document any problems with photographs and measurements to help guide your installation strategy.
Preparing your work area involves creating a safe, organized environment that minimizes risks and maximizes efficiency. Clear the area around your home of vehicles, outdoor furniture, and potential obstacles. Set up sturdy ladders on level ground, ensuring they extend at least three feet above the roof edge for safe access. Lay down protective tarps to catch debris and protect landscaping. Gather all necessary safety equipment including non slip work boots, safety harnesses, hard hats, and eye protection.
Here’s an at-a-glance summary of common roof inspection findings and their typical implications:
| Inspection Finding | Possible Cause | Impact on Installation |
|---|---|---|
| Missing shingles | Weather damage | Requires patching and prep |
| Sagging areas | Structural weakness | May need deck repair |
| Water stains | Past leaks | Extra waterproofing required |
| Rotting wood | Moisture intrusion | Replacement of affected parts |
| Loose flashing | Poor installation | Resealing for water protection |
| Pooling water | Poor drainage slope | Adjust slope or add drains |
Pro Tip: Always schedule your roof installation during dry weather and plan for backup days in case of unexpected conditions.
Step 2: Remove Old Roofing and Inspect Structure
Removing old roofing materials requires careful planning and systematic execution to prepare your roof for a completely new installation. Professional roof removal techniques emphasize the importance of thorough preparation and meticulous structural inspection before installing new materials.
Start by carefully removing existing shingles using specialized roofing tools like a shingle remover or roofing shovel. Work systematically from the top of the roof downward, gently prying up shingles and removing nails. As you strip away old materials, inspect the underlying roof deck for signs of water damage, wood rot, soft spots, or structural weakness. Pay close attention to areas around chimneys, vents, and skylights where moisture often accumulates. Carefully remove any damaged plywood or wooden decking sections and replace them with new materials to ensure a solid foundation for your new roof.
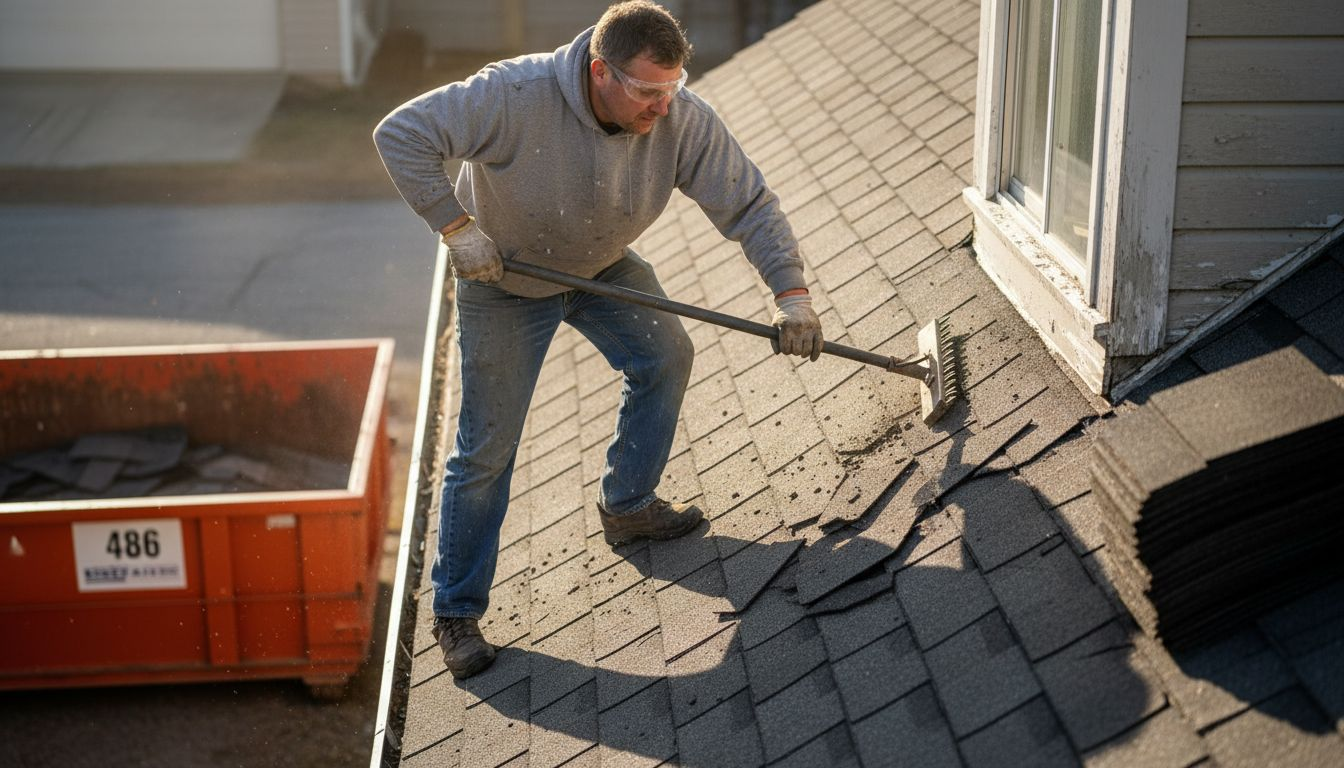
Thoroughly clean the exposed roof deck using a broom and blower to remove debris, ensuring a smooth surface for new underlayment. Look for signs of structural issues like sagging areas, cracked wood, or evidence of past water intrusion. Photograph any damages and measure affected areas to help guide repair strategies. Your goal is to create a clean, solid structural base that will support your new roofing materials and prevent future problems.
Pro Tip: Rent a roofing dumpster and have protective tarps ready to manage debris and protect your landscaping during the removal process.
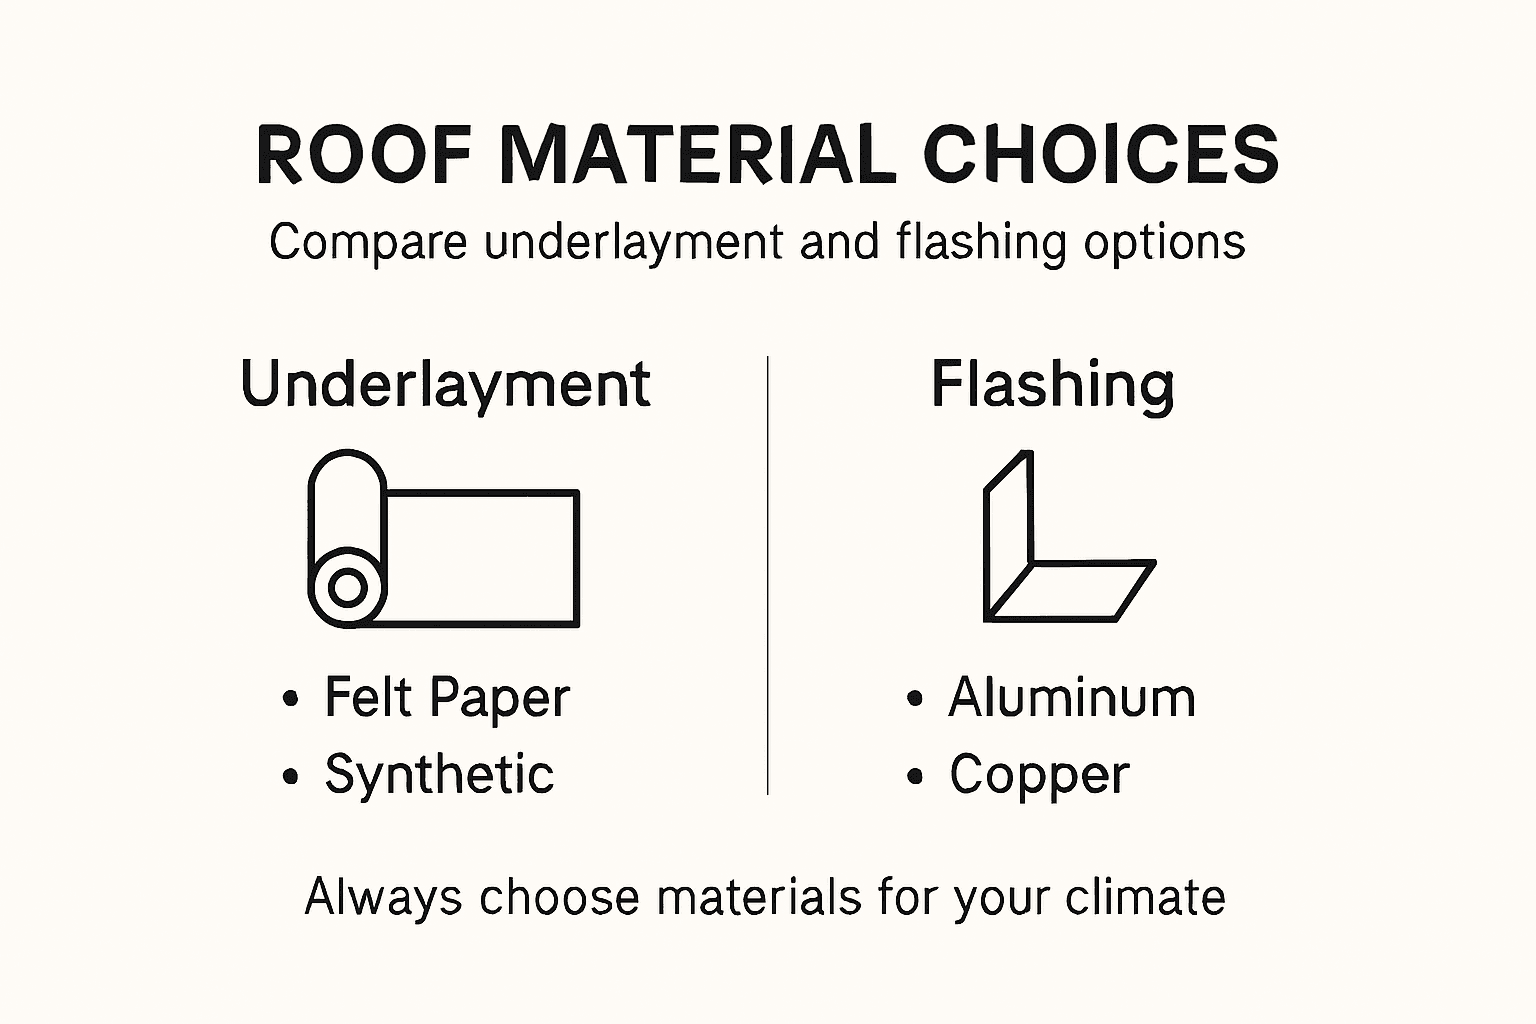
Step 3: Install Roofing Underlayment and Flashing
Installing roofing underlayment and flashing is a critical phase that determines your roof’s long-term water resistance and structural integrity. Roofing installation code requirements provide comprehensive guidelines for ensuring proper protection against moisture and environmental elements.
Begin by rolling out the underlayment material starting at the lowest point of the roof, ensuring each row overlaps the previous one by at least 4 inches. Use roofing nails to secure the underlayment every 12 to 16 inches, paying special attention to creating a smooth, wrinkle-free surface. Focus on creating watertight seals around roof penetrations like chimneys, vents, and skylights by carefully applying metal flashing. Cut flashing pieces to fit precisely around these areas, using roofing cement to seal edges and prevent potential water intrusion. For roof edges, install drip edge flashing to direct water away from the fascia and prevent rot and water damage.
Carefully inspect each section of underlayment and flashing as you install it, looking for any gaps, bubbles, or imperfections that could compromise water resistance. Use roofing cement or specialized sealing tape to address any minor imperfections immediately. Ensure that all seams and edges are properly sealed and that the underlayment creates a continuous protective barrier across the entire roof surface.
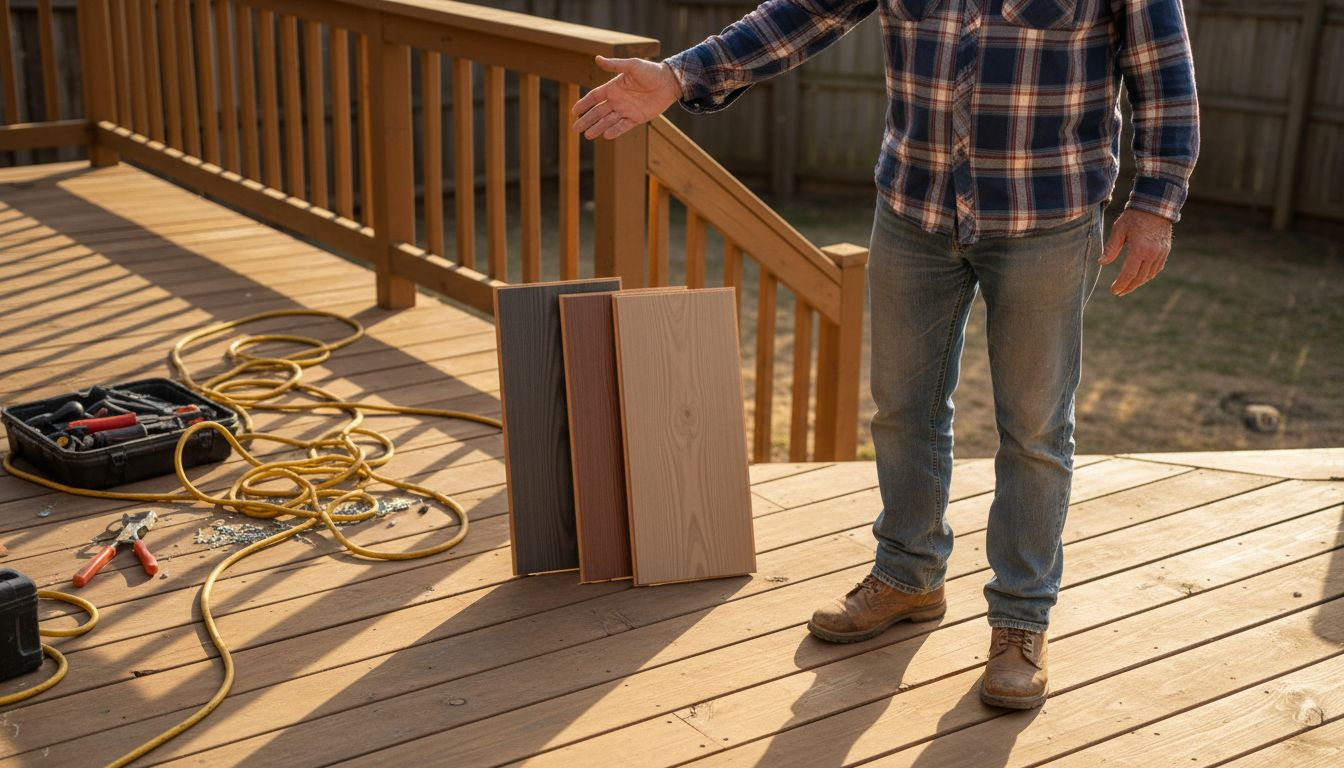
Compare popular underlayment and flashing materials for roof protection:
| Material Type | Durability | Installation Ease | Best Use Case |
|---|---|---|---|
| Synthetic Felt | High | Moderate | Standard residential roofs |
| Asphalt Felt | Moderate | Easy | Budget roof replacements |
| Rubberized Membrane | Very High | Requires precision | Complex roof angles |
| Aluminum Flashing | High | Moderate | Chimneys and roof edges |
Pro Tip: Work on dry days with temperatures between 45 and 75 degrees Fahrenheit to ensure optimal adhesion and installation of underlayment materials.
Step 4: Lay Shingles and Ensure Proper Alignment
Layering shingles is a precise process that requires careful attention to detail and strategic placement to create a watertight roof surface. Shingle installation best practices emphasize the importance of maintaining consistent alignment and overlap to protect your home from moisture and environmental challenges.
Start at the bottom edge of the roof and work upward, installing starter shingles first to create a solid foundation. Each row of shingles should overlap the previous row by at least 5 inches, ensuring complete coverage and proper water runoff. Use a chalk line to maintain straight, even rows across the entire roof surface. Nail each shingle precisely six to eight inches from the top edge using four to six roofing nails per shingle. For areas with complex geometry like valleys and roof edges, cut shingles carefully to fit the specific contours while maintaining a clean, uniform appearance. Pay special attention to creating tight seals around chimneys, vents, and other roof penetrations to prevent potential water intrusion.
As you progress upward, stagger the shingle joints to prevent water from tracking along seam lines. This technique creates a more robust barrier against moisture and improves the overall structural integrity of your roof. Regularly step back and check your work from different angles to ensure consistent alignment and symmetry. Watch for any uneven edges or gaps that could compromise the roof’s performance.
Pro Tip: Always keep shingle bundles in a cool, dry location before installation and allow them to acclimate to the roof surface temperature for optimal placement.
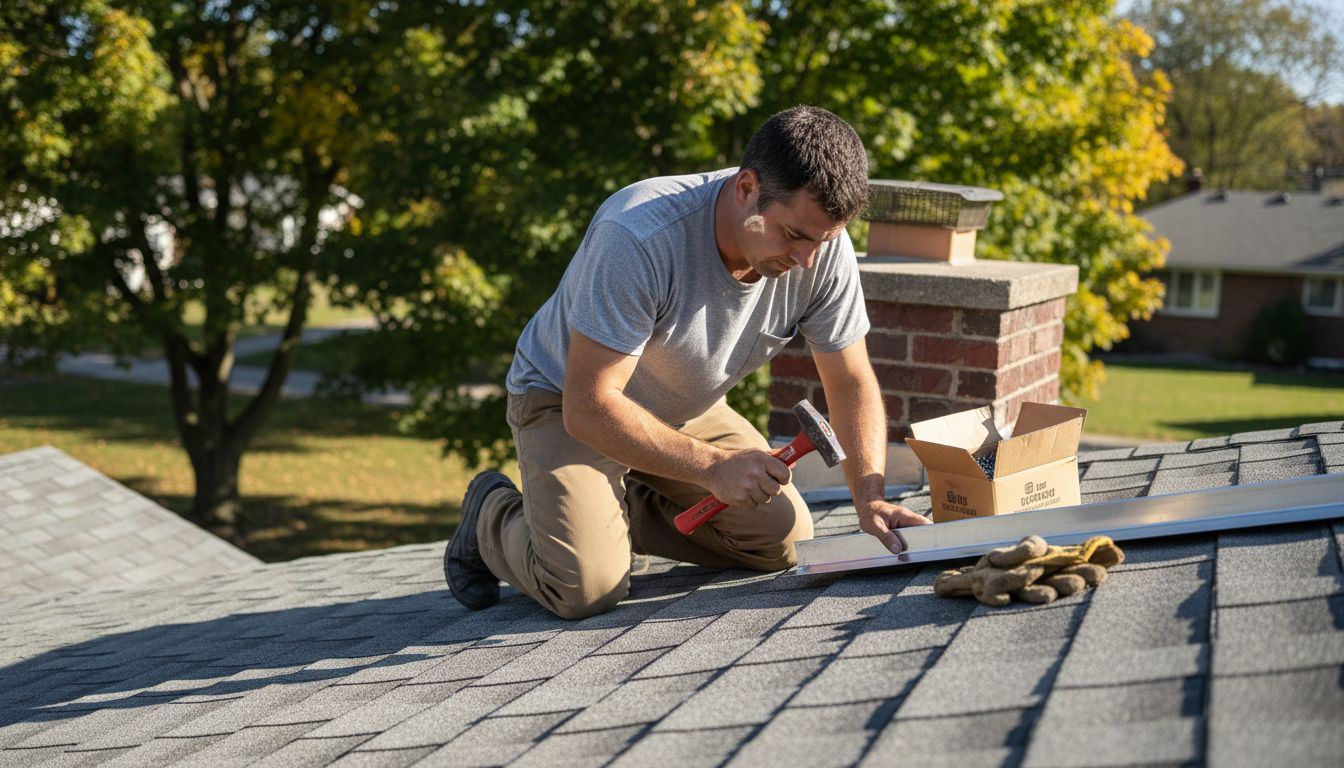
Step 5: Finish Roof Edges and Seal Vulnerable Areas
Completing your roof installation requires meticulous attention to edges and potential water entry points to ensure long-term protection. Roof assembly code requirements provide critical guidelines for properly sealing and protecting these vulnerable areas from moisture intrusion.
Begin by installing metal drip edges along the roof perimeter, starting with the eaves and then the rakes. Secure these metal strips with roofing nails every 12 inches, ensuring they create a smooth transition between the roof and fascia board. Pay special attention to areas around chimneys, vents, skylights, and other roof penetrations. Cut metal flashing precisely to fit these complex areas, using roofing cement to create watertight seals. Apply additional waterproof caulking around each penetration to prevent potential water infiltration. For areas with multiple angles or complex geometry, use specialized membrane materials that conform to the roof surface and provide an extra layer of protection.
Inspect each sealed area carefully, looking for any gaps or potential weak points. Use roofing cement to fill small imperfections and ensure complete coverage. Check that all flashing pieces overlap correctly and create a continuous barrier against water. Take time to smooth out any bubbles or wrinkles in the flashing materials to maintain a clean and effective seal.
Pro Tip: Use a clear silicone-based roofing sealant for additional water resistance in areas with complex angles or multiple penetrations.
Step 6: Inspect Roof for Quality and Leak Prevention
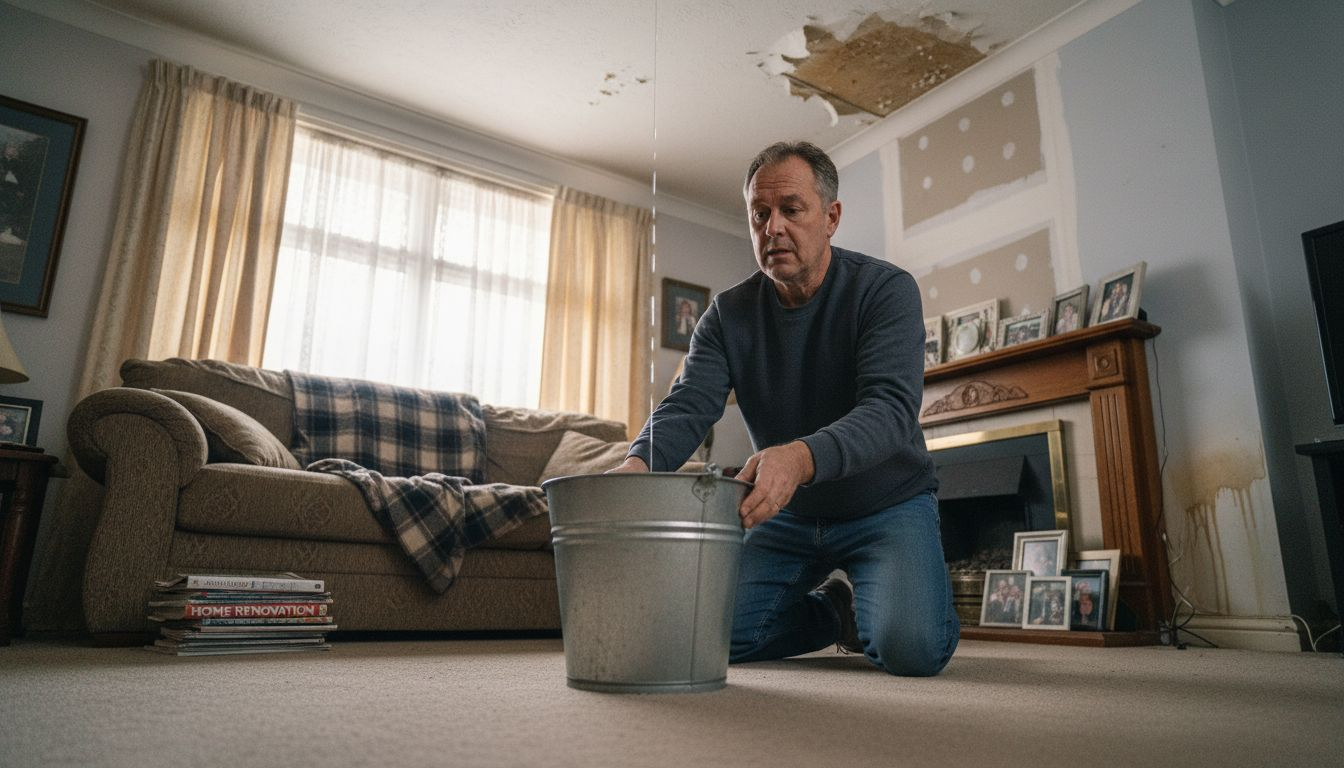
A thorough final inspection is crucial to validate the success of your roof installation and prevent future problems. Professional roof inspection techniques provide a comprehensive framework for identifying potential issues before they become costly repairs.
Begin your inspection by walking around the perimeter of your home and examining the roof from ground level. Look for any visible signs of uneven shingle placement, gaps, or areas where materials might not be properly sealed. Use a ladder to get a closer view, carefully checking each section of the roof. Pay close attention to areas around chimneys, vents, skylights, and other roof penetrations where water is most likely to infiltrate. Verify that all flashing is securely in place and that there are no visible gaps or loose materials. Use a moisture meter to detect any hidden water damage or potential leak points that might not be immediately visible to the naked eye.
Document your findings with clear photographs from multiple angles, capturing any areas of concern. Check the attic space for signs of water intrusion, looking for water stains, mold, or dampness that could indicate hidden leaks. Run a garden hose over different sections of the roof to simulate rainfall and observe how water moves and drains. Ensure that gutters and downspouts are properly aligned and functioning correctly to direct water away from your home’s foundation.
Pro Tip: Perform a detailed roof inspection twice a year and after any significant storm events to catch potential issues early.
Protect Your Home with Expert Roofing Solutions from J. A. Kelly Contracting Services
Managing roof installation challenges like assessing structural integrity, removing old materials safely, and ensuring perfect shingle alignment can feel overwhelming. From dealing with water stains and rotting wood to sealing vulnerable edges properly, every step demands precision and experience to protect your home from costly damage and leaks. This step-by-step guide highlights the care needed for roofing underlayment, flashing, and finishing touches that only skilled professionals can guarantee.
If you want peace of mind and exceptional craftsmanship, explore our proven roofing services at Roofing Archives – J. A. Kelly Contracting Services.
Don’t wait until minor issues become major repairs. Contact us today through https://jakellycontractingservices.ca to schedule a consultation. Our team in Moncton, New Brunswick specializes in delivering quality roof installations and repairs built to last. Learn more about how we transform homes by visiting our Home Renovation Archives – J. A. Kelly Contracting Services. Take the first step toward a safer, more beautiful roof now.
Frequently Asked Questions
How do I assess my existing roof before installation?
Conduct a thorough visual inspection from ground level, looking for damage like missing shingles or water stains. Document any issues with photographs and measurements to guide your installation strategy.
What tools do I need for removing old roofing materials?
You will need specialized roofing tools like a shingle remover or roofing shovel, along with safety equipment such as hard hats and eye protection. Gather these tools before you start to ensure a smooth removal process.
How should I install roofing underlayment and flashing?
Begin by rolling out the underlayment from the lowest point of the roof, overlapping each row by at least 4 inches. Secure the underlayment every 12 to 16 inches and apply metal flashing around roof penetrations to create watertight seals.
What should I pay attention to when laying shingles?
Install starter shingles at the bottom edge, overlapping each row by at least 5 inches to ensure complete coverage. Use a chalk line for straight rows and stagger the shingle joints as you work upward to enhance water resistance.
How can I ensure a final inspection is thorough?
Walk around your home and check for uneven shingle placement or visible gaps from ground level. Use a ladder to inspect vulnerable areas closely, and document any concerns with photographs to plan any necessary repairs.
Recommended
- Roofing Installation Guide: Step-By-Step for Homeowners – J. A. Kelly Contracting Services
- Roof Repair Guide: Step-by-Step Fixes for Homeowners – J. A. Kelly Contracting Services
- How to Repair Roof Leaks: Step-by-Step for Homeowners – J. A. Kelly Contracting Services
- How to Replace a Roof Safely and Efficiently – J. A. Kelly Contracting Services
- Roof Installation in Central Florida | Thomas Roofing