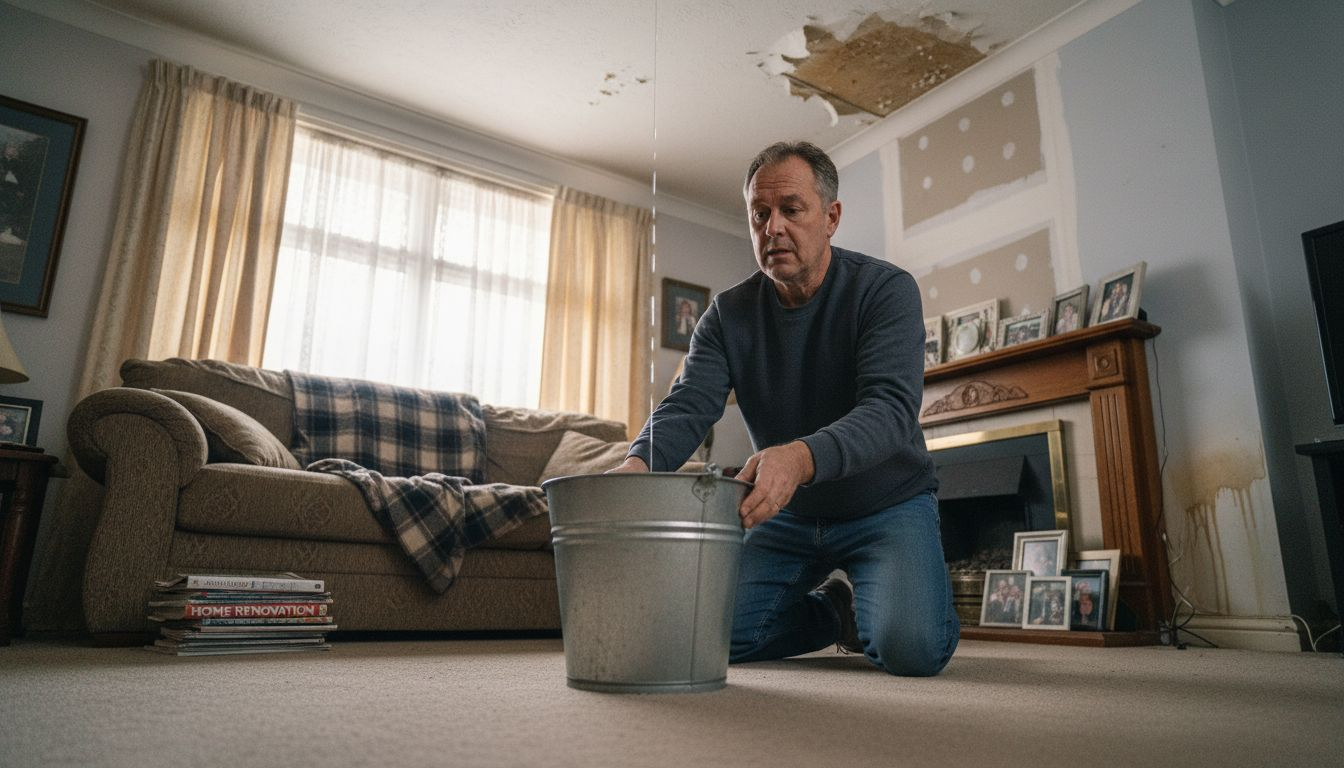


Every year, roof damage causes billions of dollars in repairs for american homeowners. Keeping a roof in top condition matters for both safety and property value. Knowing how to properly assess issues and handle basic repairs helps you avoid costly mistakes and protect your investment. This step-by-step guide walks you through the essential actions every american should follow to make roof repairs easier, safer, and more effective.
Table of Contents
- Step 1: Assess Roof Damage And Identify Issues
- Step 2: Gather Tools And Prepare The Work Area
- Step 3: Remove Damaged Shingles And Materials
- Step 4: Install Replacement Components Securely
- Step 5: Inspect Repairs And Ensure Weatherproofing
Quick Summary
| Key Insight | Explanation |
|---|---|
| 1. Assess roof damage thoroughly | Conduct both visual and physical inspections to identify any issues before attempting repairs. Look for missing shingles, discoloration, and potential leaks. |
| 2. Prioritize safety while preparing | Use necessary tools and safety equipment. Ensure your work area is secure, and never compromise personal safety in dangerous setups. |
| 3. Remove damaged materials carefully | Take your time to remove shingles and materials without causing further damage. Use proper tools for a clean surface to install replacements. |
| 4. Install replacement shingles securely | Follow best practices for placing new shingles, ensuring they overlap and seal properly. Pay attention to areas prone to leaks. |
| 5. Inspect repairs for weatherproofing | After repairs, conduct a detailed inspection to confirm everything is secure and watertight. Use a garden hose to check for leaks. |
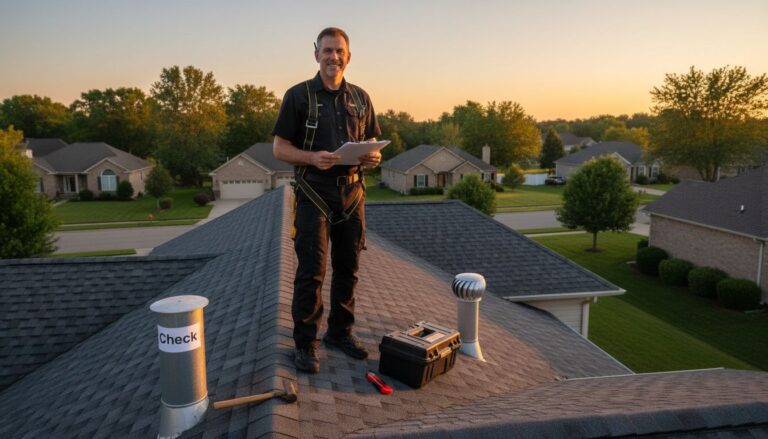
Step 1: Assess Roof Damage and Identify Issues
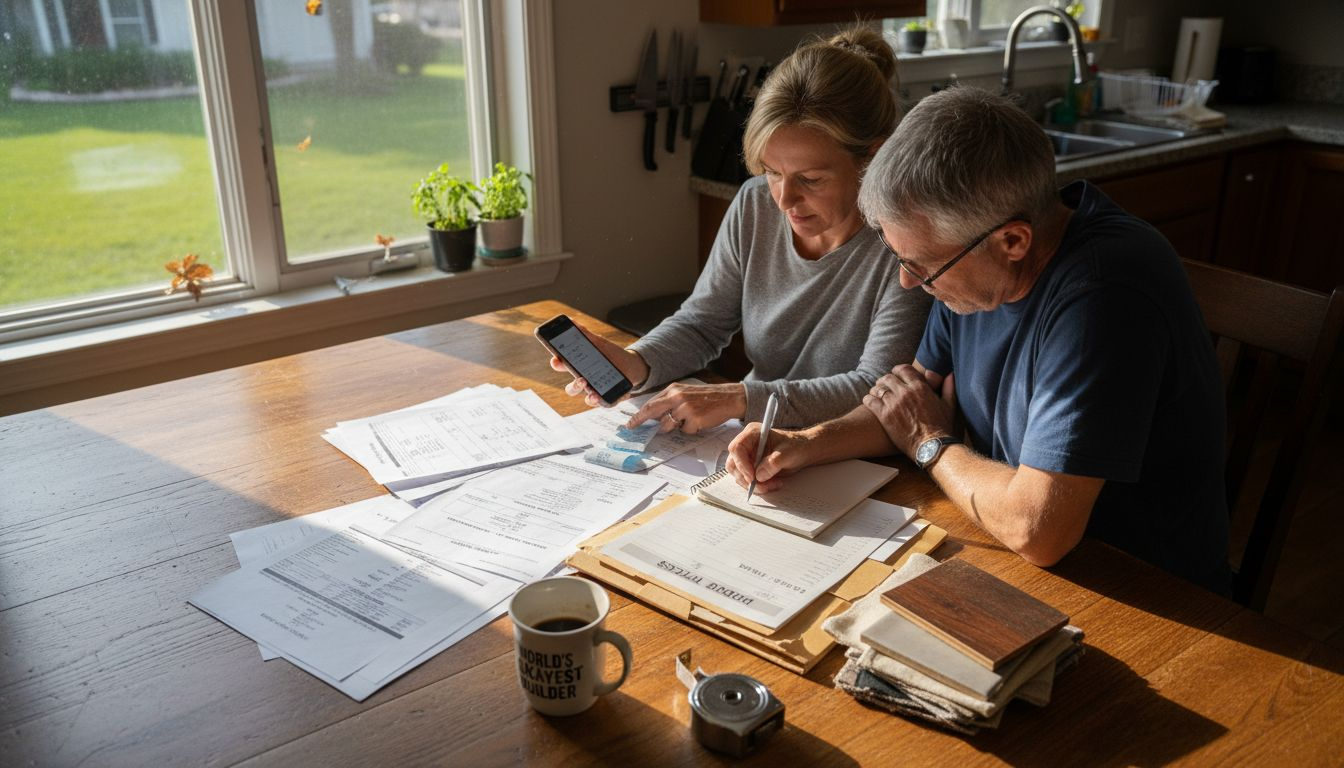
Before diving into roof repairs, you need a systematic approach to examine your roof’s condition. A thorough damage assessment helps you understand the extent of potential problems and determine whether you can handle repairs yourself or need professional intervention.
Begin by performing a visual inspection from ground level and then carefully move to closer examination methods. Look for clear signs of damage such as missing or curling shingles, visible cracks, areas of discoloration, and potential water stains. Comprehensive roof inspections require checking multiple areas including shingles, flashing, gutters, and roof edges. Pay special attention to spots around chimneys, vents, and skylights where leaks commonly develop.
Warning: Never compromise your safety. If your roof has a steep pitch or you feel uncomfortable with heights, it is always recommended to hire a professional roofing contractor for a detailed assessment. Your personal safety is more important than attempting a risky self inspection.
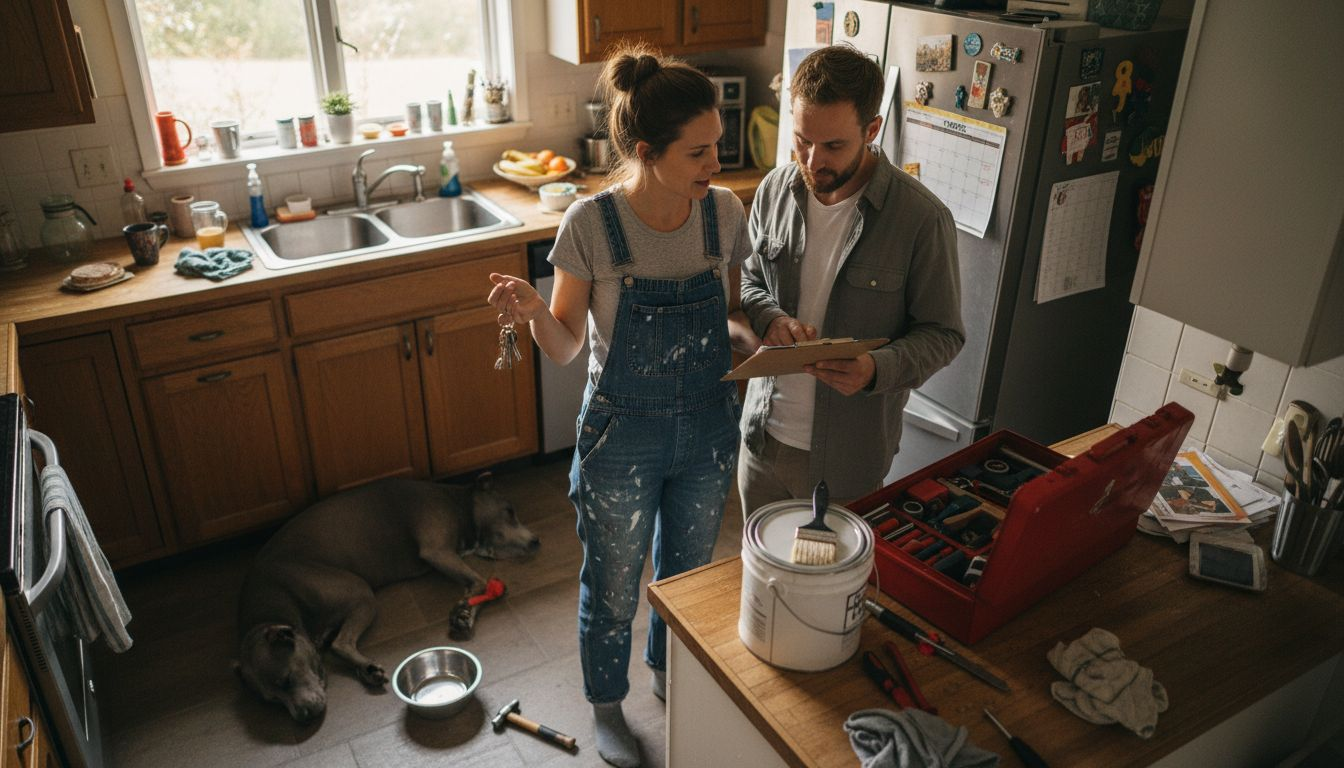
Step 2: Gather Tools and Prepare the Work Area
Before starting your roof repair project, proper preparation is key to ensuring a safe and efficient workflow. Collecting the right tools and setting up a secure workspace will help you tackle roof repairs more effectively and minimize potential risks.
Start by assembling essential roof repair tools and safety equipment. Your toolkit should include a sturdy extension ladder, safety harness, non slip work boots, roofing hammer, utility knife, pry bar, roofing nails, replacement shingles, roofing cement, measuring tape, and protective gloves. Wear comfortable clothing that allows free movement and consider using knee pads for added comfort while working on uneven surfaces.
Warning: Always prioritize safety when preparing your work area. Inspect your ladder for stability, ensure it extends at least three feet above the roof edge, and have someone spot you while climbing. Keep your work zone clear of obstacles and avoid working on wet or slippery surfaces. If the roof pitch seems too steep or you feel uncertain about your ability to work safely, it is best to contact a professional roofing contractor.
Step 3: Remove Damaged Shingles and Materials
Removing damaged shingles requires careful precision and methodical approach to prevent further roof damage. Your goal is to extract compromised materials without disrupting the surrounding roof structure, preparing the area for successful repair and replacement.
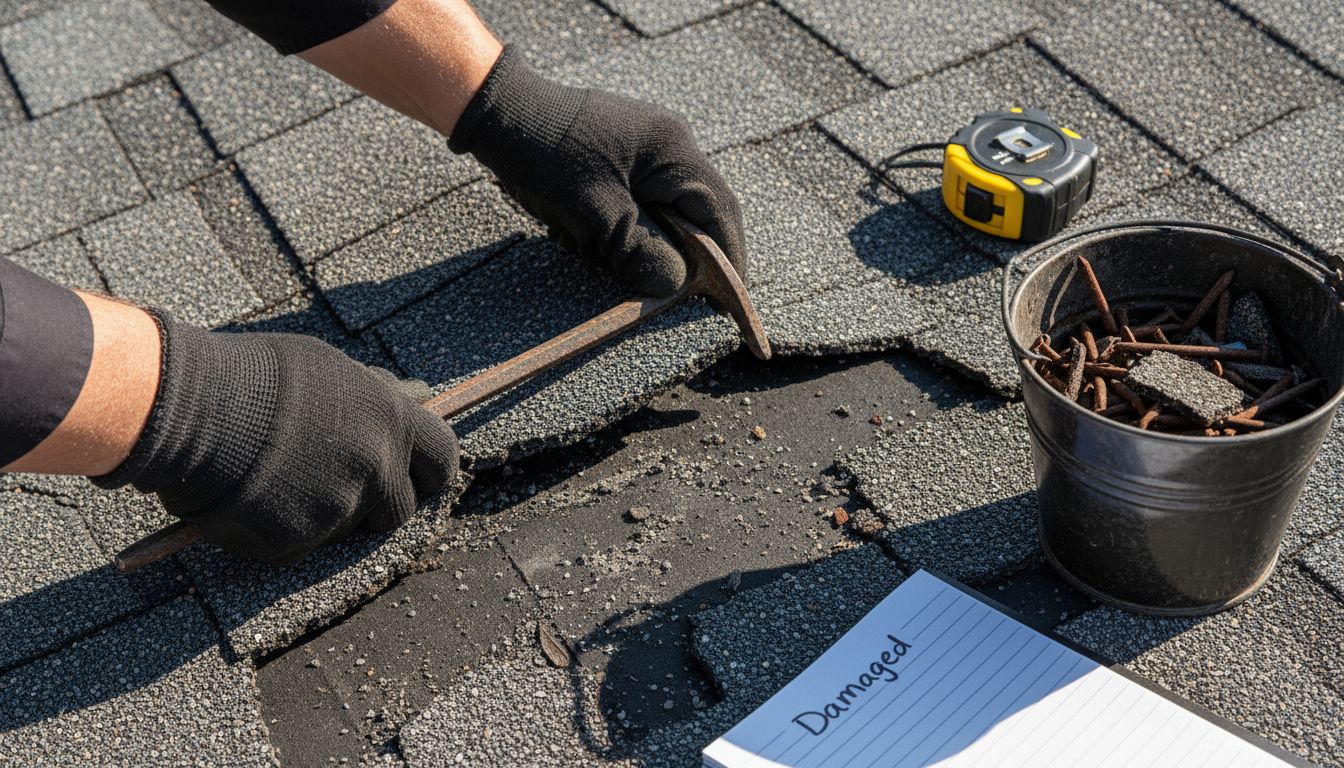
Roof damage assessment techniques are critical before beginning removal. Start by gently lifting the edges of surrounding intact shingles using a pry bar, carefully breaking the seal and exposing the nails underneath. Remove these nails with a roofing hammer or nail puller, working slowly to avoid tearing adjacent shingles. Focus on extracting damaged materials completely, ensuring you create a clean surface for the new shingles to be installed.
Warning: Work systematically and avoid rushing the removal process. Damaged shingles can be brittle and may break unexpectedly, so wear protective gloves and safety glasses. If you encounter extensive damage or feel uncertain about the removal process, it is recommended to consult a professional roofing contractor who can assess and address complex repair needs safely and efficiently.
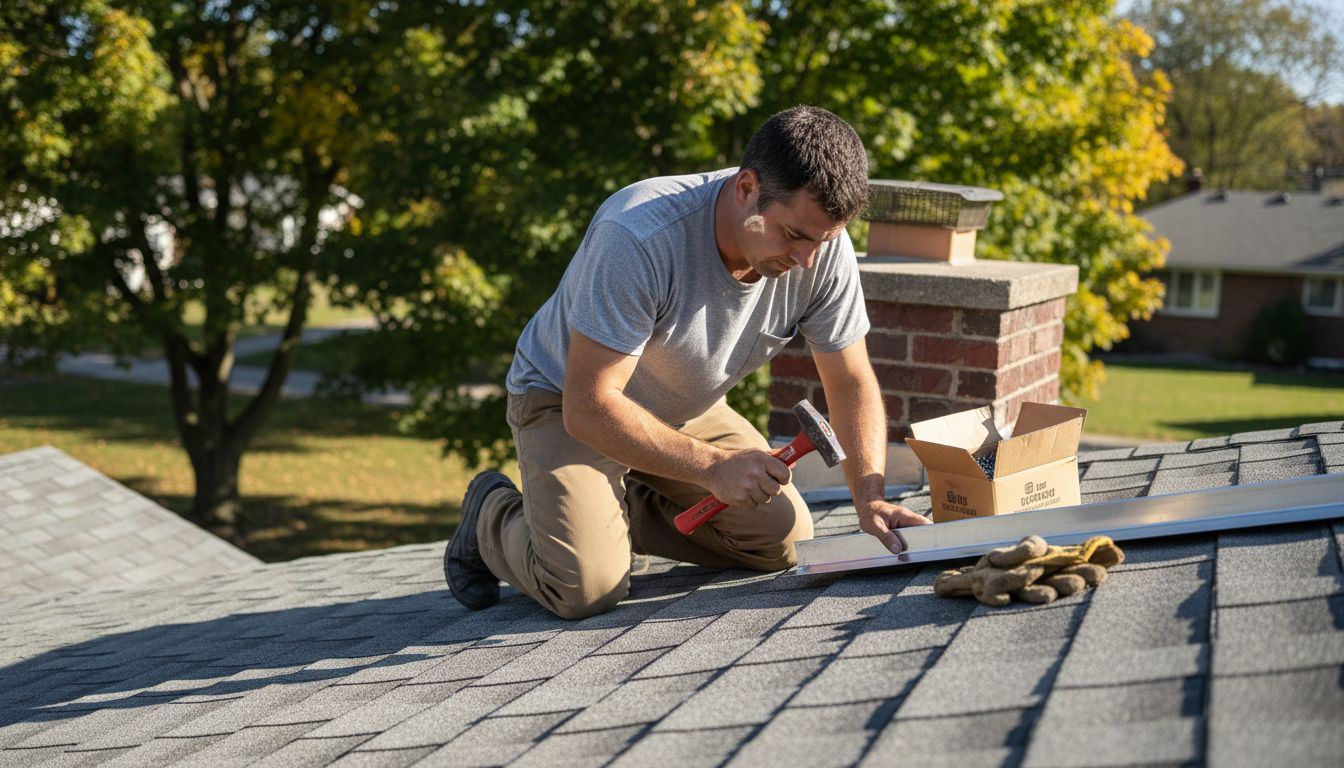
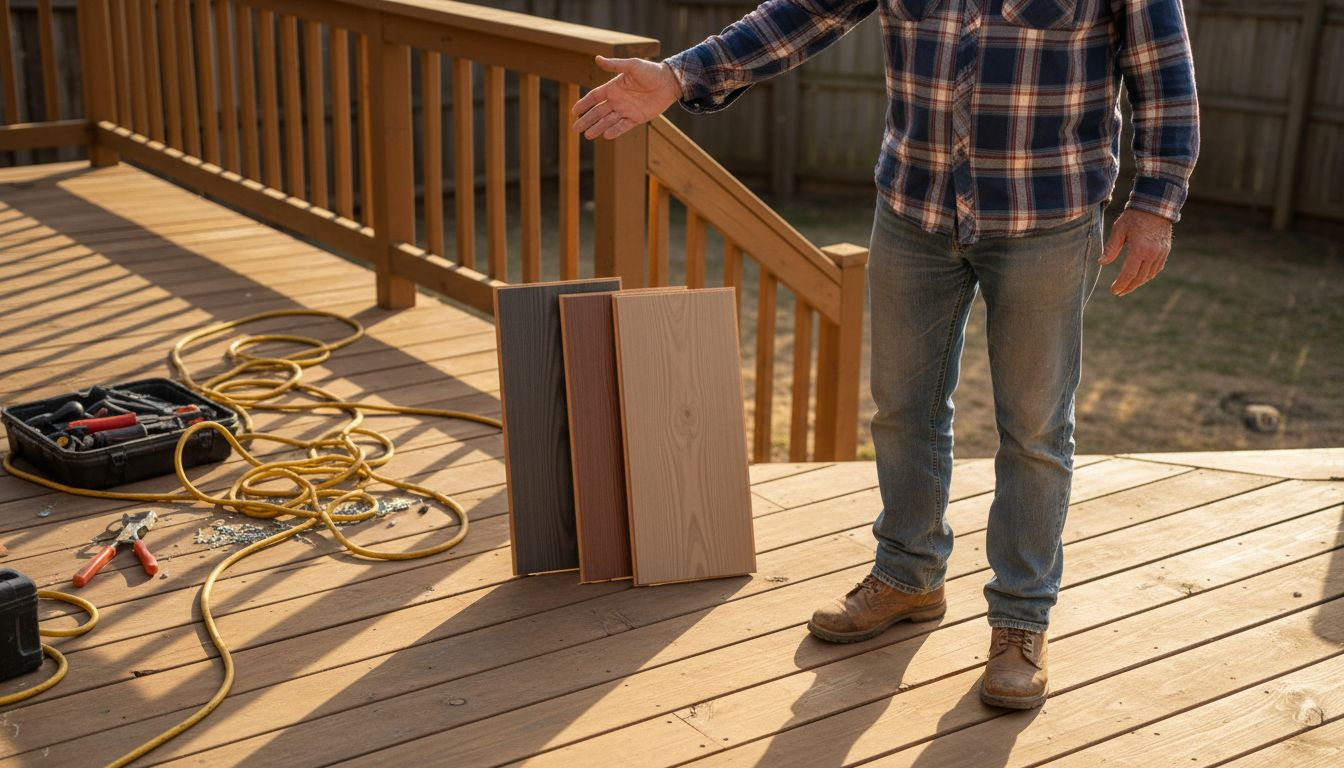
Step 4: Install Replacement Components Securely
Installing replacement roofing components requires precision and attention to detail to ensure your roof remains watertight and structurally sound. Your primary goal is to integrate new materials seamlessly with the existing roof structure, preventing future leaks and potential damage.
Begin by preparing the exposed area with a roofing installation guide that ensures proper alignment and technique. Start by applying a layer of roofing underlayment or waterproof membrane to create a protective barrier. Carefully position new shingles, ensuring they overlap correctly and align with existing roofing materials. Secure each shingle using roofing nails placed strategically near the top edge, typically four nails per shingle to provide maximum stability. Use roofing cement to seal the edges and create an additional water resistant barrier, paying extra attention to areas around vents, chimneys, and other potential leak points.
Warning: Proper installation is critical to prevent future water damage. Take your time and ensure each component is placed precisely and securely. If you encounter any complexity or feel unsure about the installation process, it is recommended to consult a professional roofing contractor who can guarantee a watertight and durable repair.
Step 5: Inspect Repairs and Ensure Weatherproofing
After completing your roof repair, a thorough inspection is crucial to verify the quality and effectiveness of your work. Your goal is to confirm that all repaired areas are secure, properly sealed, and capable of withstanding various weather conditions.
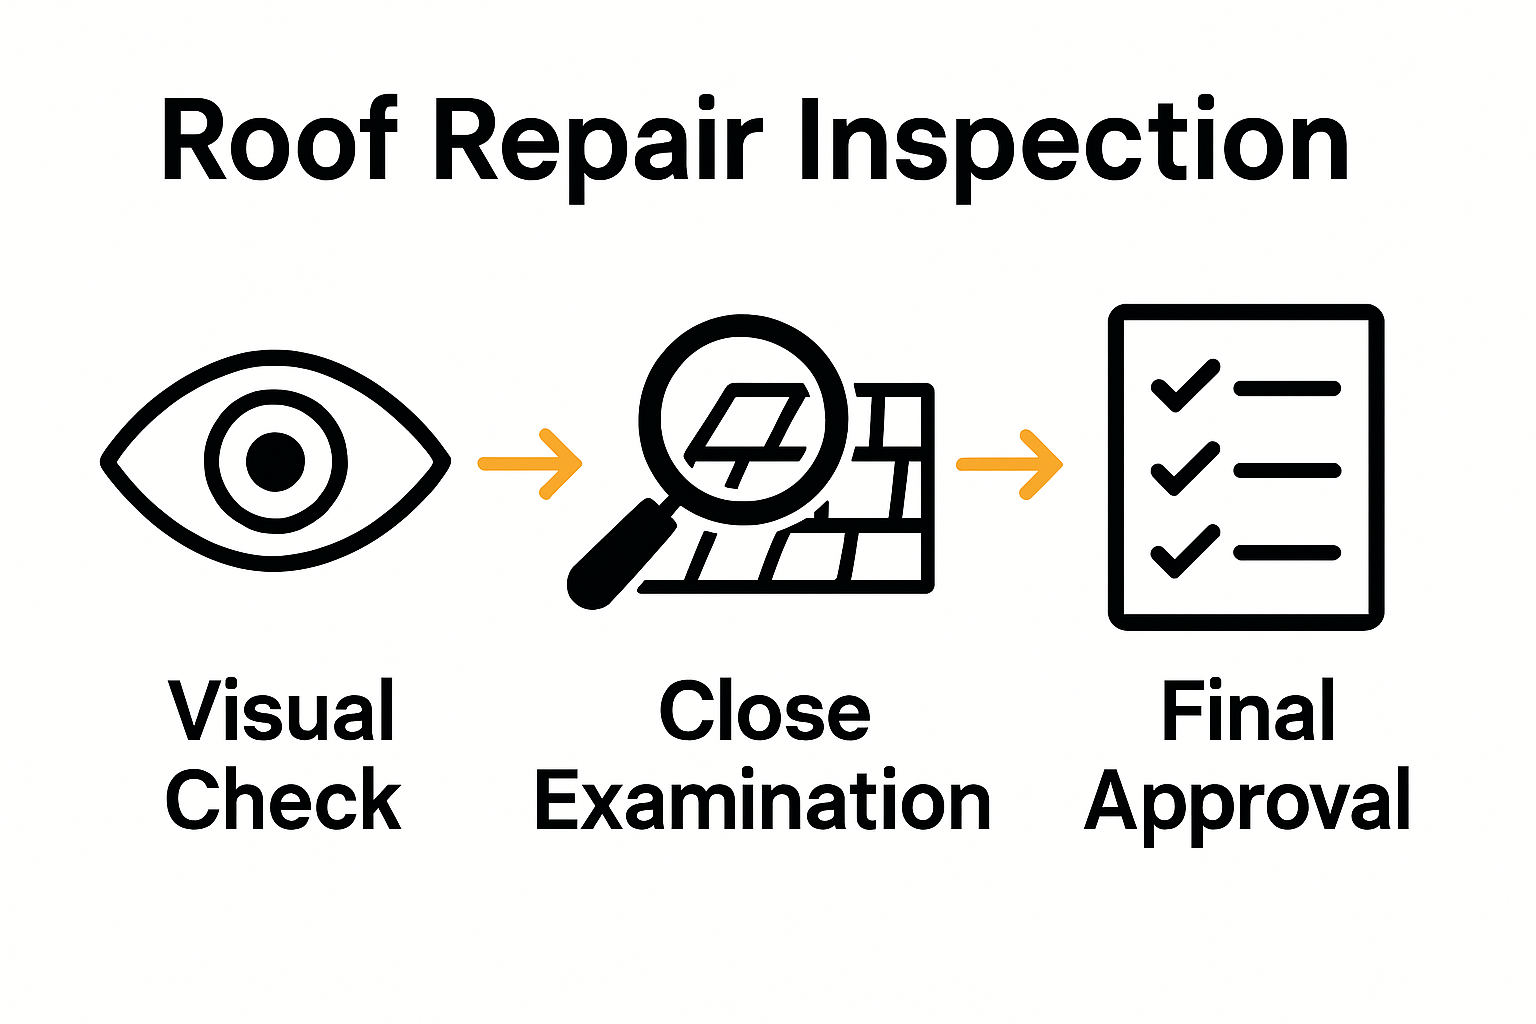
Begin by conducting a comprehensive roof inspection using a methodical approach. Carefully examine each repaired section, checking for proper shingle alignment, secure nail placement, and consistent roofing cement application. Pay special attention to potential problem areas like flashing around chimneys, vents, and roof edges. Look for any gaps, uneven surfaces, or signs of potential water infiltration. Use a garden hose to simulate rainfall and check for any leaks or water penetration, ensuring your repairs create a completely watertight seal.
Warning: Even minor imperfections can lead to significant water damage over time. If you notice any irregularities or feel uncertain about the repair quality, it is recommended to consult a professional roofing contractor. Professional inspection can catch subtle issues that might escape an untrained eye and provide peace of mind that your roof is fully protected against future weather challenges.
Take Control of Your Roof Repair with Trusted Local Experts
Repairing your roof can feel overwhelming with all the technical steps like damage assessment, shingle removal, and ensuring proper weatherproofing. If you want to avoid costly mistakes and protect your home from future leaks it is essential to get expert help quickly. Our team at J. A. Kelly Contracting Services specializes in professional roofing solutions designed to ease your stress and deliver lasting results. We understand the importance of precision and safety when handling roofing projects, whether you are managing minor fixes or larger repairs.

Explore our Roofing Archives – J. A. Kelly Contracting Services to see how we bring craftsmanship and reliability to every job. Ready to safeguard your home now Reach out through our main website for a free estimate and fast scheduling. Let us help you turn your roof repair from a challenge into peace of mind today.
Frequently Asked Questions
How do I assess roof damage before repairs?
Start by performing a visual inspection of your roof from the ground and then move closer for a detailed examination. Look for missing or curling shingles, visible cracks, discoloration, and water stains; this will help you determine if the damage is manageable or requires a professional.
What tools do I need for roof repair?
Assemble essential tools like a sturdy extension ladder, roofing hammer, utility knife, pry bar, roofing nails, replacement shingles, and roofing cement. Ensuring you have the right tools will make your repair process more efficient and safer.
How do I properly remove damaged shingles?
Carefully lift the edges of surrounding intact shingles with a pry bar and remove the nails holding the damaged shingles in place. Aim to extract the damaged materials completely, preparing a clean surface for new shingles to be installed.
What is the best way to install replacement roofing components?
Start by applying a layer of roofing underlayment or waterproof membrane, then carefully position the new shingles, ensuring they overlap and align correctly. Secure them with roofing nails and use roofing cement to seal the edges for a watertight finish.
How can I ensure my repairs are weatherproof?
Conduct a comprehensive inspection of the repaired areas, checking for proper alignment and secure placement of shingles and nails. Simulate rainfall using a garden hose to identify any leaks, confirming that your repairs have created a solid watertight seal.
When should I hire a professional roofing contractor?
If you encounter extensive damage or feel uncomfortable with any part of the repair process, it’s best to contact a professional roofing contractor. They can safely assess complex repair needs and ensure that your roof remains secure and protected against future weather challenges.
Recommended
- Roofing Installation Guide: Step-By-Step for Homeowners – J. A. Kelly Contracting Services
- Timely Roof Repairs: Complete Guide for Homeowners – J. A. Kelly Contracting Services
- 7 Essential Roofing Maintenance Tips Every Homeowner Should Know – J. A. Kelly Contracting Services
- Complete Guide to the Role of Roofing Contractors – J. A. Kelly Contracting Services