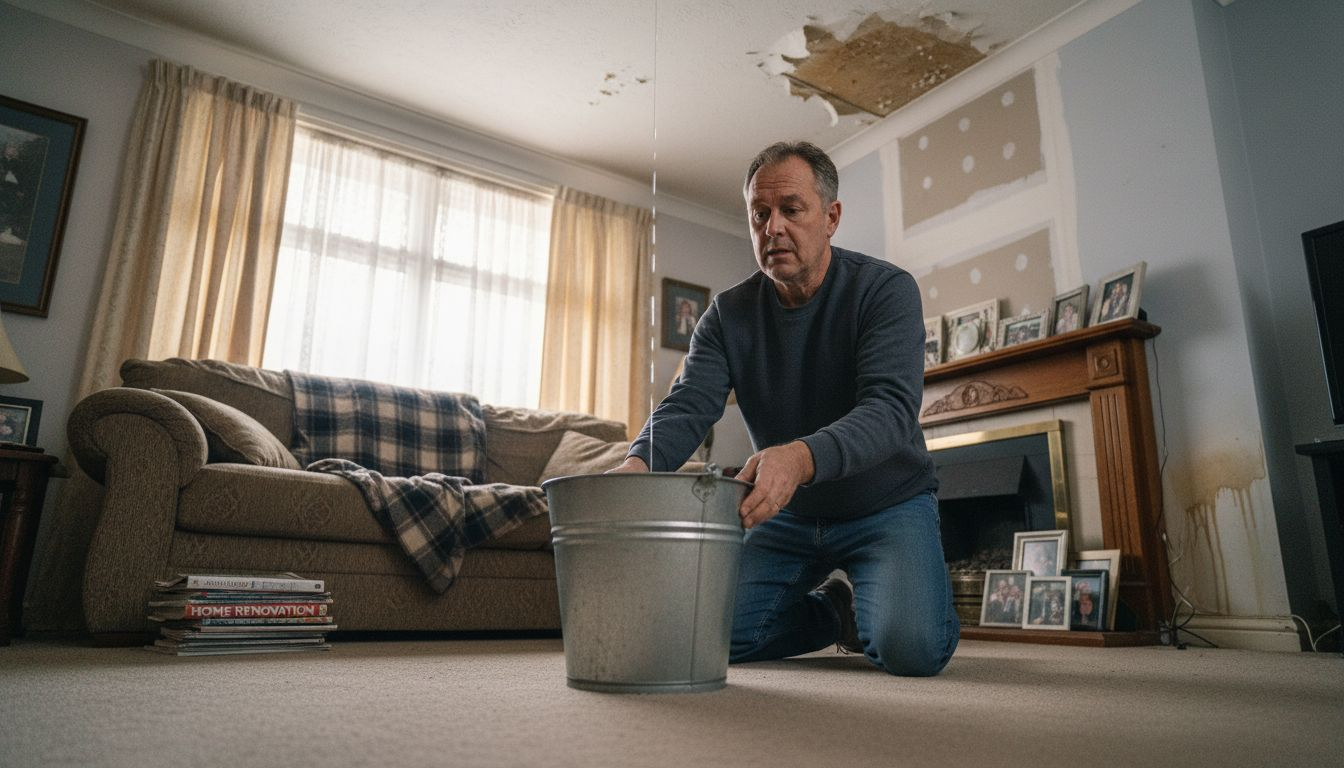


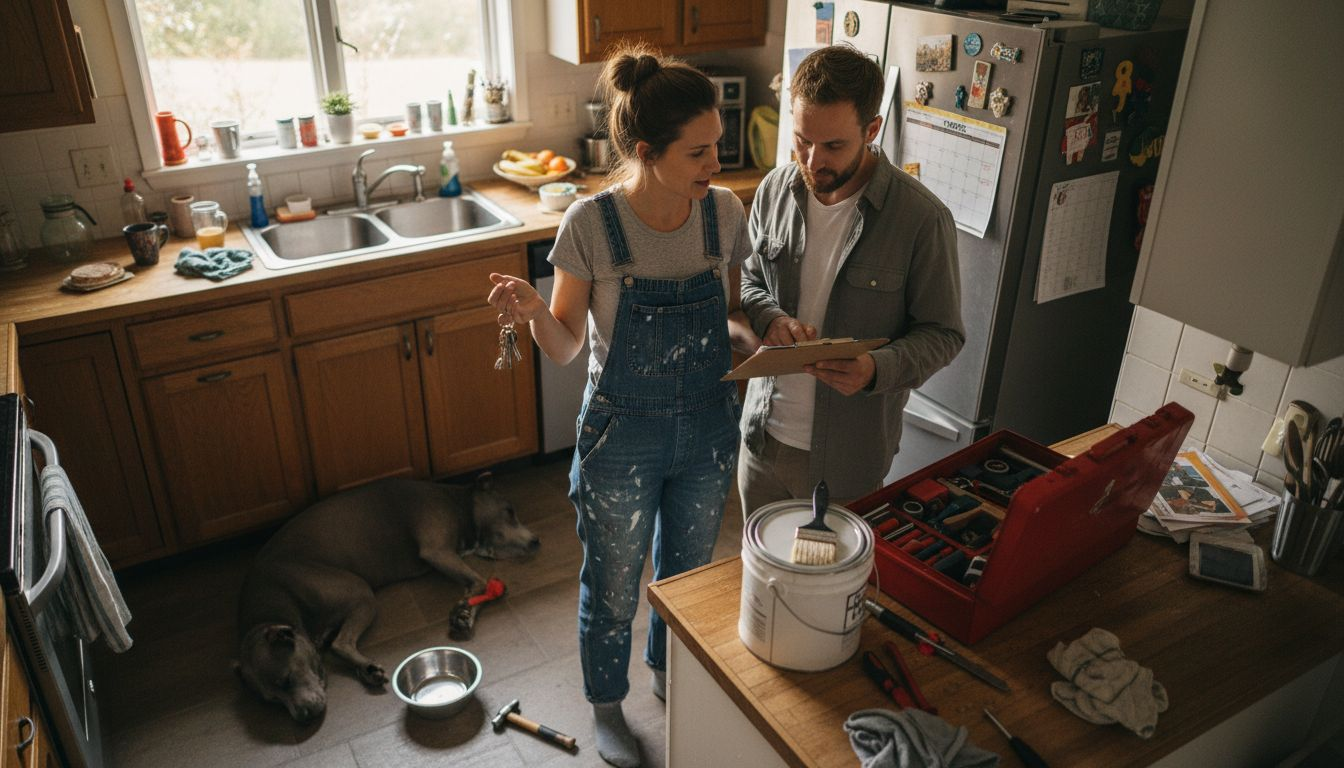


Water stains and sagging ceilings are a clear sign your roof may no longer protect your home the way an American contractor would expect. For Moncton homeowners, ignoring these issues can lead to expensive repairs and insurance claims in our unpredictable Canadian climate. This guide helps you navigate every step of a roof replacement, offering practical advice you can act on to keep your property safe, compliant, and ready for years to come.
Table of Contents
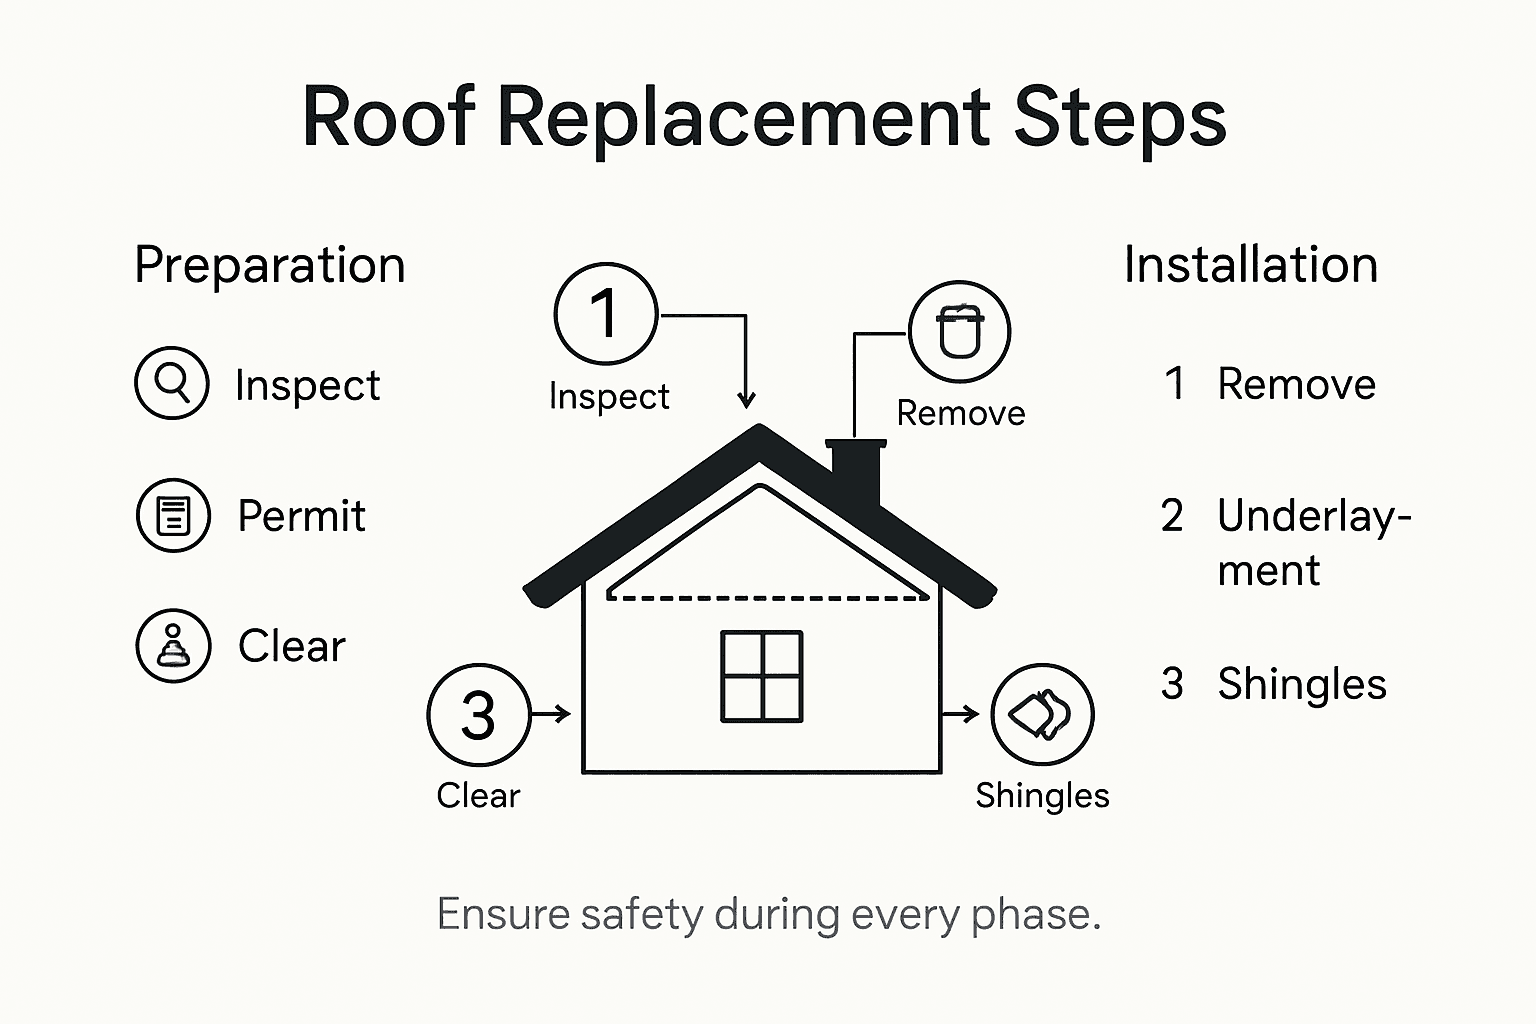
- Step 1: Assess Roof Condition And Gather Permits
- Step 2: Remove Old Roofing Materials Safely
- Step 3: Install Waterproof Underlayment Properly
- Step 4: Lay New Shingles And Secure Flashing
- Step 5: Inspect Installation And Clean Worksite
Quick Summary
| Key Insight | Explanation |
|---|---|
| 1. Assess Roof Before Starting | Perform a visual inspection or hire a professional to identify current roof conditions and determine if repairs or replacement is needed. |
| 2. Secure Necessary Permits | Contact local building authorities to understand requirements and submit detailed project plans for roofing work before beginning. |
| 3. Remove Old Roofing Safely | Systematically strip away existing materials while using proper protective equipment and taking precautions against hazardous materials like asbestos. |
| 4. Install Underlayment Correctly | Clean the roof deck thoroughly and follow local codes to install waterproof underlayment, ensuring effective moisture protection through correct overlapping techniques. |
| 5. Conduct Thorough Final Inspection | After installation, inspect for proper material alignment and cleanup all debris, ensuring a quality finish and preventing future issues. |
Step 1: Assess Roof Condition and Gather Permits
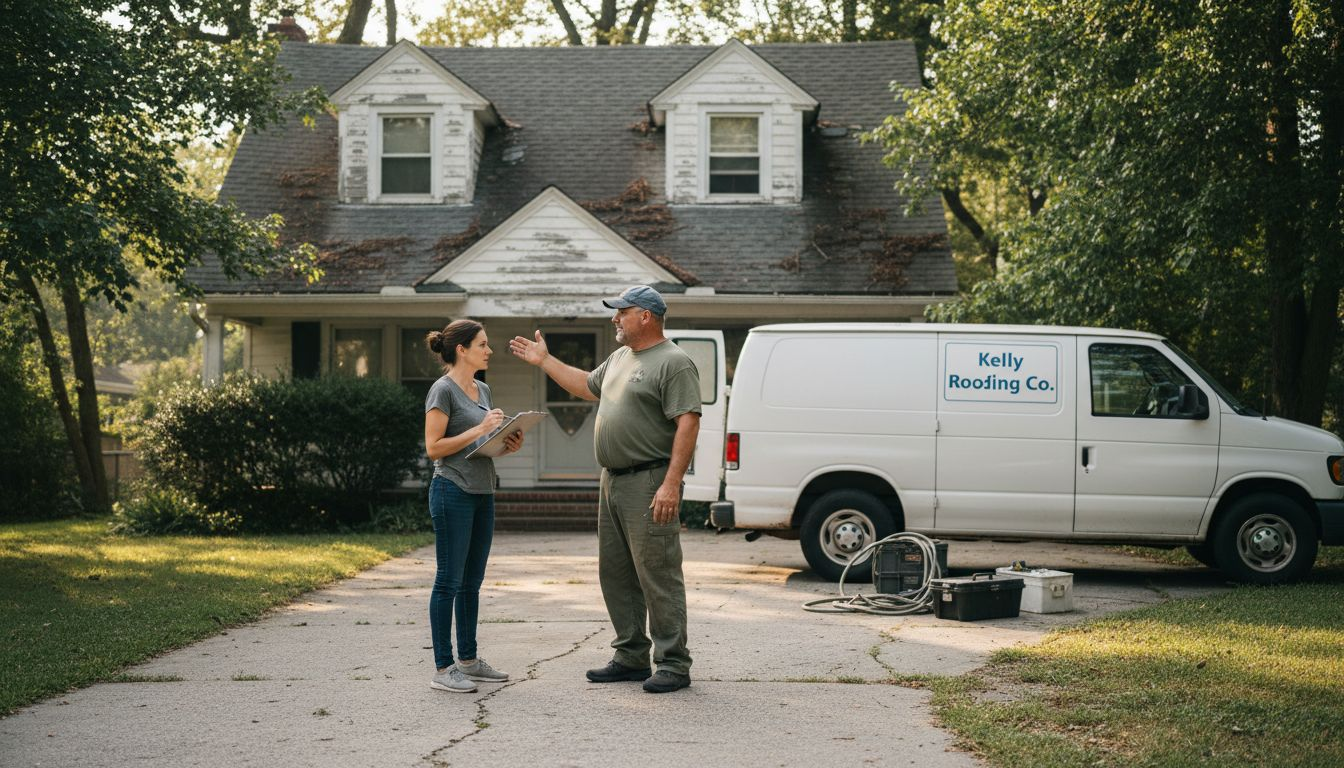
Before diving into your roofing project, you must conduct a thorough assessment of your current roof’s condition and secure the necessary legal documentation. Understanding your roof’s current state will help you determine whether a full replacement is required or if repairs might suffice.
Start by performing a comprehensive visual inspection or hiring a professional to evaluate your roof’s structural integrity. Look for clear signs of damage such as missing or curling shingles, water stains on your ceiling, sagging areas, or visible leaks. Professional roofing contractors can provide detailed insights into potential issues that might not be immediately apparent to an untrained eye. When preparing for permits, you’ll want to understand local building requirements to ensure your project meets all regulatory standards.
Here is a summary of common roof inspection findings and their implications:
| Observation | Possible Cause | Recommended Action |
|---|---|---|
| Missing shingles | Wind or wear | Replace affected shingles |
| Water stains on ceiling | Roof leak | Repair leak source, check insulation |
| Sagging areas | Structural issues | Assess for rot, reinforce framing |
| Curling shingles | Aging or poor ventilation | Consider replacement, improve ventilation |
| Visible leaks | Failing membrane or flashing | Inspect and repair promptly |
To obtain the necessary permits, contact your local municipal building department. Typically, you’ll need to submit detailed project plans, including roof dimensions, proposed materials, and the scope of work. Some municipalities might require additional documentation like contractor licenses, proof of insurance, and specific technical drawings. Be prepared to pay permit fees, which vary depending on your location and project complexity.
Professional Tip: Schedule a professional roof inspection before starting permit applications to get a comprehensive understanding of your roof’s condition and potential replacement requirements.
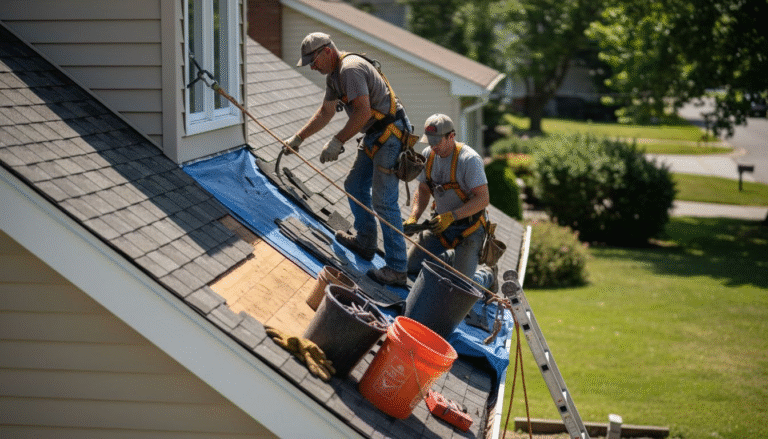
Step 2: Remove Old Roofing Materials Safely
Removing old roofing materials is a critical phase of your roof replacement project that requires careful planning and safety precautions. Your goal is to completely strip away the existing roof covering while minimizing potential hazards and damage to your home’s underlying structure.
Begin by preparing your work area thoroughly. Rent a large dumpster and position it close to your house for easy debris disposal. Cover your landscaping and ground areas with protective tarps to catch falling materials and prevent damage. Wear appropriate personal protective equipment, including safety glasses, work gloves, sturdy boots, and a dust mask. When dealing with older roofing, be especially cautious about potential asbestos exposure risks during material handling, as aged roofing materials might contain hazardous substances that require professional assessment and removal.
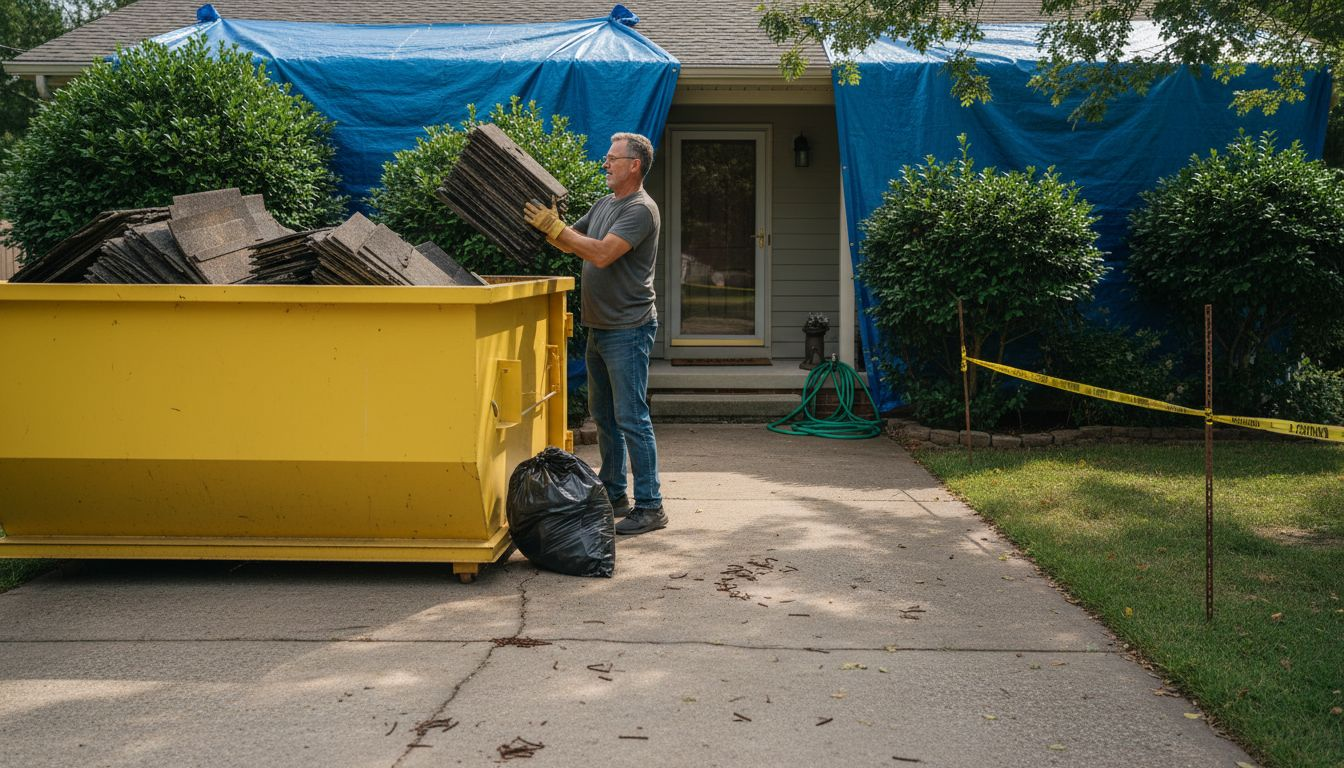
Start removing shingles systematically using specialized roofing removal tools like a roofing shovel or tear off tool. Work from the top of the roof downward, carefully lifting and prying off materials to expose the roof deck. Move methodically and avoid damaging the underlying wood substrate. Check the roof deck for any signs of rot, water damage, or structural weakness that might require additional repair before installing new roofing materials.
Professional Tip: Remove roofing materials during dry weather conditions to ensure better visibility and safer working environments.
Step 3: Install Waterproof Underlayment Properly
Waterproof underlayment serves as your roof’s critical first line of defense against moisture and environmental damage. Installing this protective layer correctly is essential to ensure your roof’s long-term durability and performance.
Begin by thoroughly cleaning the roof deck, removing any debris, dust, or loose materials that could prevent proper adhesion. Select an underlayment appropriate for your specific climate and roofing materials. Underlayment installation requirements vary significantly based on regional building codes and environmental conditions, so consult local regulations to ensure compliance. Start at the lowest edge of the roof, typically the eaves, and roll out the underlayment horizontally, ensuring each row overlaps the previous one by the manufacturer’s recommended amount typically 2 to 4 inches. Secure the underlayment using roofing nails or staples, placing fasteners strategically to prevent tearing or lifting.
Pay special attention to critical areas like valleys, roof penetrations, and edges where water is most likely to infiltrate. Use additional waterproofing membranes or specialized flashing materials in these vulnerable zones to create a comprehensive moisture barrier. Trim excess material carefully and ensure all seams and edges are sealed properly to prevent potential water intrusion.
Professional Tip: Always check underlayment manufacturer specifications and local building codes before installation to guarantee optimal protection.
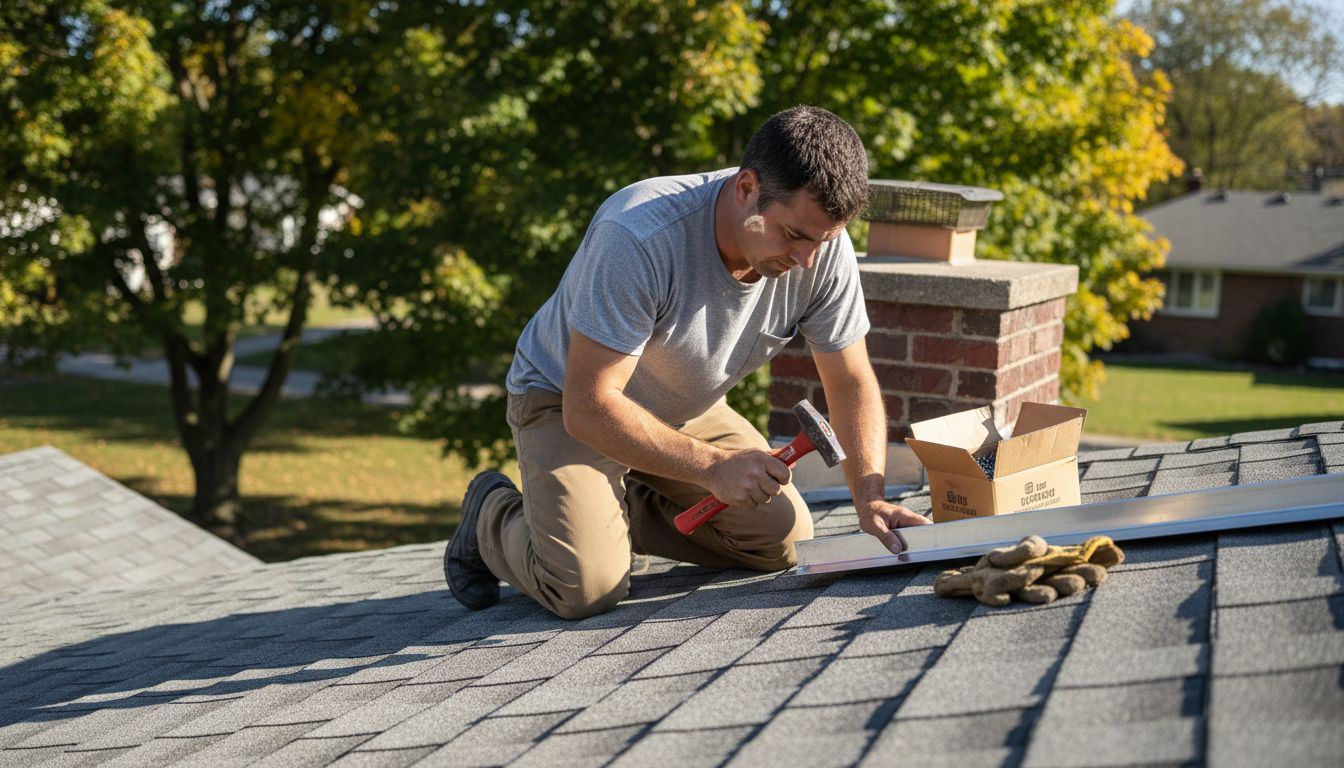
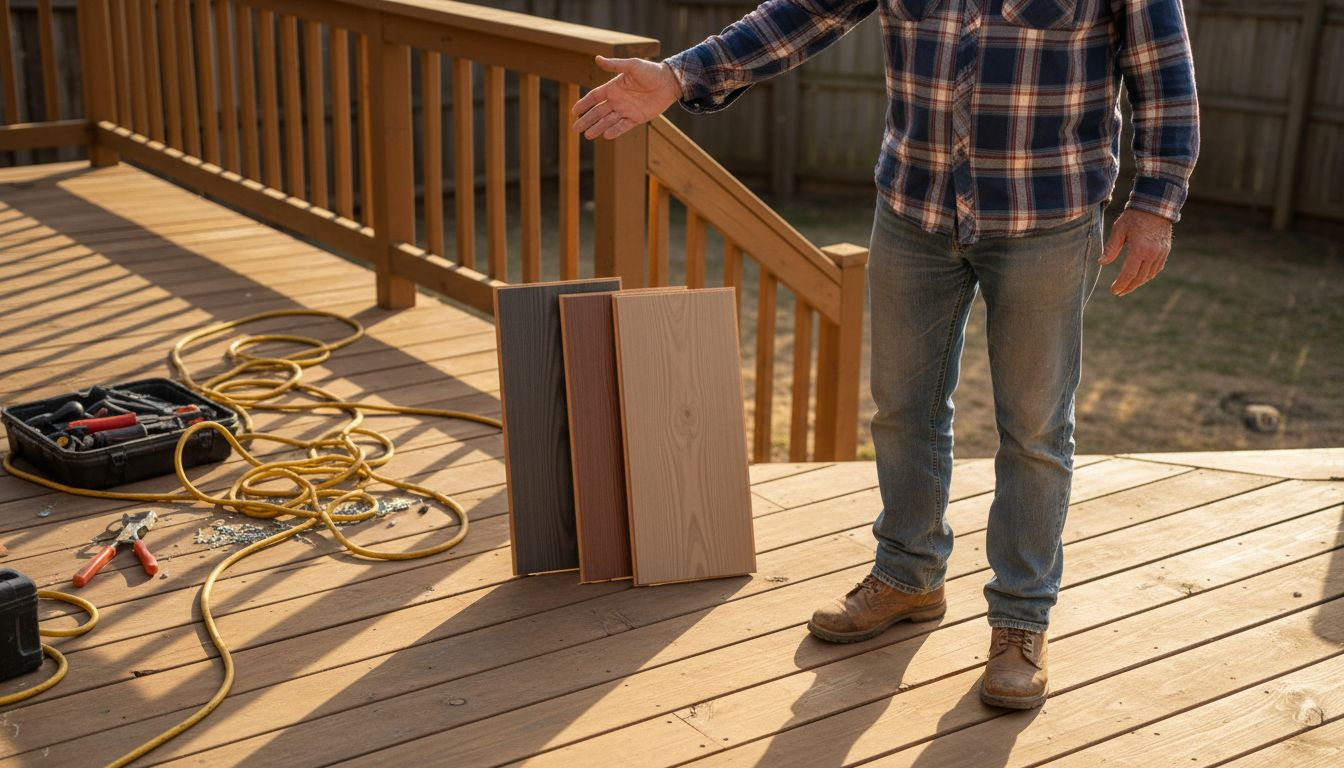
Step 4: Lay New Shingles and Secure Flashing
Layering new shingles and installing proper flashing represents the critical final stage of your roof replacement project, where precision and careful technique will ensure long-lasting protection for your home. Your goal is to create a seamless waterproof barrier that guards against moisture intrusion and potential structural damage.
Begin installing shingles at the bottom edge of the roof, working horizontally and upward in staggered rows to create an overlapping pattern that channels water effectively. Use roofing nails positioned precisely through the designated nailing strip on each shingle. When approaching wall intersections and roof valleys, implement step flashing techniques that direct water away from critical junction points. Each piece of step flashing should slide under the siding and over the shingle course, creating a systematic water diversion mechanism that prevents potential leaks.
Pay special attention to roof penetrations like chimneys, vents, and skylights where water infiltration is most likely. Use specialized flashing materials designed for each specific penetration, ensuring a tight seal that prevents water from seeping underneath the shingles. Cut shingles carefully around these features to maintain a clean, professional appearance while maximizing water resistance. Verify that all edges are securely fastened and that no gaps remain that could compromise your roof’s protective integrity.
Compare the key functions of underlayment and flashing in roof installation:
| Component | Main Purpose | Typical Location | Role in Water Protection |
|---|---|---|---|
| Underlayment | Secondary moisture barrier | Full roof surface | Blocks water under shingles |
| Flashing | Directs water at joints | Valleys, edges, penetrations | Seals vulnerable connection points |
Professional Tip: Always purchase 10 percent extra shingles to account for complex cuts around roof features and potential replacement needs.
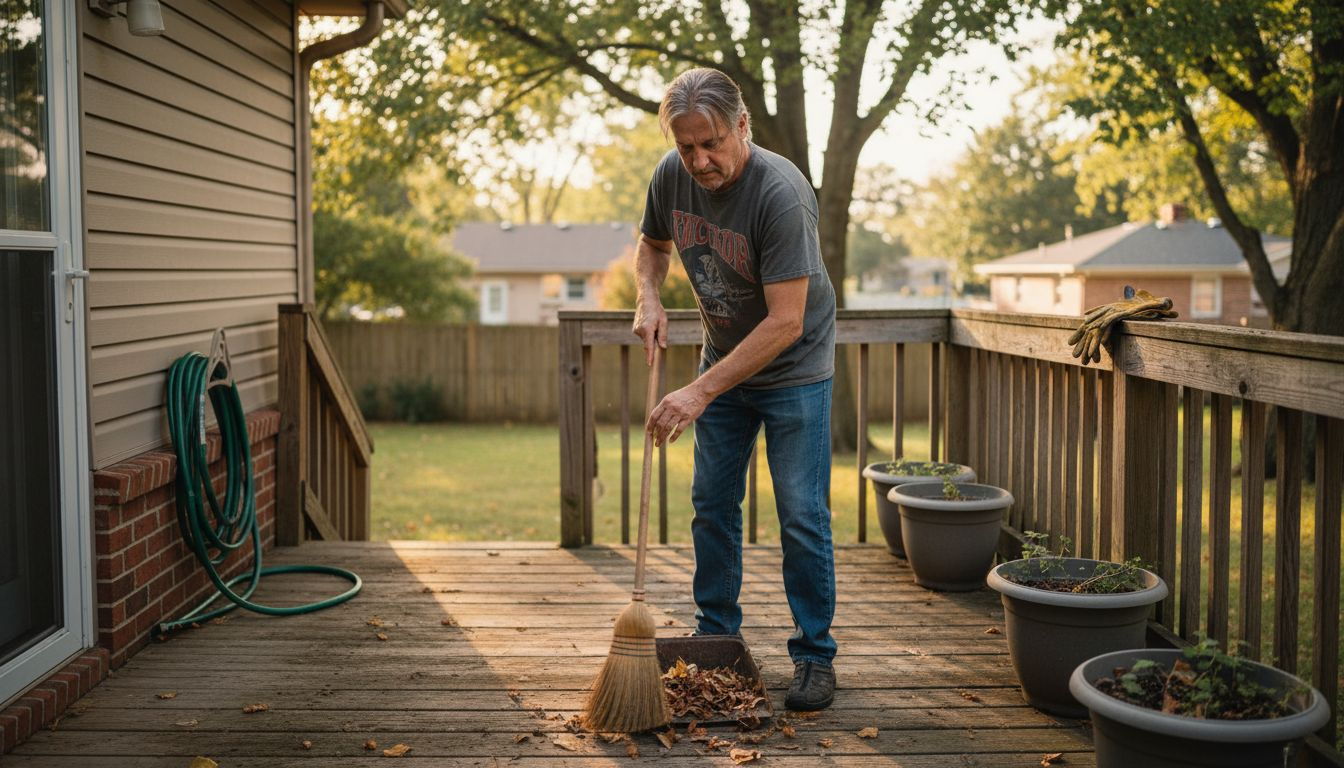
Step 5: Inspect Installation and Clean Worksite
The final phase of your roof replacement involves a meticulous inspection of the new installation and comprehensive site cleanup to ensure quality workmanship and safety. This critical step validates all your previous hard work and prepares your property for long-term protection.
Carefully walk through a systematic roof inspection process that verifies material placement, sealing, and overall performance. Check for proper shingle alignment, consistent nail placement, and tight flashing around roof penetrations. Look for any potential gaps, loose materials, or areas that might compromise water resistance. Pay special attention to roof valleys, edges, and intersections where water is most likely to accumulate. Verify that all materials are securely fastened and that the overall installation meets manufacturer specifications and local building codes.
Conclude your project by thoroughly cleaning the entire worksite. Remove all debris including nails, shingle fragments, and packaging materials from your yard, driveway, and surrounding landscaping. Use a magnetic nail sweeper to collect any stray roofing nails that could damage vehicle tires or cause injury. Inspect your gutters, downspouts, and ground areas to ensure a complete and professional cleanup that protects your property and maintains a pristine appearance.
Professional Tip: Take detailed photographs of the completed installation for your personal records and potential future insurance documentation.
Ensure a Safe and Efficient Roof Replacement with Expert Help
Replacing a roof involves challenges such as thorough inspections, proper permit acquisition, safe removal of old materials, and meticulous installation of underlayment and shingles. Homeowners often face concerns about hidden damage, correct flashing application, and complete site cleanup. If you want to avoid costly mistakes and safeguard your home from leaks and structural problems, relying on skilled professionals who understand these critical steps is essential.
Trust the experienced team at J. A. Kelly Contracting Services to provide expert roofing solutions tailored to your needs. From initial assessment to final inspection, we bring quality craftsmanship and attention to detail ensuring your roof stands strong for years. Discover more about our full suite of services in our Roofing Archives and explore how we handle complex projects with precision under Home Renovation Archives.
Don’t wait until minor roofing issues become major headaches. Contact J. A. Kelly Contracting Services now for a free estimate and professional guidance through every roofing phase. Protect your investment in Moncton, New Brunswick with trusted contractors committed to your home’s safety and value. Visit us today at https://jakellycontractingservices.ca to get started.
Frequently Asked Questions
How can I assess the condition of my roof before replacement?
To assess your roof’s condition, perform a visual inspection or hire a professional for a detailed evaluation. Look for signs of damage like missing shingles and leaks, and document these findings to inform your next steps.
What permits do I need to replace my roof?
You typically need to secure building permits from your local municipal building department before replacing your roof. Prepare detailed project plans and check for specific documentation requirements to ensure compliance.
What safety precautions should I take while removing old roofing materials?
When removing old roofing materials, wear personal protective equipment such as safety glasses, gloves, and sturdy boots. Also, cover surrounding areas with tarps to catch debris and protect your landscaping.
How do I install waterproof underlayment correctly?
To install waterproof underlayment, clean the roof deck thoroughly and roll out the underlayment starting from the lowest edge. Ensure each row overlaps the previous one by 2 to 4 inches and secure it with roofing nails to create a moisture barrier.
What steps should I follow when laying new shingles?
When laying new shingles, start at the roof’s bottom edge and work upward in staggered rows to create an overlapping pattern. Use roofing nails in the designated nailing strips and ensure proper flashing around penetrations to prevent leaks.
How do I inspect the roof installation after completion?
After completing your roof installation, walk through a systematic inspection of shingle placement, nail alignment, and flashing. Check for any gaps and secure areas to ensure everything meets quality standards.
Recommended
- Roof Repair Guide: Step-by-Step Fixes for Homeowners – J. A. Kelly Contracting Services
- Roofing Installation Guide: Step-By-Step for Homeowners – J. A. Kelly Contracting Services
- Roofing Replacement: Complete Guide for Homeowners – J. A. Kelly Contracting Services
- How to Repair Roof Leaks: Step-by-Step for Homeowners – J. A. Kelly Contracting Services