


Every year, thousands of American homeowners deal with sudden roof leaks that threaten their safety and belongings. Unchecked water intrusion can quickly lead to thousands of dollars in repairs and even permanent structural damage. Identifying, repairing, and preventing leaks gives peace of mind while protecting your biggest investment. By following proven steps and expert-backed techniques, you can confidently address roof leaks before they become costly emergencies.
Table of Contents
- Step 1: Assess Roof Leak Sources
- Step 2: Gather Essential Repair Tools
- Step 3: Prepare and Secure Work Area
- Step 4: Seal Damaged Areas Effectively
- Step 5: Inspect Repairs for Lasting Protection
Quick Summary
| Key Takeaway | Explanation |
|---|---|
| 1. Identify Leak Sources Carefully | Examine ceilings and attics for signs like stains or mold to locate water entry points. |
| 2. Gather Essential Repair Tools | Prepare a kit with materials like tarps, roofing cement, and safety gear for effective repairs. |
| 3. Ensure a Safe Work Environment | Set up ladders and protect your workspace to minimize risks during repairs. |
| 4. Seal Damaged Areas Effectively | Clean and apply roofing cement with mesh to create a watertight barrier where leaks occur. |
| 5. Inspect Repairs for Lasting Effects | Check all repairs after rainfall to ensure they hold and determine if professional help is needed. |
Step 1: Assess Roof Leak Sources
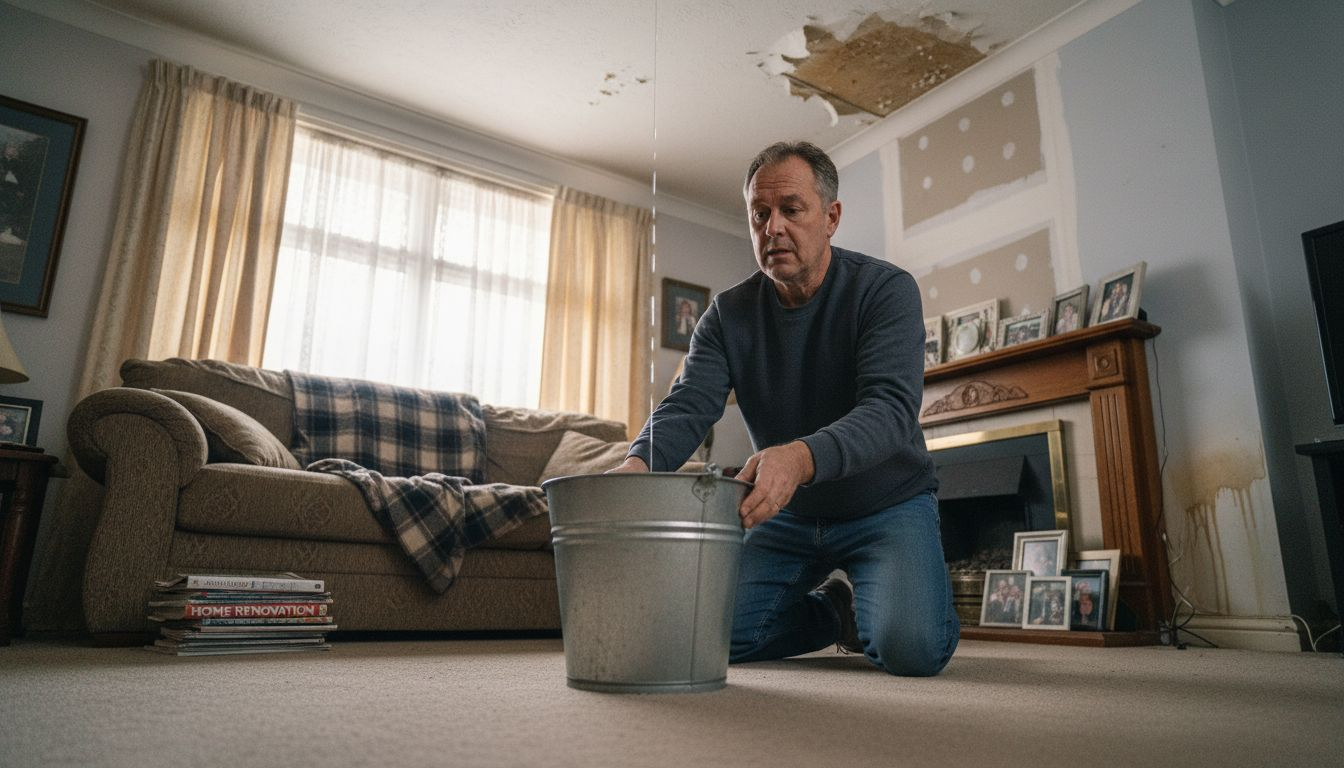
Learning how to accurately identify the sources of roof leaks is crucial for preventing extensive water damage to your home. This assessment requires methodical observation and strategic testing techniques that help pinpoint exactly where water is entering your roof structure.
Begin your leak investigation by carefully examining your interior ceiling and attic spaces for telltale signs of water intrusion. Look for discolored patches, water stains, mold growth, or soft spots in the drywall that indicate moisture penetration. These visual clues often trace back to specific roof membrane vulnerabilities that need immediate attention.
For a more systematic approach, professional roofing integrity testing recommends using calibrated water spray methods to simulate realistic rain conditions. Start by targeting areas directly above interior water stains using a garden hose with a controlled spray. Work systematically from lower elevations upward, allowing several minutes of water application to help reveal potential leak pathways. Watch carefully for water seepage inside your home during this process. Pay special attention to common problem areas like roof valleys, flashing around chimneys, vents, and skylights where water tends to collect or penetrate.
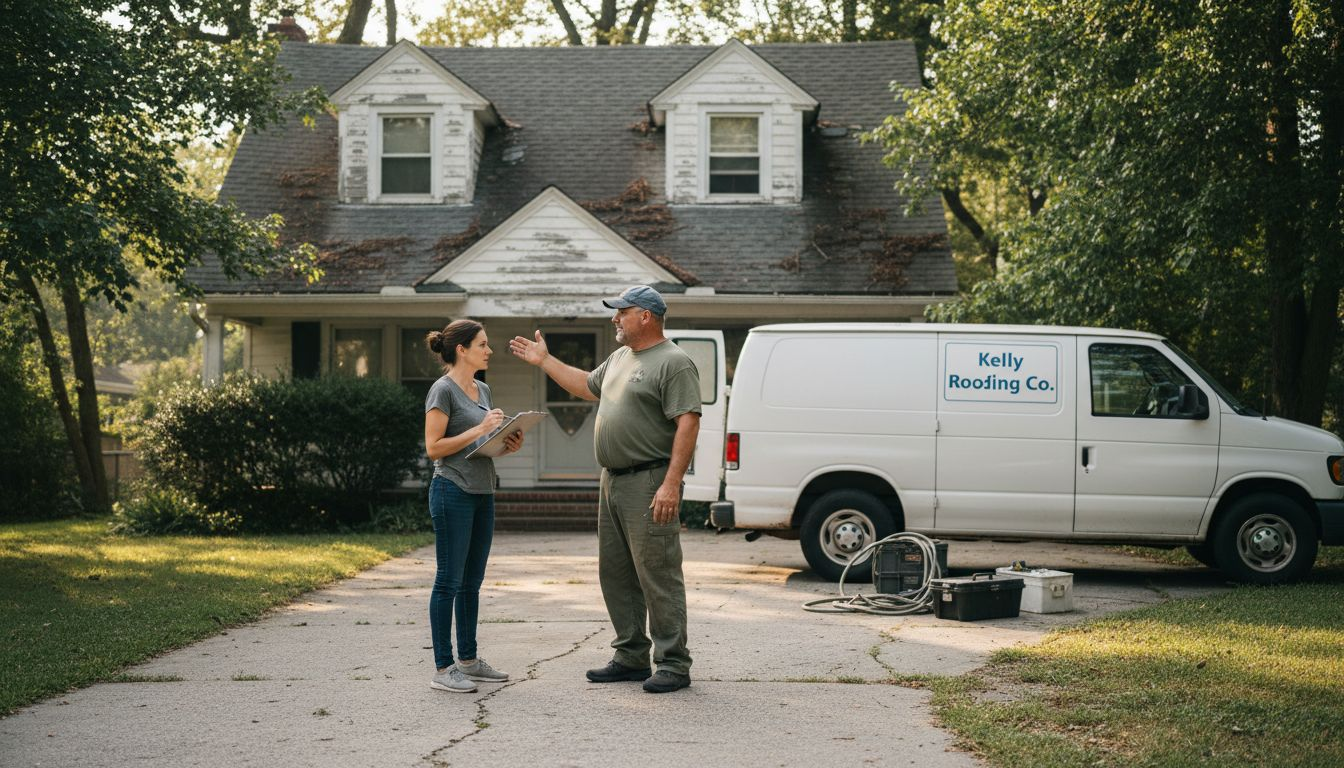
Warning: Always prioritize safety during leak assessment. If your roof pitch is steep or you are uncomfortable with heights, consider hiring a professional roofing inspector who can perform a comprehensive evaluation without risking personal injury.
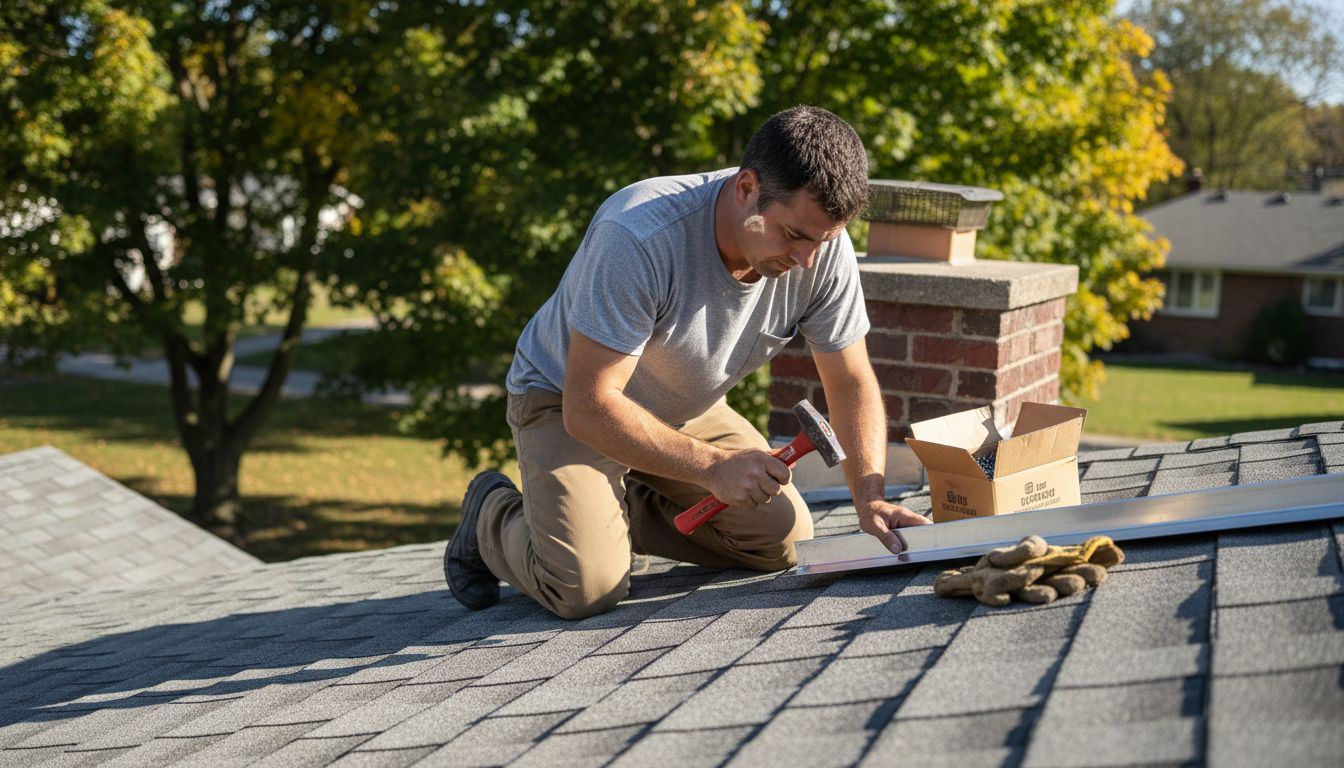
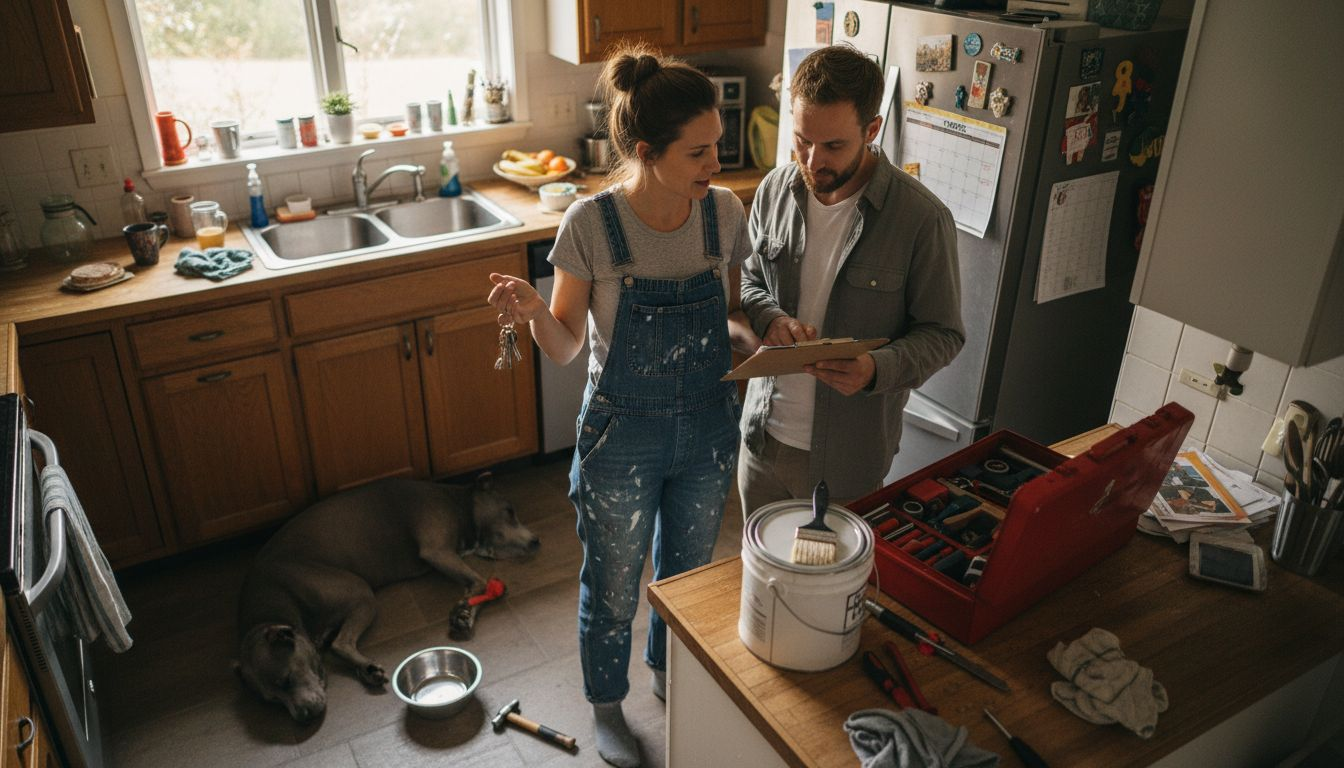
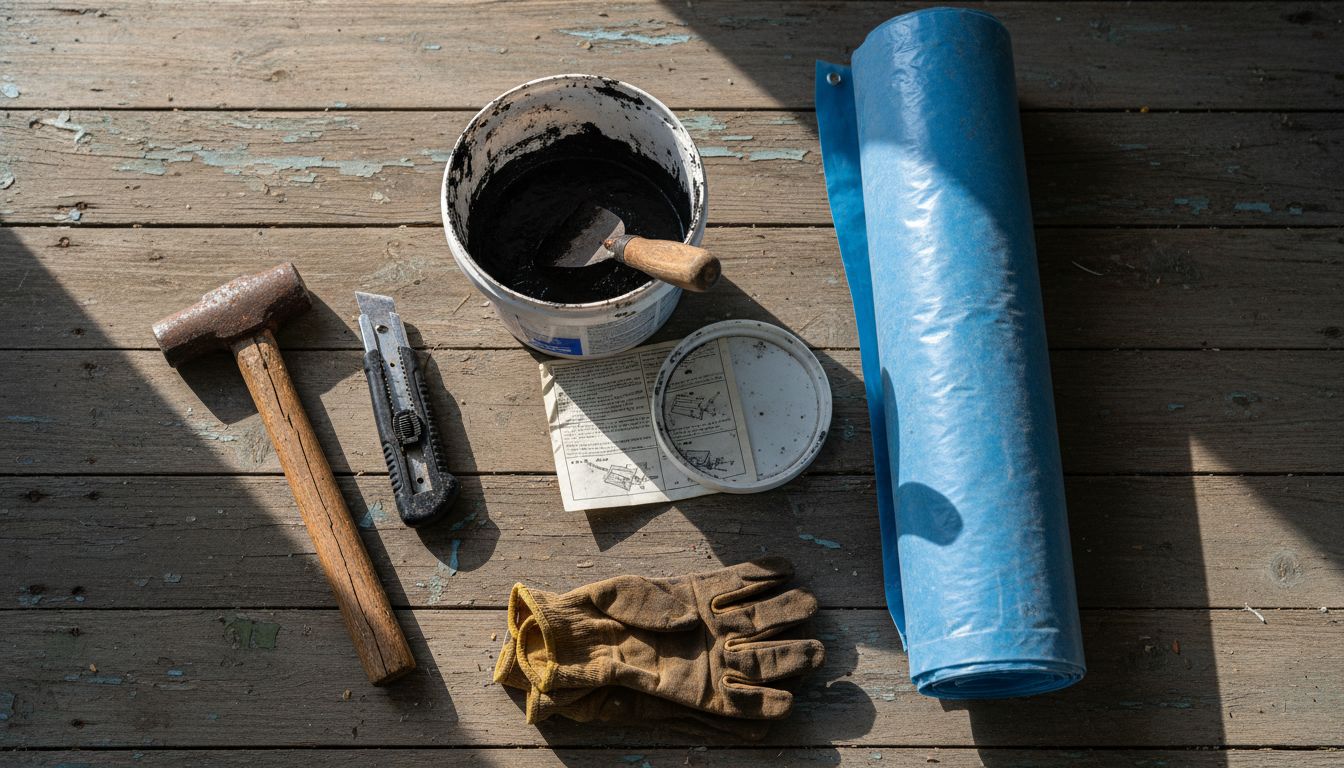
Step 2: Gather Essential Repair Tools
Preparing the right tools and materials is crucial for successfully addressing roof leaks and preventing further water damage to your home. A well equipped repair kit will help you tackle temporary patches and minor repairs efficiently and safely.
Your basic repair kit should include temporary roof covering materials such as heavy duty plastic sheeting, wooden boards, waterproof tarps, and industrial strength duct tape. These items allow you to quickly secure damaged areas and prevent water from entering your home. Additional essential tools include a sturdy ladder, work gloves, safety glasses, roofing cement, fiberglass mesh, a putty knife, wire brush, caulking gun, and a utility knife. Roof repair techniques require precise application of materials like roofing cement and reinforcing mesh for effective temporary sealing.
Warning: Always prioritize personal safety when gathering roof repair equipment. Ensure your ladder is stable, wear non slip shoes, and avoid working on wet or steep roof surfaces. If you are uncomfortable with heights or lack proper safety equipment, consider hiring a professional roofing contractor to complete the repairs.
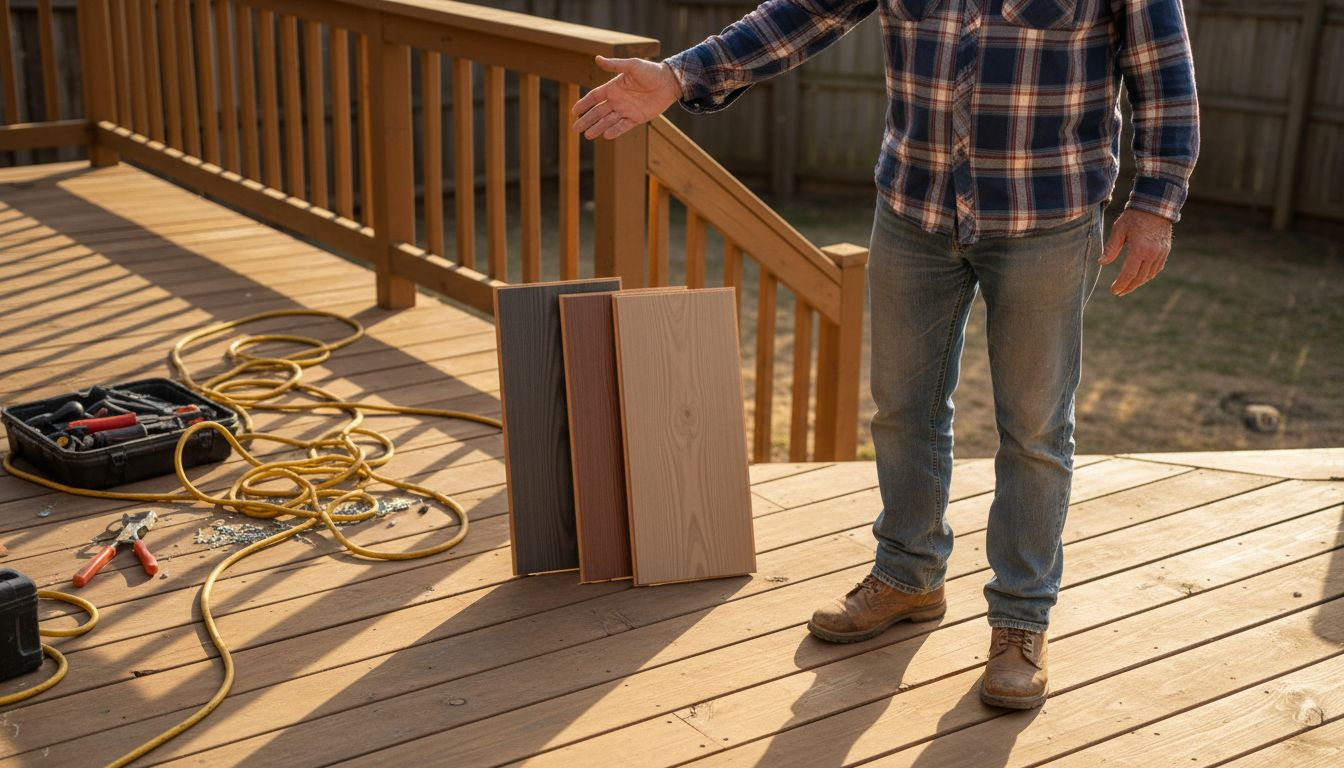
Step 3: Prepare and Secure Work Area
Before beginning any roof repair, creating a safe and organized workspace is essential to protect both yourself and your property from potential damage. This crucial preparation step helps minimize risks and ensures a smoother repair process.
Start by carefully setting up your ladder with secure footing on level ground, ensuring it is positioned at the correct angle and firmly supported against the house. Wear non slip shoes and use a ladder stabilizer if possible to prevent dangerous slips. Inside your home, move furniture and valuables away from the area directly beneath the leak and lay down protective drop cloths to catch any potential water or debris. Use a waterproof tarp to temporarily cover the damaged roof section, securing it with wooden boards to prevent additional water intrusion while you work.
Warning: Never attempt roof repairs alone. Always have a spotter or helper present to assist you and call for help if you encounter any unexpected challenges or feel unsafe. If the roof angle is steep or the damage seems extensive, it is always recommended to contact a professional roofing contractor who can safely and effectively address the repair.
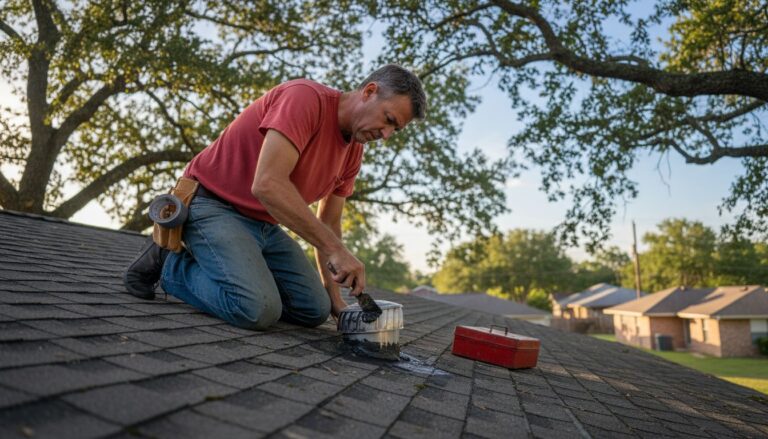
Step 4: Seal Damaged Areas Effectively
Sealing roof leaks requires precision and careful application of the right materials to prevent future water damage and ensure a long lasting repair. Your goal is to create a watertight barrier that protects your home from potential moisture intrusion.
Begin by thoroughly cleaning the damaged area using a wire brush to remove loose debris, dirt, and any existing damaged roofing material. For small shingle cracks or tears, apply a high quality roofing cement using a putty knife, spreading it evenly across the damaged section. Roof repair techniques typically involve embedding a piece of fiberglass mesh into the wet cement to provide additional reinforcement and strength. Press the mesh firmly into the cement, ensuring complete coverage and minimal air bubbles. Allow the repair to cure completely before testing its effectiveness.
Warning: Temporary patches are not permanent solutions. While these repairs can help prevent immediate water damage, you should plan for a professional roof inspection or full replacement as soon as possible. Roofing materials degrade over time, and what seems like a small leak could indicate more significant underlying structural issues that require expert attention.
Step 5: Inspect Repairs for Lasting Protection
After applying temporary roof repairs, thoroughly inspecting your work is crucial to ensure the effectiveness of your patch and prevent future water damage. A comprehensive review will help you identify any potential weaknesses in your repair and determine whether professional intervention is necessary.
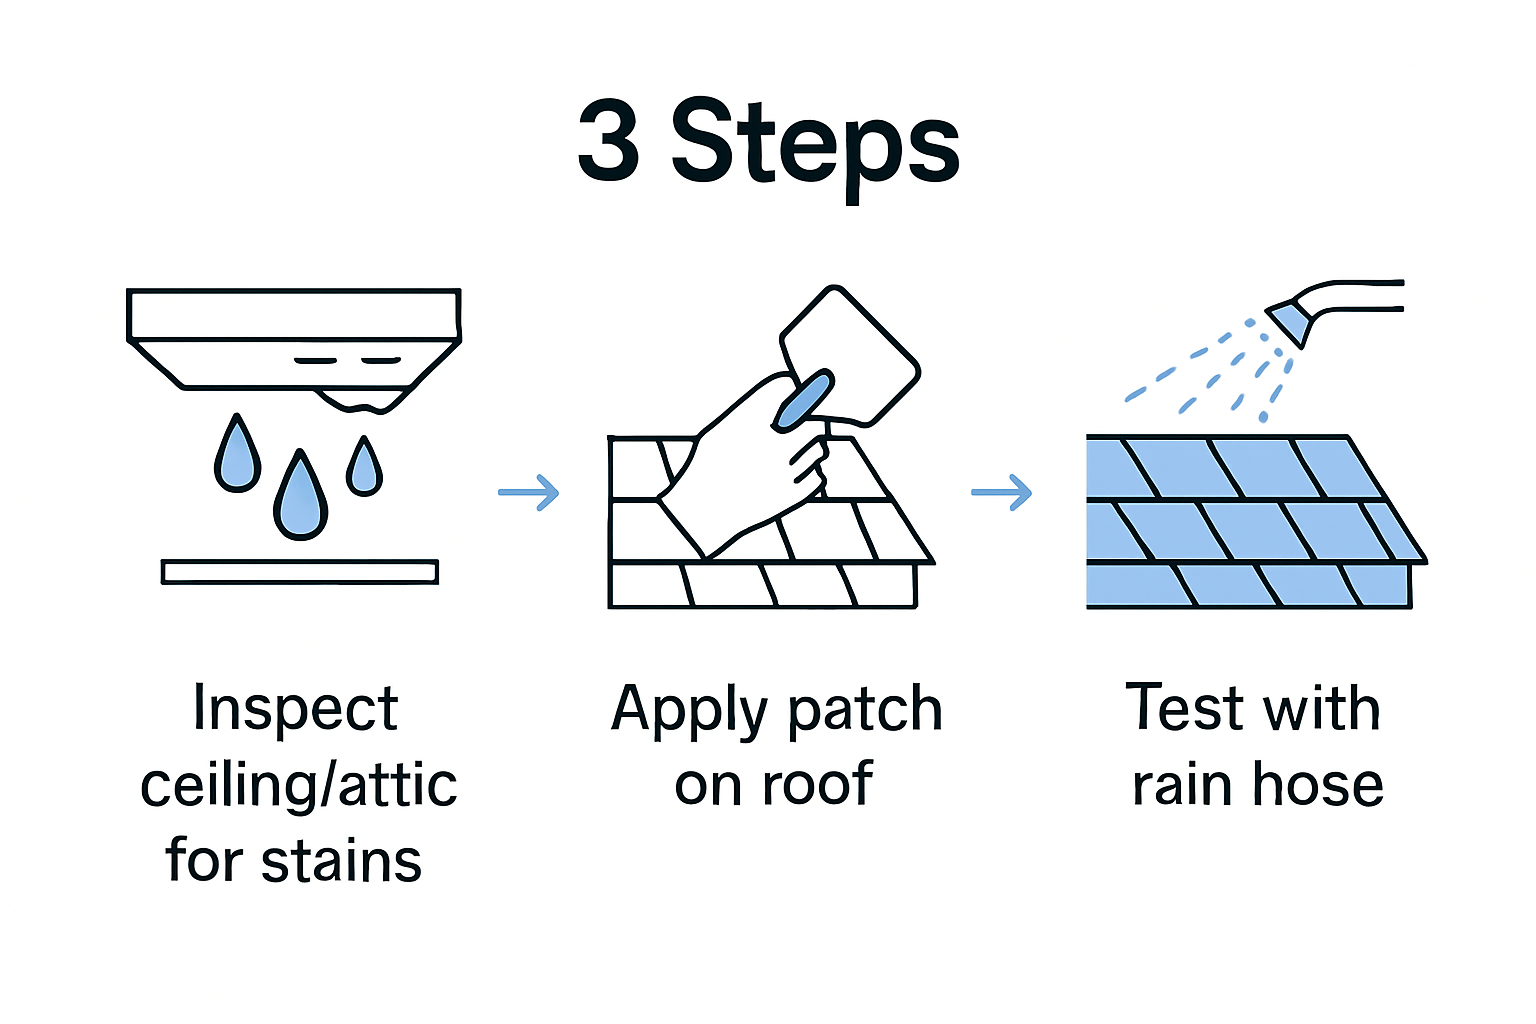
Begin by carefully examining the repaired area under different conditions. Wait for the next rainfall or use a garden hose to simulate rain and systematically check for any water penetration. Professional roof repair assessments recommend looking for signs of moisture inside your attic or ceiling, watching for water stains, mold growth, or soft spots that might indicate ongoing leakage. Pay close attention to the edges of your repair, ensuring the roofing cement and mesh are fully sealed and no gaps remain.
Warning: While DIY repairs can provide temporary relief, understanding the long term cost implications is critical. If you notice persistent leaking or extensive damage, it may be more economical to invest in professional roof replacement rather than repeatedly patching problematic areas. Professional roofers can provide a comprehensive solution that protects your home and potentially saves you money on future repairs.
Protect Your Home with Expert Roof Leak Repairs Today
Roof leaks can cause serious stress and damage to your home if not addressed properly. This guide on how to repair roof leaks emphasizes key steps like identifying leak sources, using the right materials, and performing careful sealing to prevent water intrusion and costly repairs. If you want to stop worrying about temporary fixes and ensure your roof’s long-term protection with professional care, expert help is just a click away.

Discover trusted roofing solutions tailored for Moncton homeowners by exploring our Roofing Archives. At J. A. Kelly Contracting Services, we combine quality craftsmanship with reliable service to keep your home safe and dry. Don’t wait until small leaks turn into bigger problems. Visit our Home Renovation Archives to learn how comprehensive repairs and upgrades can protect your entire property. Contact us now for a free estimate and professional inspection so you can regain peace of mind without delay.
Frequently Asked Questions
How can I identify the source of a roof leak?
To identify the source of a roof leak, start by checking your interior ceilings and attic for water stains, mold, or soft spots. Use a garden hose to simulate rain, targeting areas above any signs of water intrusion to see if it leads to further leaks inside your home.
What tools do I need for repairing roof leaks?
You will need a basic repair kit that includes heavy-duty plastic sheeting, roofing cement, a putty knife, and safety equipment like gloves and safety glasses. Gather these materials before starting repairs to ensure you can effectively address the leak as soon as possible.
How should I prepare my work area for roof repairs?
Before repairing your roof, ensure your ladder is stable and positioned correctly. Clear the area beneath the leak, moving furniture away and laying down drop cloths to protect against potential debris or water damage during the repair.
What materials should I use to seal a roof leak?
Use high-quality roofing cement and fiberglass mesh to seal small cracks or tears effectively. Apply the cement evenly, then embed the mesh into the wet cement for added strength, ensuring it cures properly to create a watertight barrier.
How can I check if my roof repair is successful?
To check if your roof repair is successful, inspect the repaired area after rain or simulate rain with a garden hose. Look for any signs of leaking, such as water stains or mold, and ensure the edges of your repair are fully sealed with no visible gaps.
When should I consider hiring a professional for roof repairs?
If you notice persistent leaking, extensive damage, or if you’re uncomfortable working at heights, consider hiring a professional. A professional can conduct a comprehensive inspection and provide a long-lasting solution to prevent further issues.
Recommended
- Roof Repair Guide: Step-by-Step Fixes for Homeowners – J. A. Kelly Contracting Services
- Roofing Installation Guide: Step-By-Step for Homeowners – J. A. Kelly Contracting Services
- 7 Essential Roofing Maintenance Tips Every Homeowner Should Know – J. A. Kelly Contracting Services
- Timely Roof Repairs: Complete Guide for Homeowners – J. A. Kelly Contracting Services