


Planning a deck project in Moncton means juggling dreams of summer barbecues with the reality of climate challenges and local bylaws. Each step, from site assessment to final inspections, plays a major role in protecting your investment and keeping your outdoor space safe for years to come. Whether you want DIY control or a contractor’s expertise, understanding building quality standards and smart material choices sets your project up for lasting success.
Table of Contents
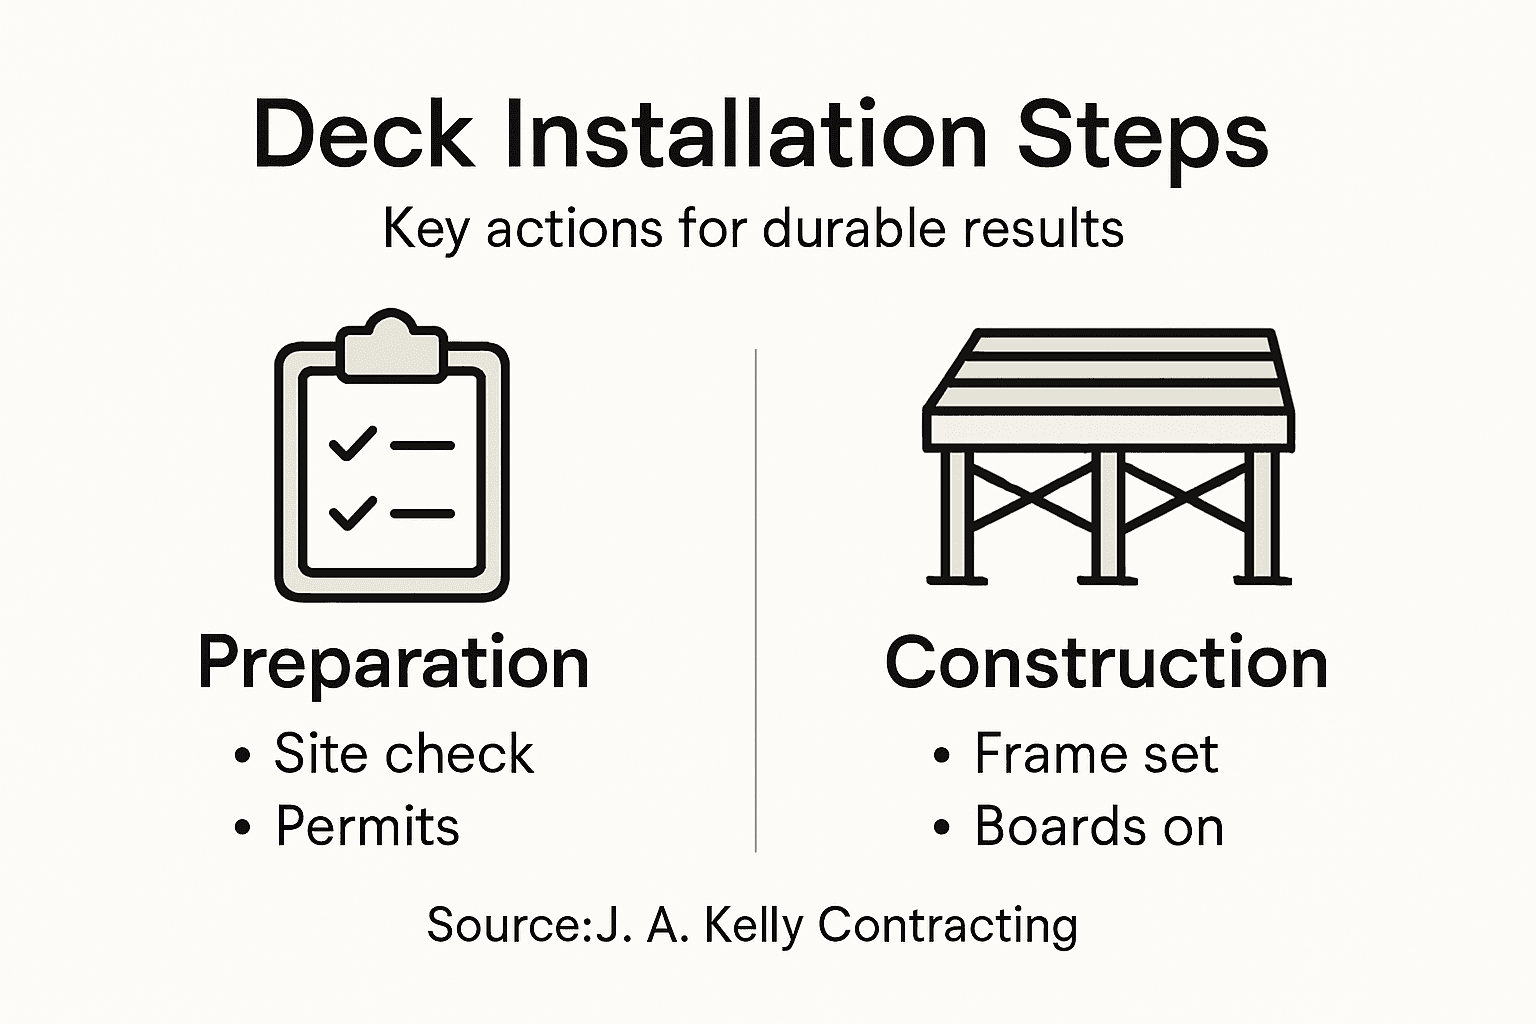
- Step 1: Assess Site and Secure Permits
- Step 2: Plan and Prep Foundation Materials
- Step 3: Install Posts and Support Framing
- Step 4: Attach Deck Boards and Fascia
- Step 5: Verify Stability and Finalize Details
Quick Summary
| Key Point | Explanation |
|---|---|
| 1. Assess your site before construction | Understand site conditions and municipal requirements to prevent future issues. This includes checking for permits, soil conditions, and water drainage. |
| 2. Use high-quality foundation materials | Choose durable materials that withstand local climate challenges. High-strength concrete and pressure-treated lumber are essential for stability and longevity. |
| 3. Verify post and beam installation | Ensure posts are vertical and beams are properly connected to prevent structural issues. Every placement affects deck performance significantly. |
| 4. Maintain spacing for deck boards | Properly space deck boards for seasonal expansion and contraction. This protects against buckling and allows for water drainage underneath. |
| 5. Conduct a thorough final inspection | Inspect all components for secure attachments and stability before use. Address any issues to ensure safety and enhance deck longevity. |
Step 1: Assess Site and Secure Permits
Before you drive a single nail or mark a layout line, you need to understand what your land allows and what your municipality requires. Assessing your site and securing the right permits isn’t just bureaucratic busywork, it’s the foundation that protects your investment and keeps your project legal. This step determines everything from setback distances to drainage considerations and ensures your deck won’t create problems with neighbors or municipal inspectors.
Start by examining your property’s physical characteristics. Walk your yard and note the slope, soil conditions, existing structures, and how water flows during rain. Check for underground utilities by contacting your local utility locator service, it’s typically free and takes a few days. Document tree locations, sun exposure patterns, and any drainage issues you’ve noticed. For Moncton properties, pay special attention to moisture conditions since our maritime climate means freeze thaw cycles can be brutal on deck foundations if you’re not careful.
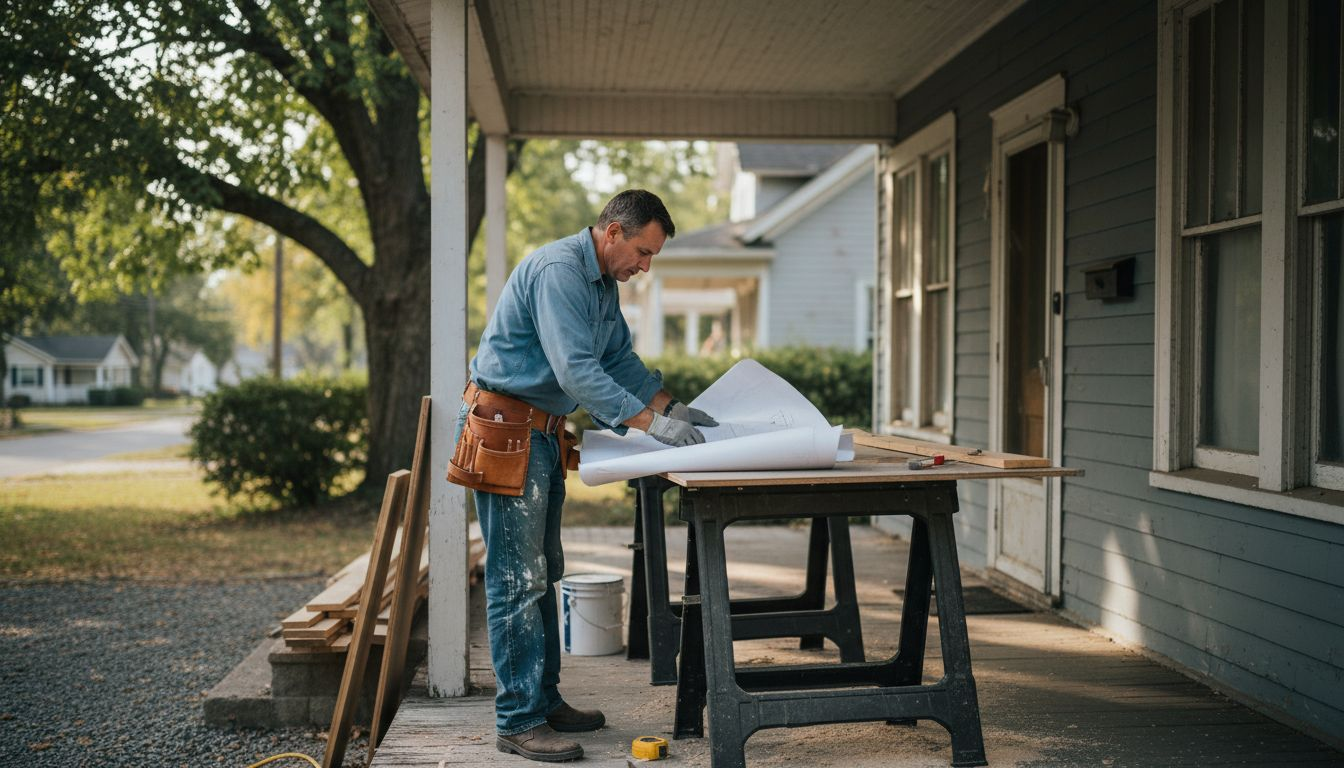
Next, contact Moncton’s planning and development department to understand permit requirements for your deck project. Most residential decks require building permits, though smaller platforms sometimes fall under simplified approval processes. You’ll need to provide property surveys showing setbacks from property lines, which typically range from 10 to 25 feet depending on your zone. The municipality will also clarify whether construction projects require compliance with specific building quality standards based on size, height, and location on your property.
Gather the documentation your municipality requires, usually including your property deed, plot plans showing the proposed deck location, design specifications with dimensions and materials, and details about soil conditions and drainage. Some jurisdictions request professional site assessments if your property slopes significantly or has wet soil. Submit your permit application well before you plan to start work, it typically takes 10 to 20 business days for approval in most New Brunswick municipalities.
Use this summary for a quick permit application checklist:
| Required Document | Purpose | Common Issue If Missing |
|---|---|---|
| Property deed | Confirms ownership | Permit denial |
| Plot plans | Shows layout, setbacks, boundaries | Application delays |
| Design specifications | Details dimensions, materials | Incorrect permit assumptions |
| Soil/drainage details | Ensures safe foundation specs | Inspector rejections |
| Site assessment | Identifies soil load & water issues | Foundation failure risk |
Once approved, keep your permit visible on site throughout construction and expect possible inspections at foundation, framing, and completion stages. These inspections verify your work meets local codes and protects both your property value and your safety.
Pro tip: Request your completed site assessment from the municipality to understand soil bearing capacity and drainage patterns, this information guides your foundation depth and material choices better than any guesswork.
Step 2: Plan and Prep Foundation Materials
Your deck’s durability hinges entirely on what happens below the surface. Planning and prepping foundation materials means selecting the right concrete, lumber, and drainage components before you ever break ground. Getting this step right prevents costly failures, settling, and structural problems that plague decks built with shortcuts.
Start by gathering the materials your foundation requires. You’ll need high-strength concrete for footings, gravel for drainage and base preparation, pressure-treated lumber for posts and framing, and reinforcing steel rebar if your design calls for it. For Moncton’s climate, choosing weather-resistant materials is non-negotiable since our freeze-thaw cycles are aggressive on inadequate materials. Calculate exact quantities based on your footing depth, post spacing, and joist layout before ordering anything.
Your foundation depth depends on local frost lines. In New Brunswick, frost typically penetrates 48 to 60 inches below grade, meaning your footings must extend below this depth to prevent frost heave. Dig your footing holes accordingly and inspect the soil as you go. Clay and silt drain poorly, so add perforated drainage pipes and gravel beds to redirect water away from footings. Understanding proper concrete footing construction ensures your posts sit on stable, well-drained bases that won’t shift.
Assemble your foundation materials in logical stages. Stage one includes concrete mixer, forms for shaping footings, shovels, levels, and safety gear. Stage two involves pressure-treated posts, rim joists, and field-installed hardware. Inspect all lumber for straightness, splits, and rot before accepting delivery. Concrete should be mixed to proper consistency, neither soupy nor crumbly.
Here’s how common deck foundation materials compare for a climate like Moncton’s:
| Material Type | Durability | Weather Resistance | Typical Use |
|---|---|---|---|
| Pressure-treated lumber | High, long lasting | Resists rot, handles moisture | Posts, beams, joists |
| High-strength concrete | Extremely durable | Withstands freeze-thaw cycles | Footings and piers |
| Reinforcing steel rebar | Adds strength | Corrosion-resistant with coating | Reinforcement in concrete |
| Gravel base | Moderate | Aids water drainage | Under footings, drainage beds |
Before pouring or installing anything, double-check that joist spacing and support post placement match your building permit drawings exactly. Deviations from approved plans can trigger inspector rejections and costly rework.
Pro tip: Buy your concrete and materials 5 to 7 days before installation so you can inspect everything for defects and return problematic items before your work begins.
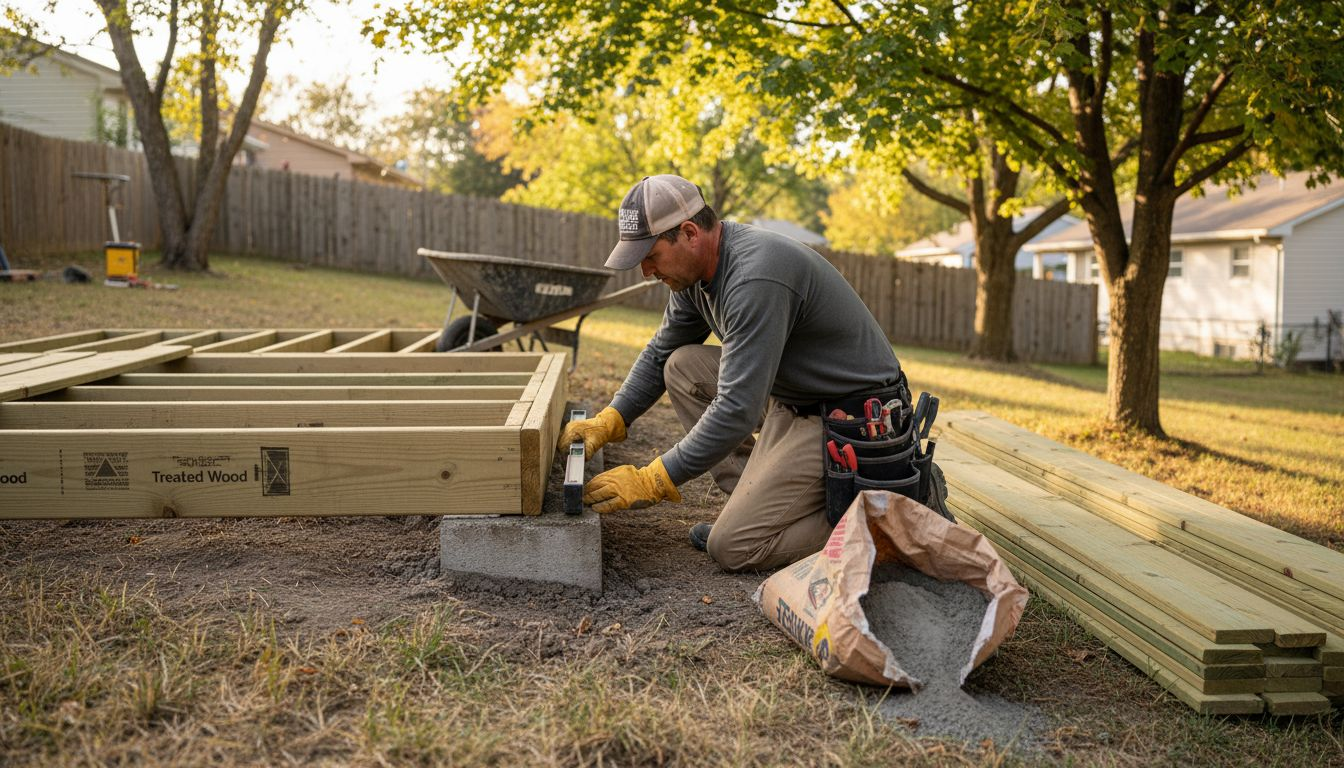
Step 3: Install Posts and Support Framing
With your footings cured and materials prepped, it’s time to build the skeleton that holds your entire deck. Installing posts and support framing transforms concrete holes into a rigid structure capable of supporting years of foot traffic and weather exposure. This stage requires precision because every post placement and beam connection directly affects how your deck performs.
Start by snapping chalk lines on your concrete footings to mark post centerlines. Use a level to verify your concrete surfaces are relatively flat, adjusting with shims if needed. Set your posts into metal connectors anchored to the concrete, these connectors keep posts from settling into the concrete and prevent water from pooling at the base. Brace each post plumb in both directions before securing hardware. Posts that lean even slightly compound problems as the deck ages.
Once posts are locked in place, install your main beams perpendicular to posts using bolted connections or beam hangers. Proper deck framing requires using beam span tables that account for your lumber size, wood species, and post spacing to ensure beams won’t sag. Most residential decks use doubled 2×10 or 2×12 beams depending on span distance. Double-check that all connections are secured with bolts or hardware specified in your permit plans.

Now attach your ledger board to the house if your design calls for it. This connection is critical for preventing water damage and structural separation. Use flashing under the ledger to direct water away from the house foundation and rim joist. Apply exterior-grade primer and sealant where the ledger meets your house, moisture intrusion here destroys framing quickly in our maritime climate.
Frame your joists perpendicular to beams using proper spacing, typically 16 inches on center for residential decks. Install blocking between joists to reduce bounce and reinforce the structure. Your deck should feel solid underfoot, not springy.
Pro tip: Use a pneumatic nailer for blocking installation, it’s faster than screws and creates tighter joints that won’t develop squeaks as wood shrinks over seasons.
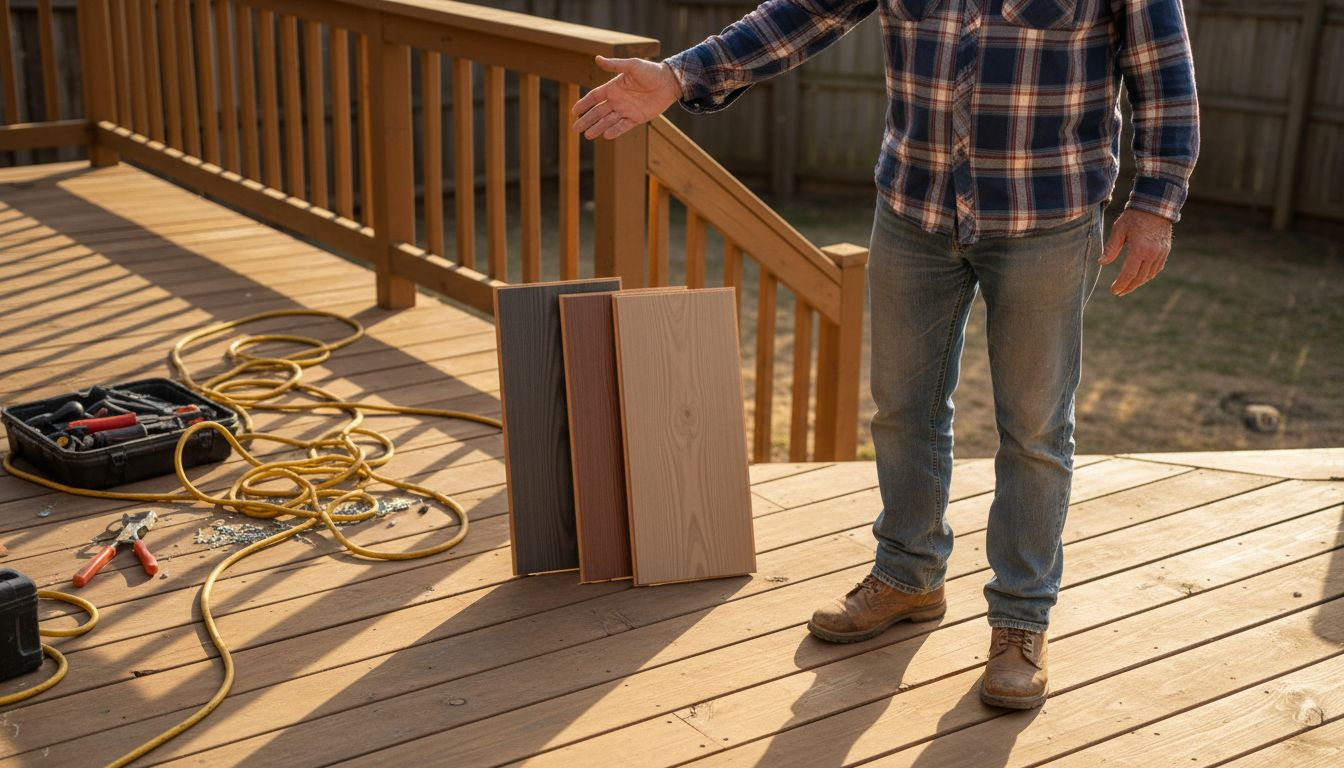
Step 4: Attach Deck Boards and Fascia
You’re now at the stage where your deck transforms from hidden structure into visible living space. Attaching deck boards and fascia creates the surface you’ll walk on and the finished appearance guests will notice first. This step demands attention to detail because poorly installed boards lead to splinters, water damage, and an unpolished look that undermines all your earlier work.
Begin by laying out your deck boards in the pattern specified in your design. For most Moncton decks, straight boards parallel to the house look classic and clean, though diagonal patterns work if you planned for them. Start from the house or ledger board and work outward, using spacers between boards to maintain consistent gaps for expansion and contraction. Wood swells and shrinks with seasonal moisture changes, and those gaps prevent boards from buckling.
Fasten each board using approved fasteners designed for your material type. If you’re using pressure-treated lumber, stainless steel or exterior-grade screws resist corrosion better than nails in our maritime climate. Drive fasteners at an angle slightly away from the board center to reduce splitting. Space fasteners typically 8 to 12 inches apart along each joist for solid holding power without over-fastening. Proper deck fascia installation protects edges while allowing airflow that prevents moisture from trapping underneath.
Once boards are down, install your fascia boards to conceal joists and rim boards. Trim any irregular joist edges flush before installing fascia for a smooth, professional appearance. Attach fascia using approved fasteners with proper spacing gaps built in for seasonal movement. Fascia boards take significant weather exposure on your deck’s front face, so ensure every connection is secure and sealed properly.
Stand back and inspect your work. Boards should be flush with each other, properly spaced, and fastened securely with no squeaking when you walk on them.
Pro tip: Pre-drill screw holes in fascia boards to prevent splitting, especially near edges, and you’ll get a cleaner installation with zero cracking.
Step 5: Verify Stability and Finalize Details
Your deck is nearly complete, but rushing through final verification invites problems that could have been caught and corrected. Verifying stability and finalizing details means conducting a thorough inspection of every component before you invite family and friends to enjoy the space. This step catches hidden issues and ensures your investment will deliver years of safe, trouble-free performance.
Start by walking the entire deck surface, feeling for soft spots or movement that suggests loose connections or inadequate support. Bounce gently on different areas to test for excessive flex. A solid deck should feel rock-solid underfoot, not springy or spongy. Check every fastener you can see, looking for corrosion, rust stains, or loose screws that need tightening. Pay special attention to the ledger connection where the deck attaches to your house, this joint experiences the most stress and failure here creates dangerous situations.
Inspect structural components systematically. Deck evaluation checklists should verify secure attachments on all posts, beams, and ledger connections while confirming no rot, rust, or water damage is present. Look underneath for standing water, poor drainage, or soil erosion around footings. Check that all posts sit firmly on concrete piers without settling or movement. In our Moncton climate, moisture problems develop quickly if drainage isn’t working properly.
Verify handrails are present where required and test their stability by applying firm downward pressure. Check stair treads for proper spacing and secure attachment. Confirm deck boards are firmly fastened with no nails backing out or screws protruding. Final inspections should confirm footings are stable and all joist spacing meets local code requirements.
Apply your final protective sealant if your design calls for it. This step locks in color, protects wood from UV damage and moisture, and extends your deck’s lifespan considerably. Allow adequate drying time before using the deck.
Pro tip: Take detailed photos during final inspection and keep them with your permit documents, they become invaluable if insurance questions arise or you need to prove maintenance for warranty claims.
Build Your Dream Deck with Confidence and Expert Support
Building a durable deck involves mastering critical steps like securing permits, selecting weather-resistant materials, and precise framing to withstand Moncton’s challenging climate. If you want to avoid common pitfalls such as frost heave, water damage, or structural instability highlighted in the guide, professional expertise is essential. Whether you need help navigating local building codes or ensuring every post and joist meets strict quality standards, trusted guidance makes all the difference.
Discover how J. A. Kelly Contracting Services can simplify your deck installation with skilled craftsmanship and a commitment to quality that safeguards your investment. Explore our comprehensive Home Renovation Archives to see how we bring durable outdoor spaces to life and learn why so many Moncton homeowners trust us for reliable project delivery. Ready to turn your deck vision into reality the right way? Contact us today for a free consultation and start building your perfect outdoor space with confidence.
Frequently Asked Questions
What permits do I need for deck installation?
You typically need a building permit for deck installation, although smaller decks may have simplified approvals. Contact your local planning department to verify specific requirements and gather necessary documentation before applying.
How deep should deck footings be for stability?
Deck footings should extend below the frost line, which typically penetrates 48 to 60 inches below grade in many areas. Dig your footing holes accordingly to prevent frost heave and ensure a stable foundation.
What materials are best for a durable deck foundation?
High-strength concrete, pressure-treated lumber, and gravel are ideal for a durable deck foundation. Choose materials that resist moisture and suit your local climate conditions to extend the lifespan of your deck.
How can I ensure my deck boards are installed correctly?
To install deck boards correctly, maintain consistent spacing for expansion and contraction and secure each board with appropriate fasteners designed for your material type. Fastening should typically occur every 8 to 12 inches along each joist.
How often should I inspect my deck for safety and maintenance?
Inspect your deck at least once a year for any signs of instability, moisture damage, or loose fasteners. This proactive approach helps catch problems early and can prolong the life of your deck significantly.
What final steps should I take after installing my deck?
After installation, verify that all components are secure and that the deck meets appropriate safety standards. Apply a protective sealant if required and allow adequate drying time before using the deck.
Recommended
- Complete Guide to Roof Decking for Homeowners – J. A. Kelly Contracting Services
- What Is Deck Construction and Why It Matters – J. A. Kelly Contracting Services
- Deck Waterproofing: Protecting Your Outdoor Living Space – J. A. Kelly Contracting Services
- Transform Your Home with Custom Decks and Outdoor Spaces – J. A. Kelly Contracting Services
- Schaduwdoek Winddoorlatend HDPE voor Optimaal Comfort