


Tackling home repairs in Moncton can seem complicated when small problems pile up and budgets run thin. For Canadian homeowners aiming to increase property value and safeguard their investment, a clear plan is vital. By focusing on assessing your home’s condition and making smart choices about tools and materials, you set yourself up for manageable projects that deliver real results without costly surprises.
Table of Contents
- Step 1: Assess Repair Needs And Prioritize Projects
- Step 2: Gather Tools And Source Quality Materials
- Step 3: Secure Work Areas And Protect Surfaces
- Step 4: Follow Safe Work Practices And Begin Repairs
- Step 5: Inspect Completed Work And Clean Up
Quick Summary
| Key Point | Explanation |
|---|---|
| 1. Assess Your Home’s Needs First | Conduct a thorough inspection to identify repair needs across structural, safety, functional, and cosmetic categories. |
| 2. Prioritize Repairs Strategically | Evaluate repairs based on safety, potential damage, costs, and impact on functionality and value to determine urgency. |
| 3. Gather Essential Tools and Materials | Take inventory, create a checklist, and invest in quality tools and materials for efficient repair projects. |
| 4. Secure Your Work Area | Clear hazards, protect surfaces, and create safe boundaries to ensure efficient and accident-free repairs. |
| 5. Perform a Detailed Final Inspection | Carefully review completed work to check for structural integrity, functionality, and surface quality before cleanup. |
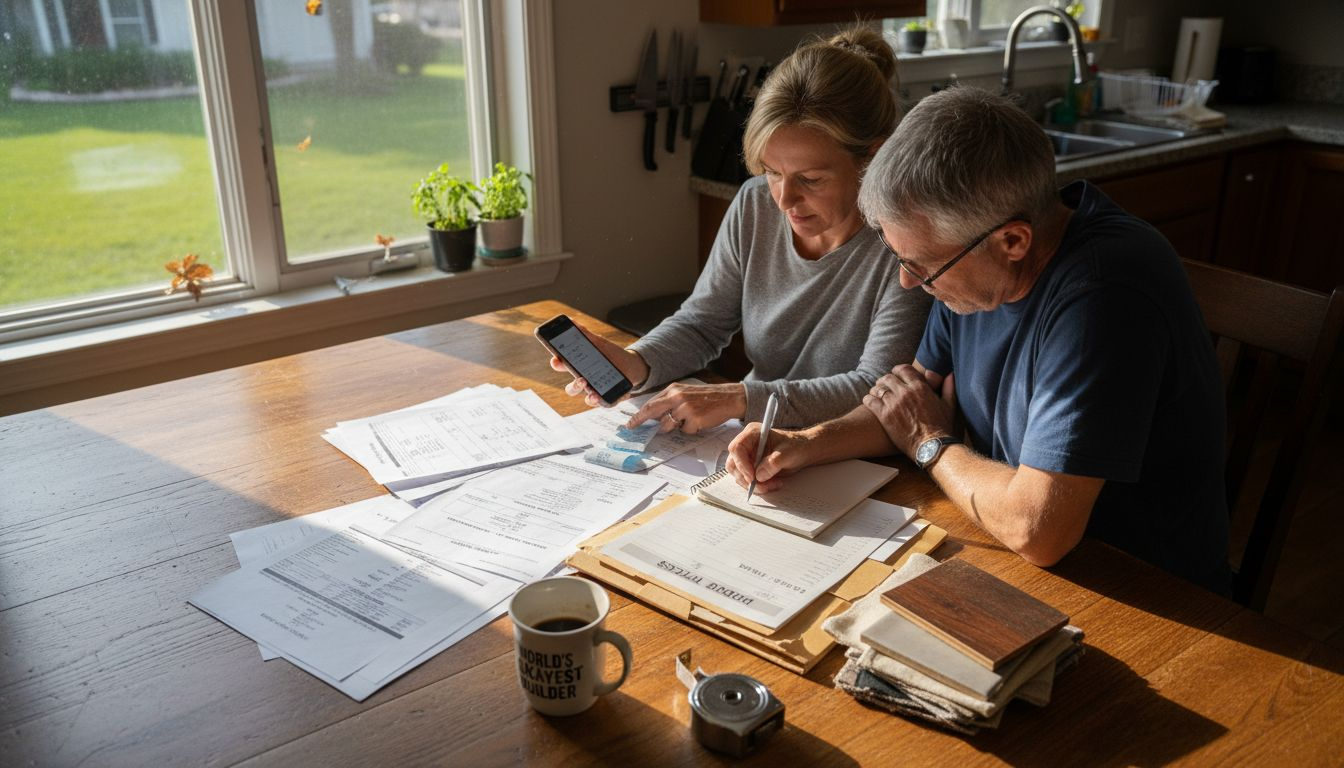
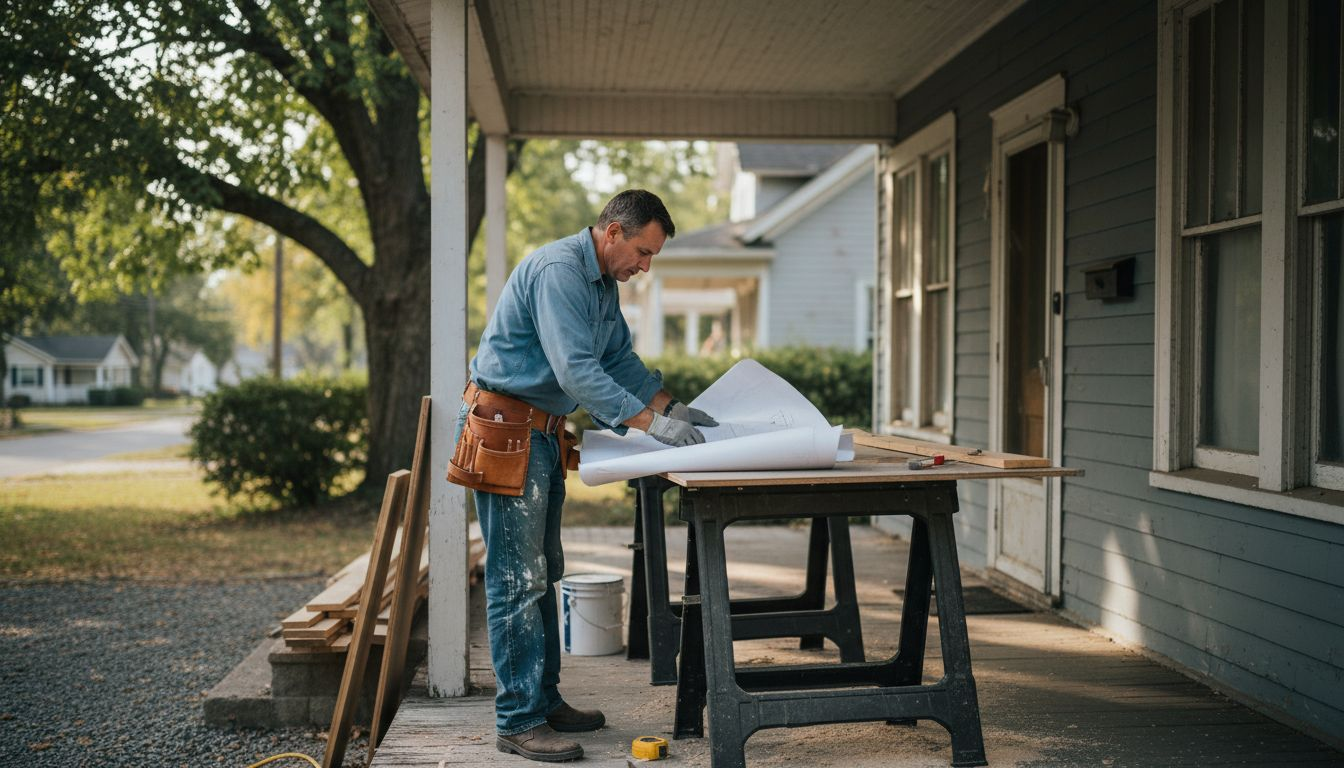
Step 1: Assess Repair Needs and Prioritize Projects
Home repairs can feel overwhelming, but a systematic approach helps you tackle projects efficiently and effectively. By carefully assessing your home’s current condition and strategically prioritizing repairs, you’ll save time, money, and prevent small issues from becoming major problems.
Start by conducting a comprehensive home inspection that covers every major system and structural element. Walk through each room and area of your property, taking detailed notes about potential repair needs. Focus on identifying issues across these critical categories:
- Structural integrity (foundation, walls, roof)
- Safety-related repairs
- Functional system maintenance (plumbing, electrical)
- Cosmetic improvements
When determining repair priorities, consider multiple factors. The home repair cost estimates nationwide highlight that strategic planning is crucial, especially given the significant financial investment required. Evaluate each potential project using these key criteria:
- Safety implications
- Potential for further damage if left unaddressed
- Cost of immediate repair versus long-term consequences
- Impact on home functionality and value
Prioritize repairs that protect your home’s structural integrity and prevent more expensive future damage.
By methodically assessing and prioritizing your home repair needs, you transform a potentially stressful process into a manageable, strategic plan. This approach ensures you address the most critical issues first while maintaining a realistic budget and timeline.
Here’s a quick comparison of ways to prioritize home repairs effectively:
| Prioritization Approach | Benefits | Possible Drawbacks |
|---|---|---|
| Safety-first | Reduces risk of accidents | May delay aesthetic upgrades |
| Cost-driven | Controls immediate expenses | Could overlook urgent issues |
| Value-improvement | Boosts home resale value | Usually requires investment |
| Damage prevention | Avoids future costly repairs | May increase upfront costs |
Pro tip: Create a spreadsheet to track potential repairs, estimated costs, and priority levels, helping you visualize and plan your home improvement strategy effectively.
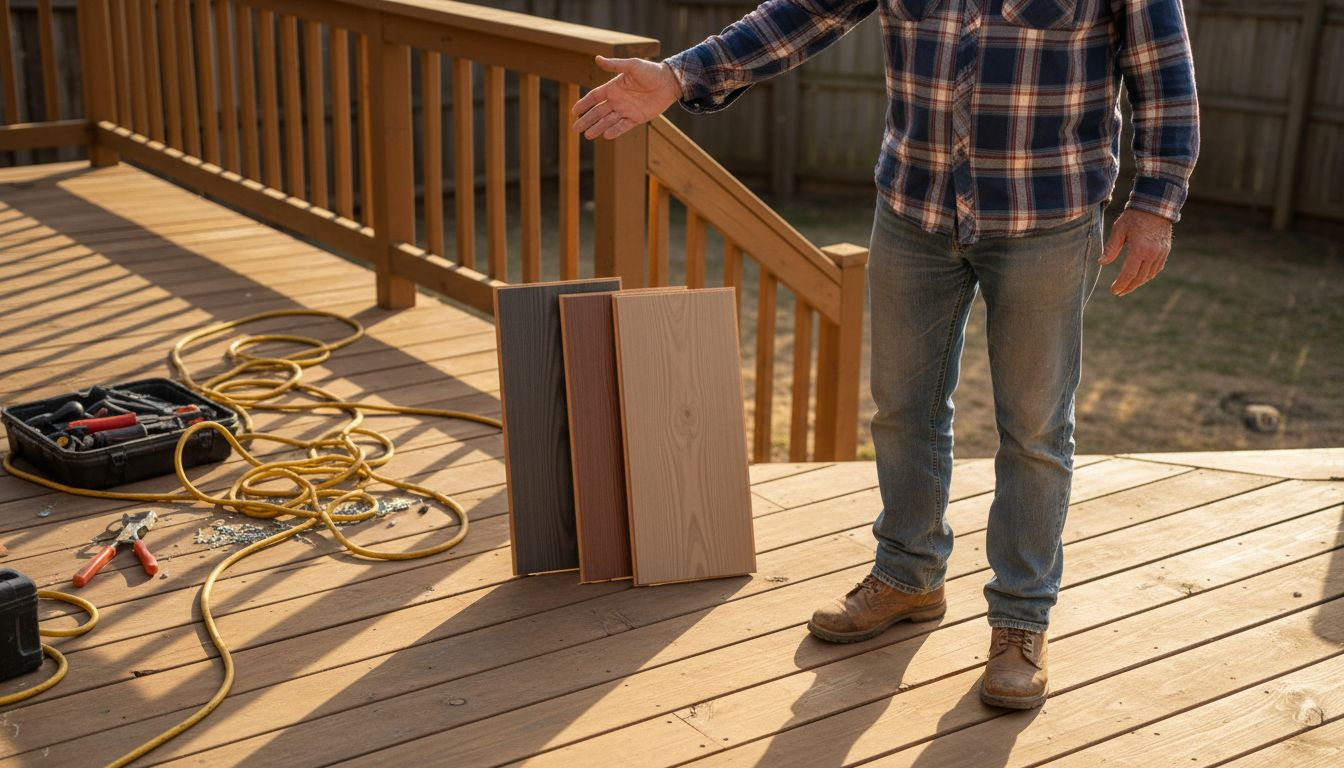
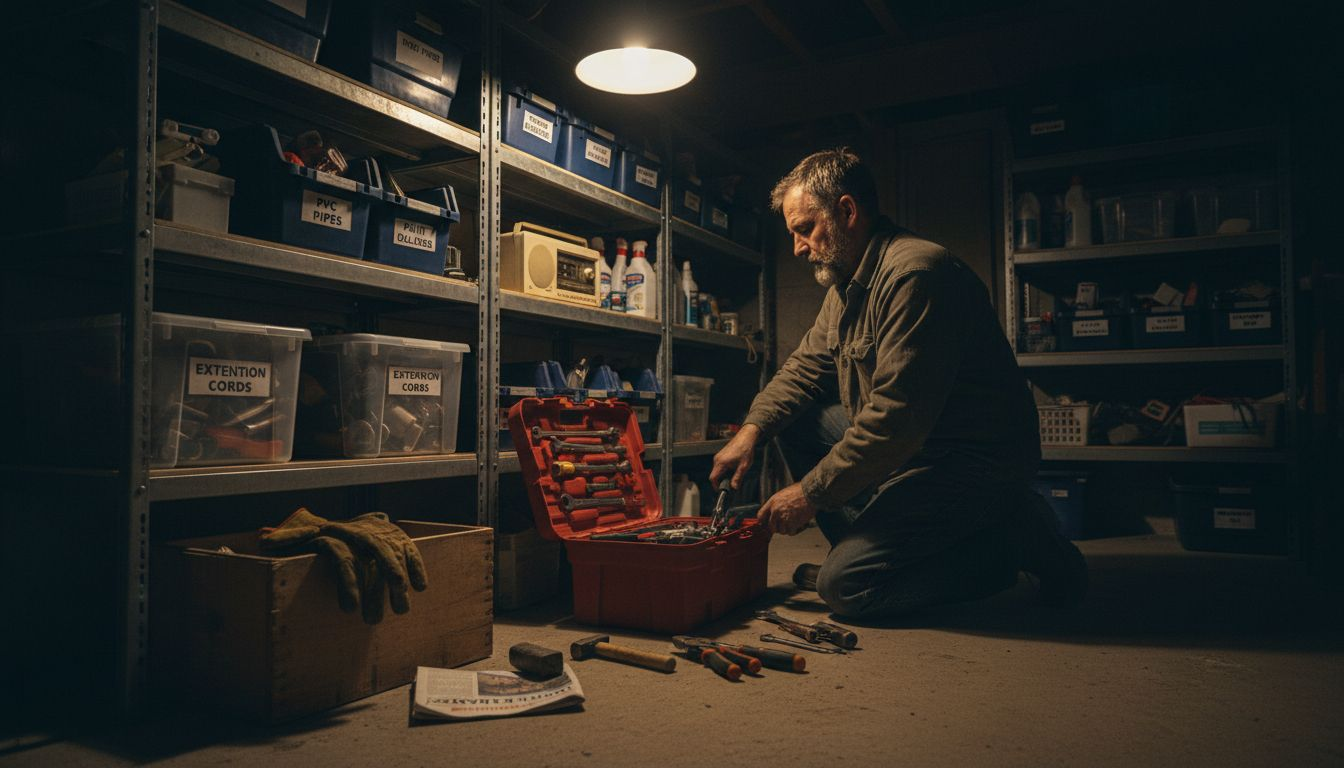
Step 2: Gather Tools and Source Quality Materials
Successful home repairs depend on having the right tools and materials at your disposal. Preparing your workspace and selecting high-quality supplies will make your repair projects smoother, more efficient, and ultimately more successful.
Begin by taking inventory of the tools you already own. Create a comprehensive checklist of basic repair tools every homeowner should have, including:
- Hammer
- Screwdriver set (Phillips and flathead)
- Adjustable wrench
- Tape measure
- Utility knife
- Level
- Pliers (needle-nose and adjustable)
- Safety gear (gloves, safety glasses)
For specialized tools, consider community repair resources that offer tool sharing and expert guidance. These collaborative spaces can help you access expensive or rarely used equipment without purchasing them outright. When sourcing materials, follow these key strategies:
- Research quality brands and materials
- Compare prices from multiple suppliers
- Check for compatibility with your specific repair project
- Consider durability and long-term performance
Invest in quality tools and materials – they’ll save you money and frustration in the long run.
Understand that different repair projects require specific tools and materials. Take time to research the exact specifications needed for your particular home improvement task. This careful preparation prevents unnecessary trips to the hardware store and reduces potential complications during the repair process.
Pro tip: Create a dedicated toolbox or storage area for your repair supplies, keeping everything organized and easily accessible for future projects.
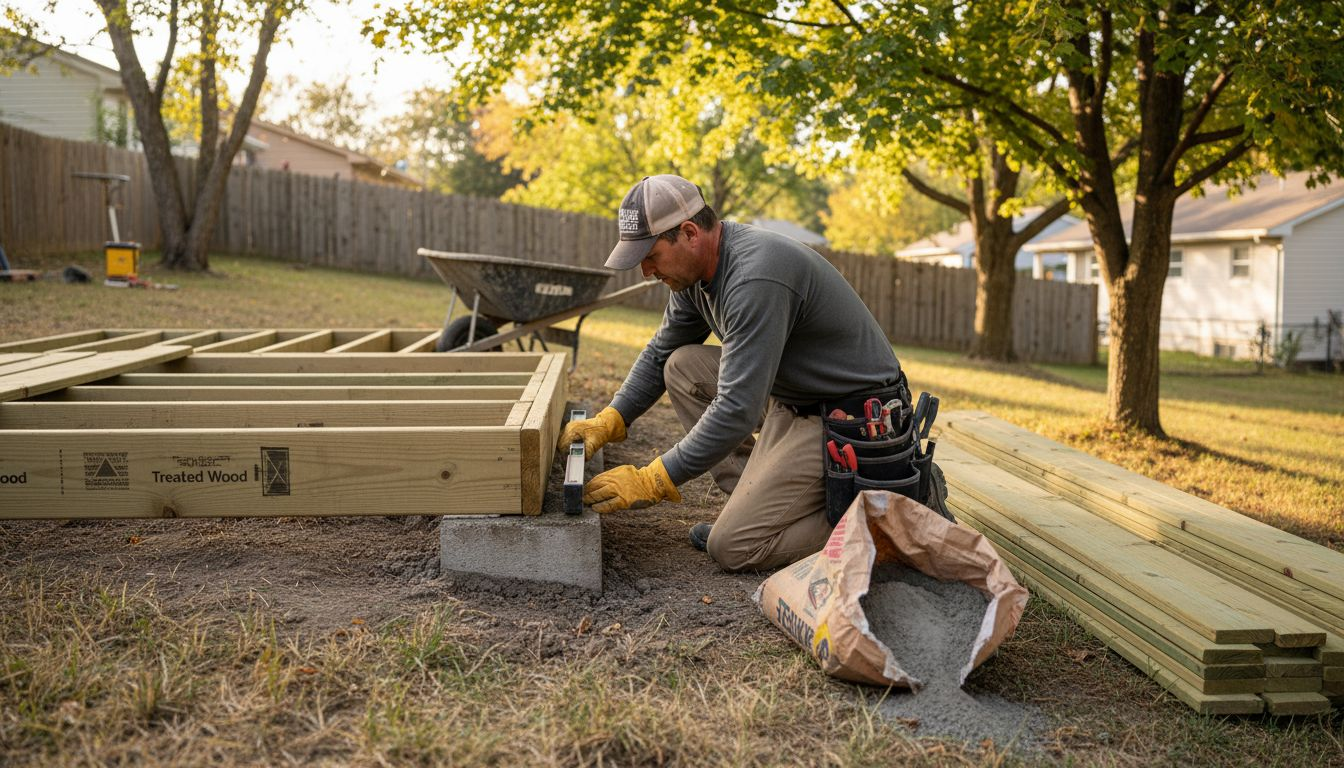
Step 3: Secure Work Areas and Protect Surfaces
Before diving into any home repair project, creating a safe and protected workspace is crucial for preventing accidents and minimizing potential damage. Proper preparation ensures both your personal safety and the preservation of your home’s surfaces during repair work.
Start by thoroughly clearing the work area and removing potential hazards. Follow these essential steps to secure your workspace:
- Remove furniture and movable objects
- Cover flooring with drop cloths or protective sheeting
- Set up temporary barriers to restrict access
- Ensure adequate lighting and ventilation
- Keep children and pets away from the work zone
Implement workplace safety guidelines that help minimize risks during home repairs. This includes establishing clear work boundaries and using appropriate protective equipment. When preparing your work area, focus on these key strategies:
- Create designated safe zones
- Use warning signs or tape to mark restricted areas
- Protect adjacent surfaces from potential damage
- Maintain clear paths for emergency exit
Safety isn’t just about protecting yourself – it’s about creating a controlled environment where repairs can happen efficiently and without unnecessary risks.
Pay special attention to potential slip, trip, and fall hazards. Remove loose rugs, electrical cords, and other obstacles that could cause accidents. Ensure your work surface is stable and level, using appropriate supports or platforms when necessary.
Pro tip: Take photographs of the area before starting repairs to help you remember the original configuration and make cleanup and restoration easier.
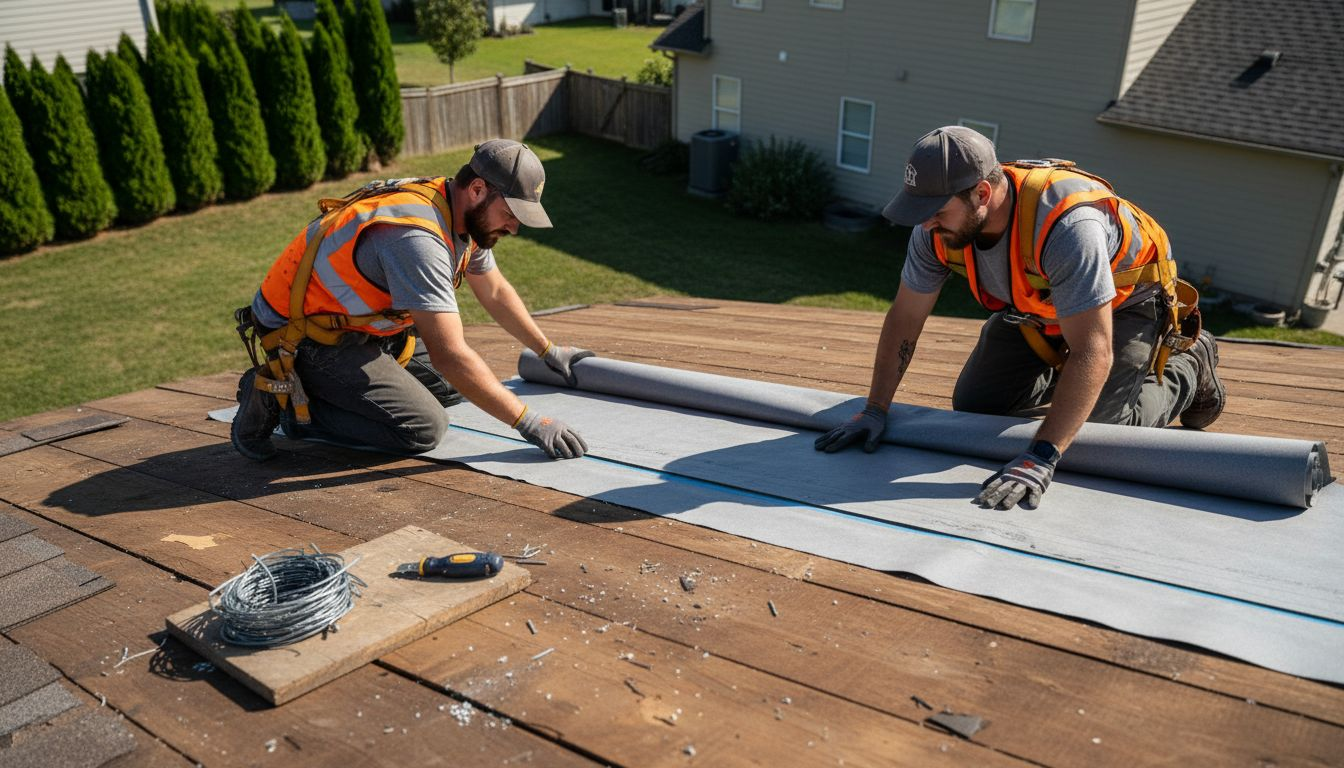
Step 4: Follow Safe Work Practices and Begin Repairs
With your workspace prepared, it’s time to transition from planning to action. Implementing proper safety protocols is critical before starting any home repair project, ensuring you protect yourself and achieve professional-quality results.
Begin by reviewing workplace safety guidelines that outline essential protective measures. Your safety preparation should include:
- Wearing appropriate personal protective equipment
- Checking tools for proper functioning
- Understanding specific repair procedure steps
- Maintaining a clean and organized workspace
- Keeping first aid supplies readily accessible
Prioritize your personal safety by following these key practices when beginning repairs:
- Read all equipment instructions carefully
- Double-check your protective gear
- Ensure proper ventilation
- Work at a comfortable, sustainable pace
- Take regular breaks to prevent fatigue
Safety is not an option – it’s a fundamental requirement for successful home repairs.
Carefully inspect your tools and materials before starting, confirming everything is in proper working condition. Approach each repair methodically, breaking complex tasks into manageable steps and never rushing through the process.
Pro tip: Keep a mobile phone nearby during repairs in case of emergencies, and consider having a helper or backup person who knows you’re working on a project.
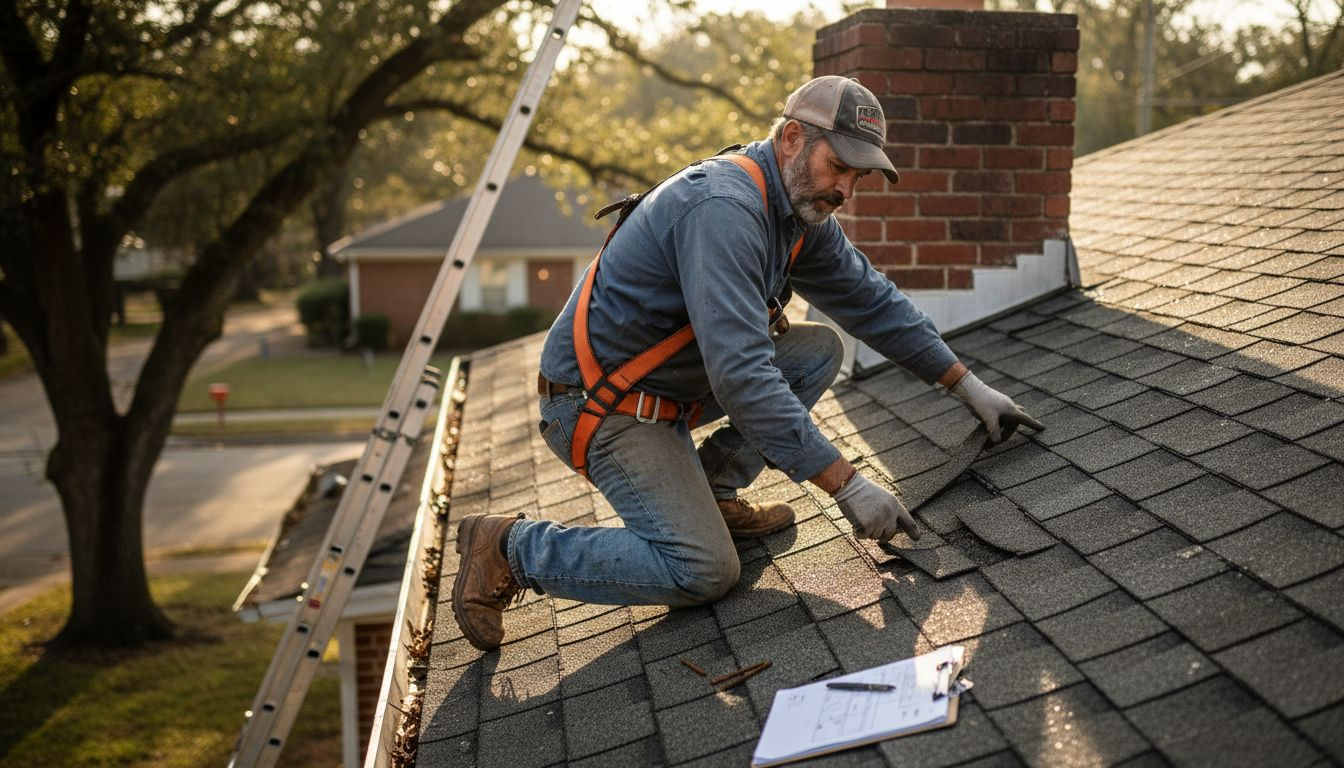
Step 5: Inspect Completed Work and Clean Up
The final stage of any home repair project requires careful inspection and thorough cleanup to ensure the highest quality results and long-term satisfaction with your work. Systematically reviewing your completed repairs guarantees that every detail meets your expectations and professional standards.
Utilize a comprehensive home inspection checklist to methodically evaluate your repair work. Your inspection should cover multiple critical areas:
- Structural integrity and alignment
- Functionality of repaired systems
- Surface quality and finish
- Proper sealing and connections
- Overall aesthetic appearance
Conduct a detailed walkthrough of the repaired area, checking each element with precision and patience. Follow these systematic inspection steps:
This summary highlights what to look for during your final inspection:
| Inspection Area | What to Verify | Long-term Impact |
|---|---|---|
| Structural alignment | Proper fit and stability | Prevents collapse |
| System operation | Smooth and safe functioning | Maintains comfort |
| Surface finish | No blemishes or irregularities | Looks professional |
| Connections and sealing | No gaps or leaks | Stops future damage |
- Test all mechanical and functional components
- Check for smooth operation of moving parts
- Verify alignment and proper installation
- Inspect surface finishes for uniformity
- Confirm no residual debris or installation marks remain
A meticulous inspection today prevents potential issues tomorrow.
After completing your detailed review, begin the cleanup process. Remove all protective coverings, dispose of waste materials responsibly, and return the workspace to its original condition. Organize your tools and store any leftover materials for future use.
Pro tip: Take photographs of the completed repair for your personal records and potential future reference, which can help track home maintenance history.
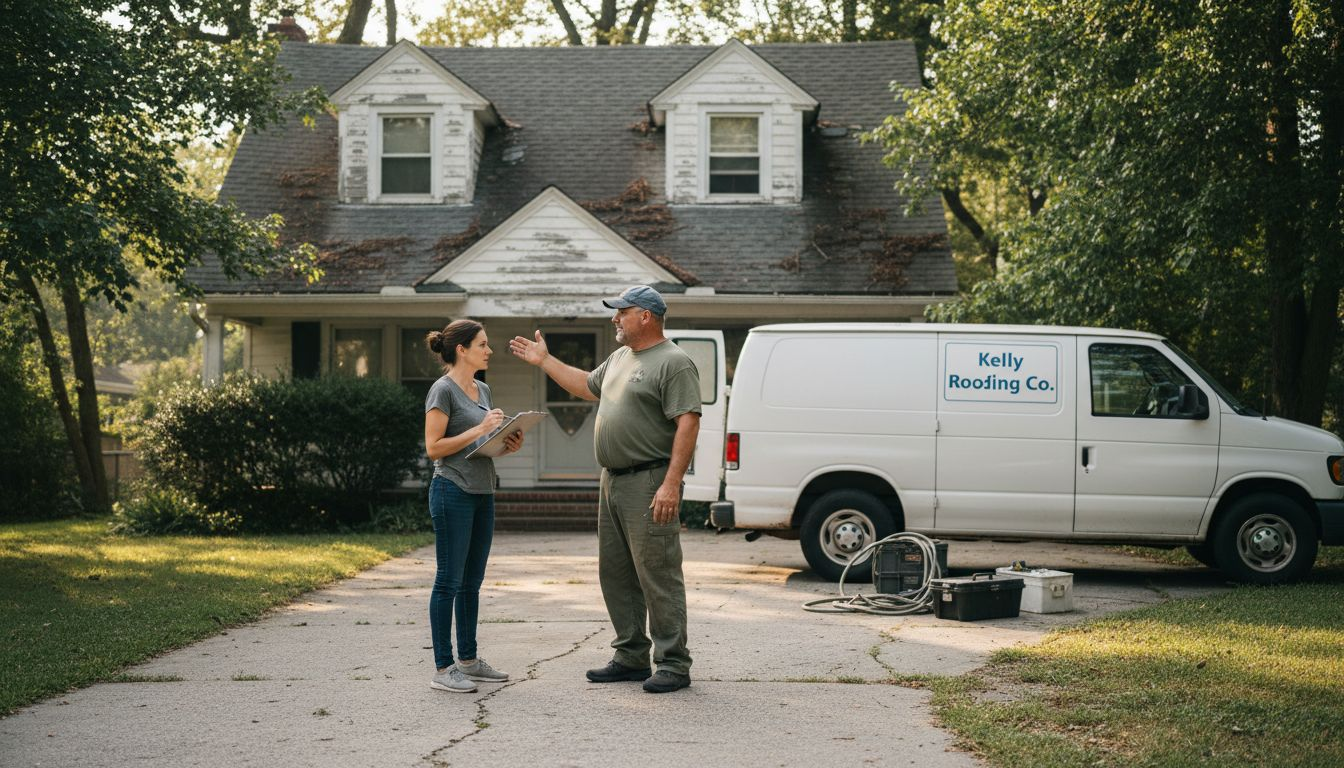
Take the Stress Out of Home Repairs with Expert Support
Preparing for home repairs means assessing needs carefully, prioritizing safety, and using the right tools for lasting results. If you feel overwhelmed by planning or worried about protecting your home during costly repairs, you are not alone. Many homeowners face challenges managing complex projects while ensuring every step meets high standards of quality and safety. This is where professional guidance and skilled craftsmanship make all the difference.

Discover trusted solutions with J. A. Kelly Contracting Services, your local partner in Moncton, New Brunswick. From expert roof repairs to comprehensive renovations, we bring experience and precision to every project. Visit our Home Renovation Archives and Roofing Archives to learn more about how we protect your home’s structure and value. Take action now to secure a free estimate and turn your repair plan into reality with confidence.
Frequently Asked Questions
How can I assess my home’s repair needs effectively?
To effectively assess your home’s repair needs, conduct a comprehensive inspection of each room and focus on structural elements, safety issues, and functional systems. Take detailed notes to prioritize projects based on urgency and cost.
What criteria should I follow to prioritize home repair projects?
Prioritize home repair projects by considering safety implications, potential for further damage, cost of immediate repairs versus long-term consequences, and the impact on your home’s value. Start with the most urgent repairs to protect your investment.
What basic tools should I have for home repairs?
Ensure you have essential tools such as a hammer, screwdriver set, adjustable wrench, tape measure, utility knife, level, and pliers. Prepare a toolkit to have these basics organized and accessible for your repair projects.
How can I create a safe workspace for home repairs?
To create a safe workspace, clear the area of hazards, cover floors with protective sheeting, and ensure good lighting and ventilation. Establish clear boundaries to keep pets and children away from the repair zone to minimize accidents.
What steps should I take after completing home repairs?
After completing home repairs, conduct a thorough inspection to verify the quality of your work and ensure everything is functioning properly. Clean up the workspace by removing protective coverings and organizing tools for future use.
How can I ensure my repairs meet professional standards?
To ensure your repairs meet professional standards, follow all instructions carefully, use appropriate materials, and conduct a detailed inspection upon completion. Break complex tasks into manageable steps, checking for quality at each stage.
Recommended
- Roof Repair Guide: Step-by-Step Fixes for Homeowners – J. A. Kelly Contracting Services
- How to Plan Home Renovation: Step-by-Step Guide for Homeowners – J. A. Kelly Contracting Services
- Preparing Home for Renovation: Essential Steps for Success – J. A. Kelly Contracting Services
- How to Repair Roof Leaks: Step-by-Step for Homeowners – J. A. Kelly Contracting Services
- Passaggi manutenzione porte basculanti: guida completa