

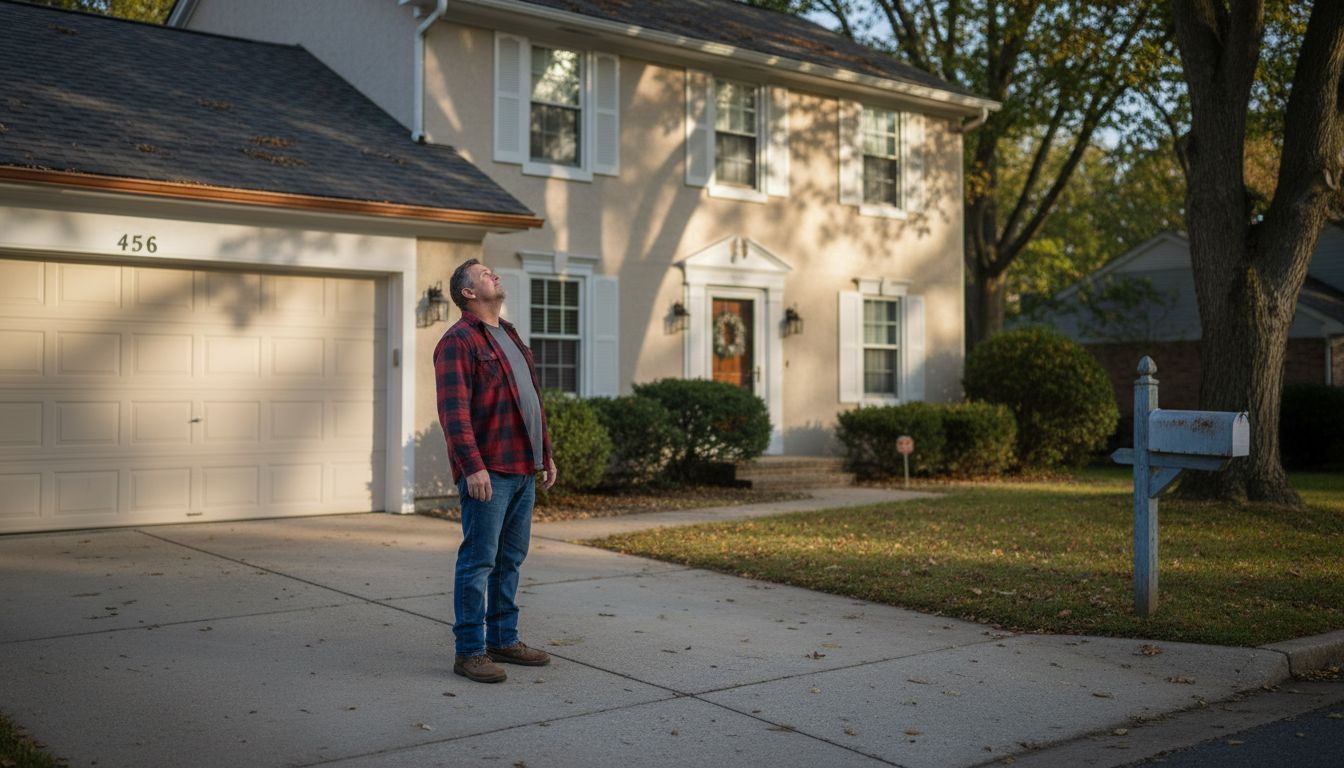
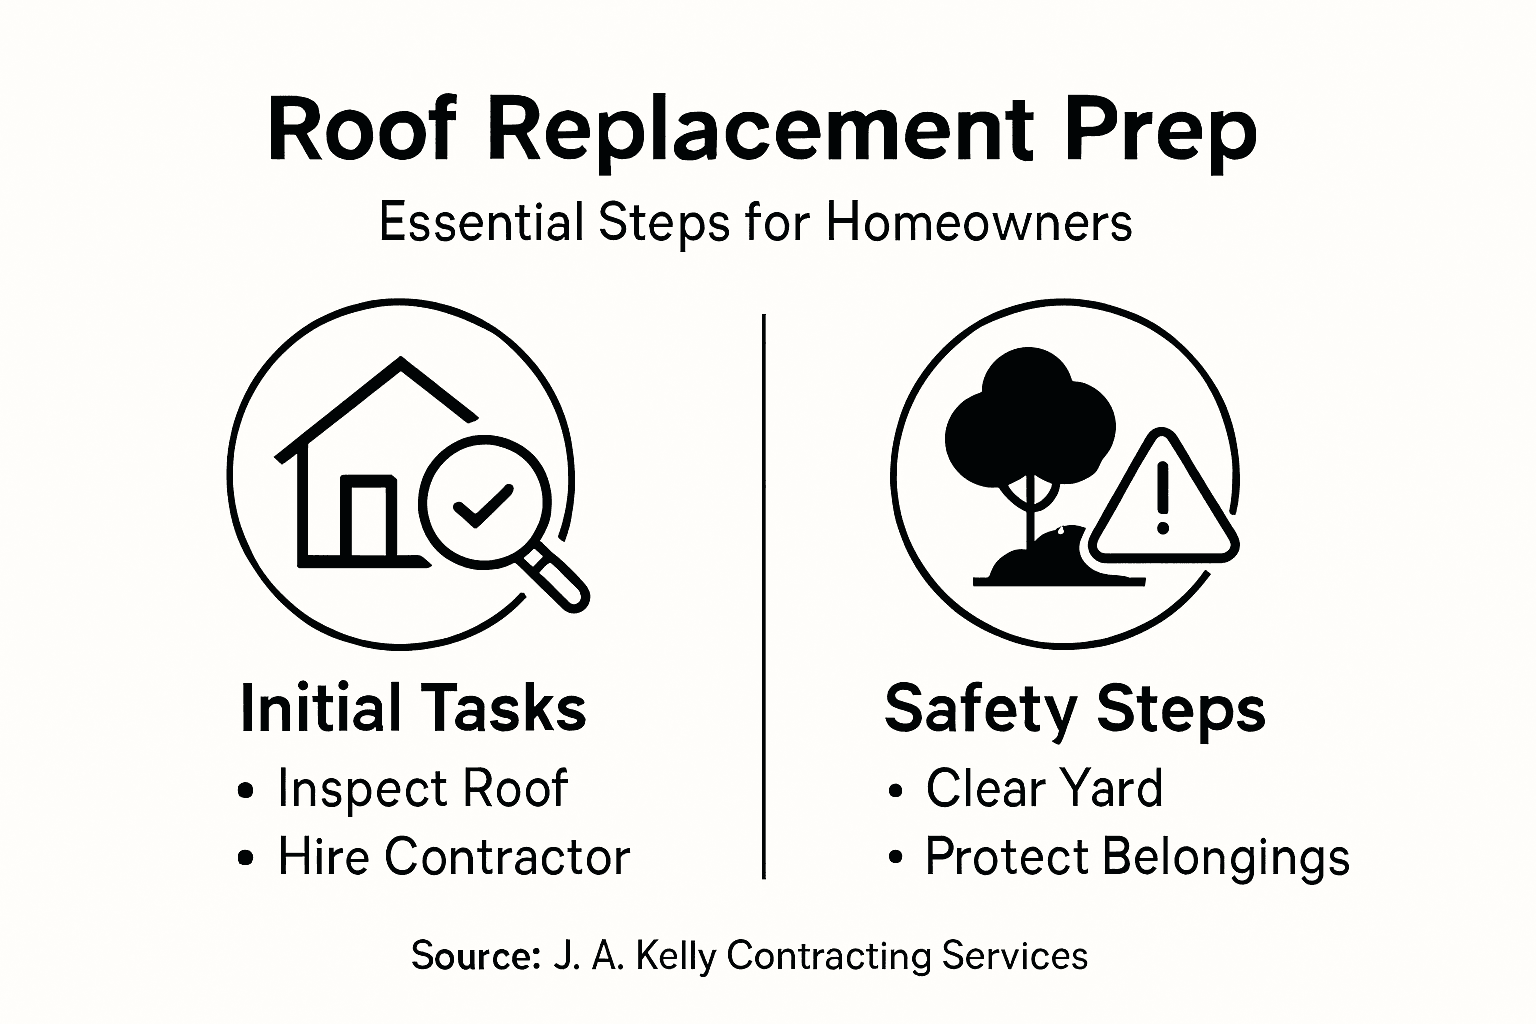
Every homeowner in Moncton faces the challenge of planning a roof replacement and the process can feel overwhelming when trying to avoid costly mistakes. Taking a proactive approach with a thorough roof inspection and careful contractor selection sets the foundation for a successful project. From choosing durable roofing materials to protecting your property during renovation, the following steps help you manage each decision with confidence and ensure your investment delivers lasting results.
Table of Contents
- Step 1: Assess Your Roof’s Condition and Needs
- Step 2: Choose Materials and Hire a Contractor
- Step 3: Schedule and Secure Key Home Areas
- Step 4: Clear the Surroundings and Protect Belongings
- Step 5: Verify Completion and Inspect the New Roof
Quick Summary
| Key Point | Explanation |
|---|---|
| 1. Assess Your Roof’s Condition | Conduct a thorough visual inspection to identify damage and structural issues before replacement. |
| 2. Choose Quality Materials | Select roofing materials based on durability, cost, and aesthetic appeal to ensure lasting protection. |
| 3. Secure Key Home Areas | Protect indoor and outdoor spaces to minimize disruptions and damage during the roofing project. |
| 4. Prepare Surroundings Diligently | Implement indoor and outdoor protection strategies to safeguard belongings and facilitate work. |
| 5. Verify Work Completion Thoroughly | Conduct a detailed inspection to ensure the new roof meets quality standards and verify documentation. |
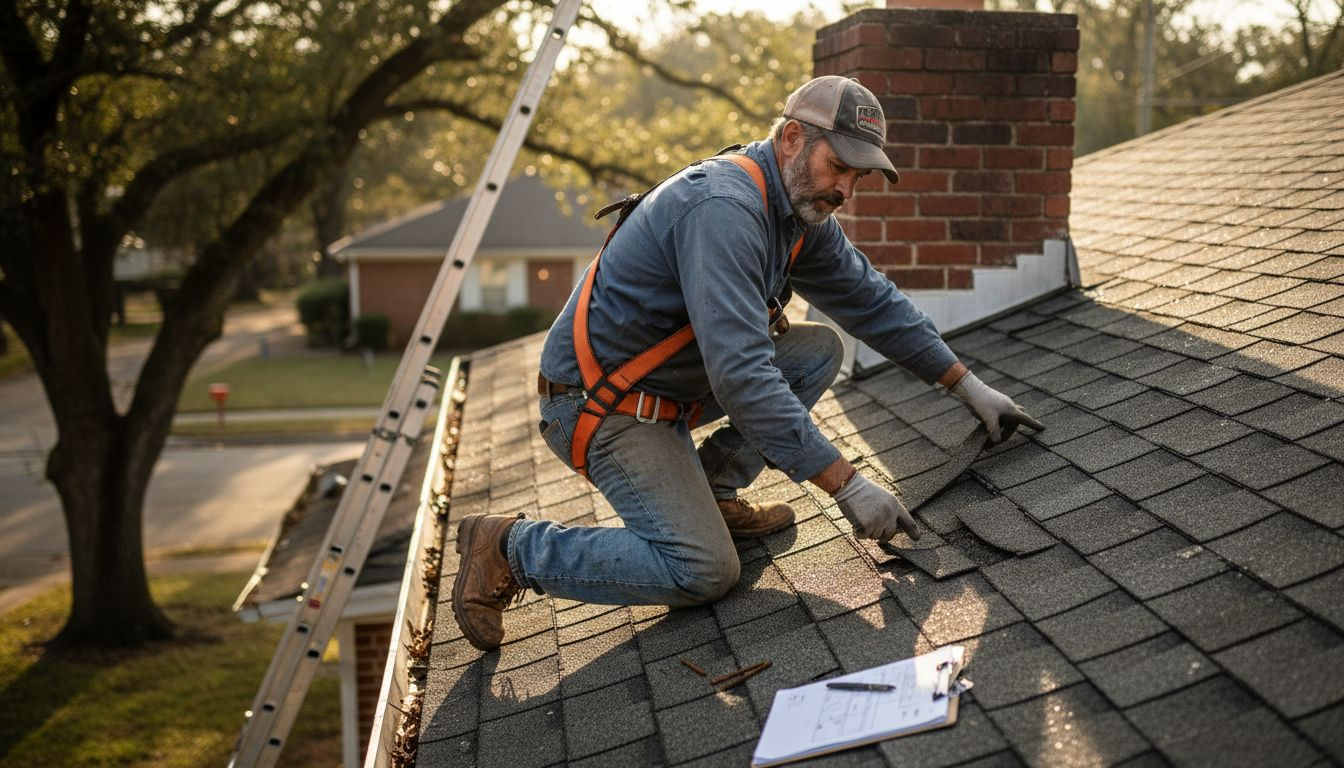
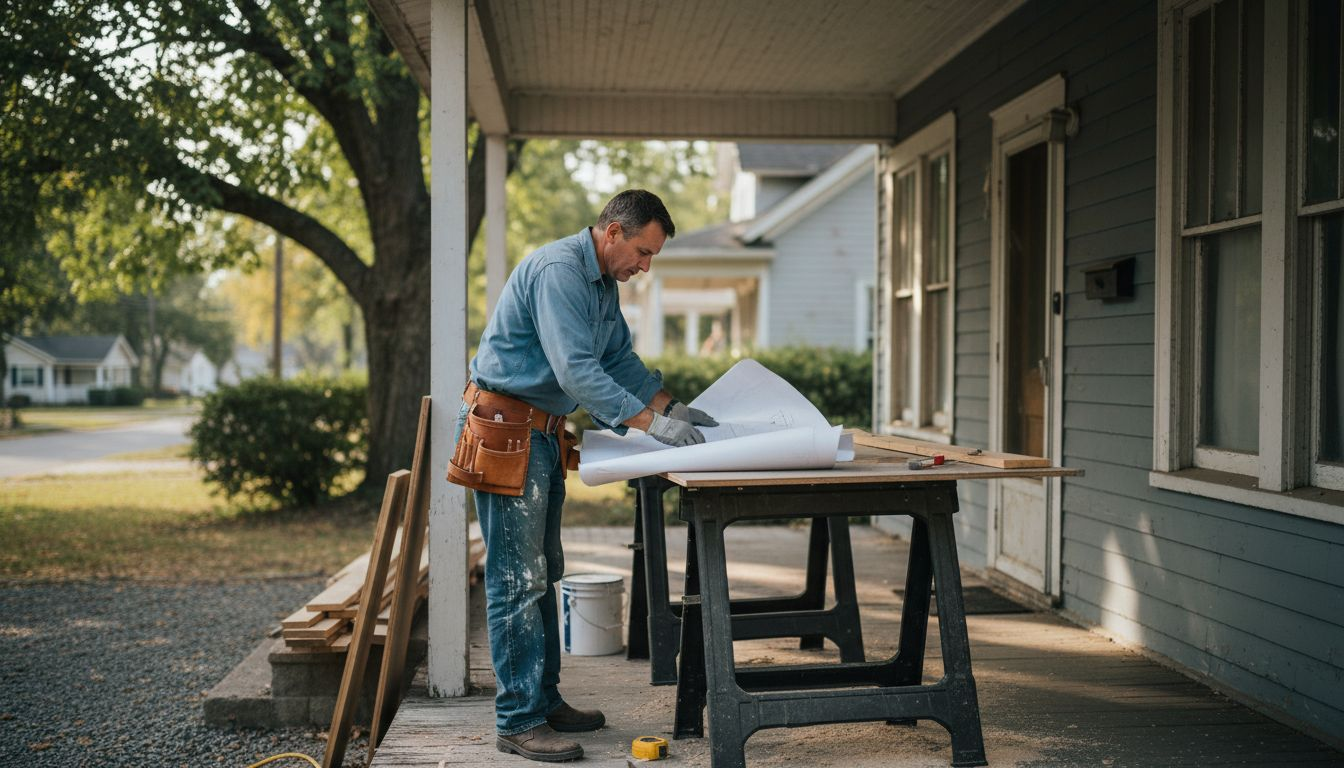
Step 1: Assess Your Roof’s Condition and Needs
Knowing the current state of your roof is crucial before launching into a full replacement project. This initial assessment helps you understand exactly what work needs to be done and prevents unnecessary expenses.
Start by conducting a comprehensive visual inspection of your roof’s exterior. Look for clear signs of damage like cracked, missing, or curling shingles, which indicate potential structural issues. Pay special attention to areas around chimneys, vents, and skylights where water might penetrate. Visual roof inspection techniques recommend examining these zones carefully for potential moisture infiltration.
Your inspection should cover several key areas:
- Check for sagging or uneven roof surfaces
- Identify dark spots or areas of discoloration
- Look for moss or algae growth
- Examine metal flashing for rust or damage
- Inspect gutters for granule buildup from deteriorating shingles
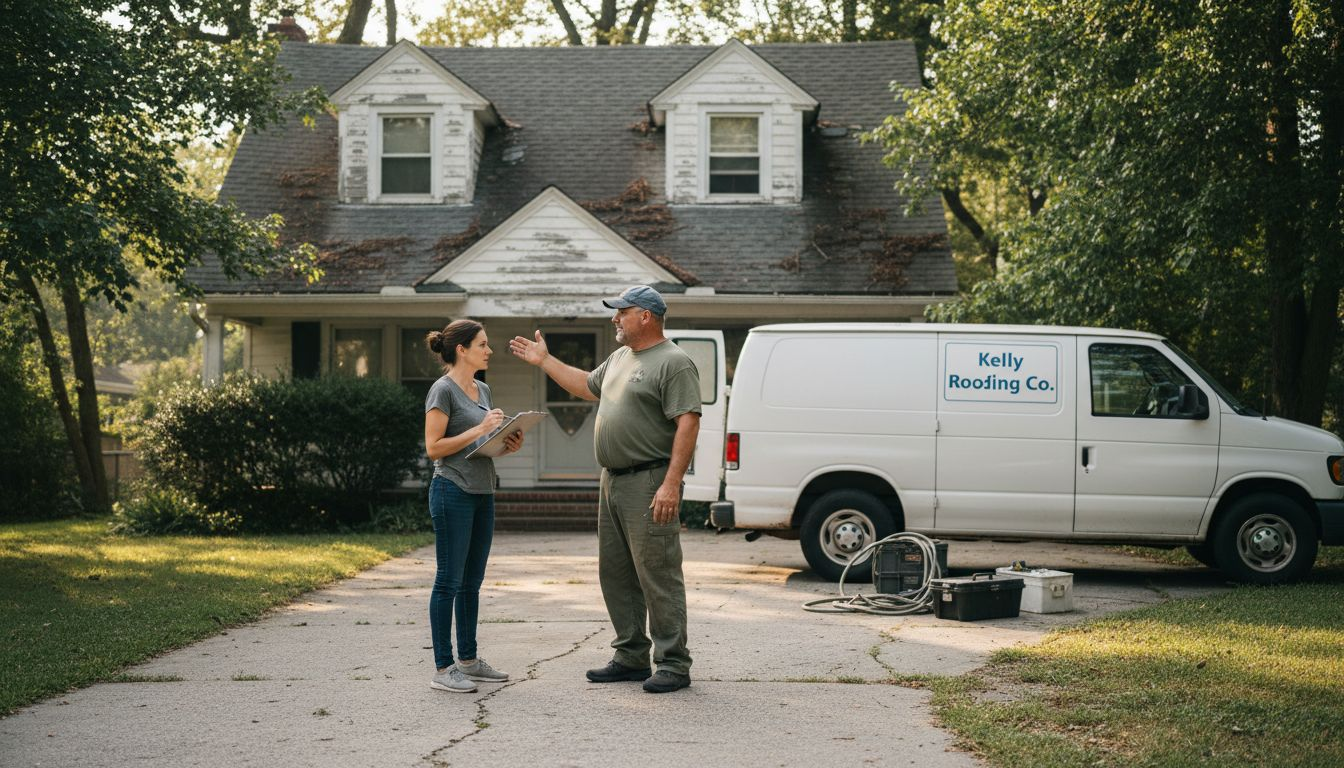
If you’re uncomfortable performing a detailed roof inspection yourself, consider hiring a professional roofing contractor who can provide an expert assessment. They can identify subtle issues that might not be apparent to an untrained eye and recommend whether repair or full replacement is necessary.
Pro tip: Take clear, well-lit photos of any damage during your initial inspection to help contractors provide more accurate estimates and documentation.
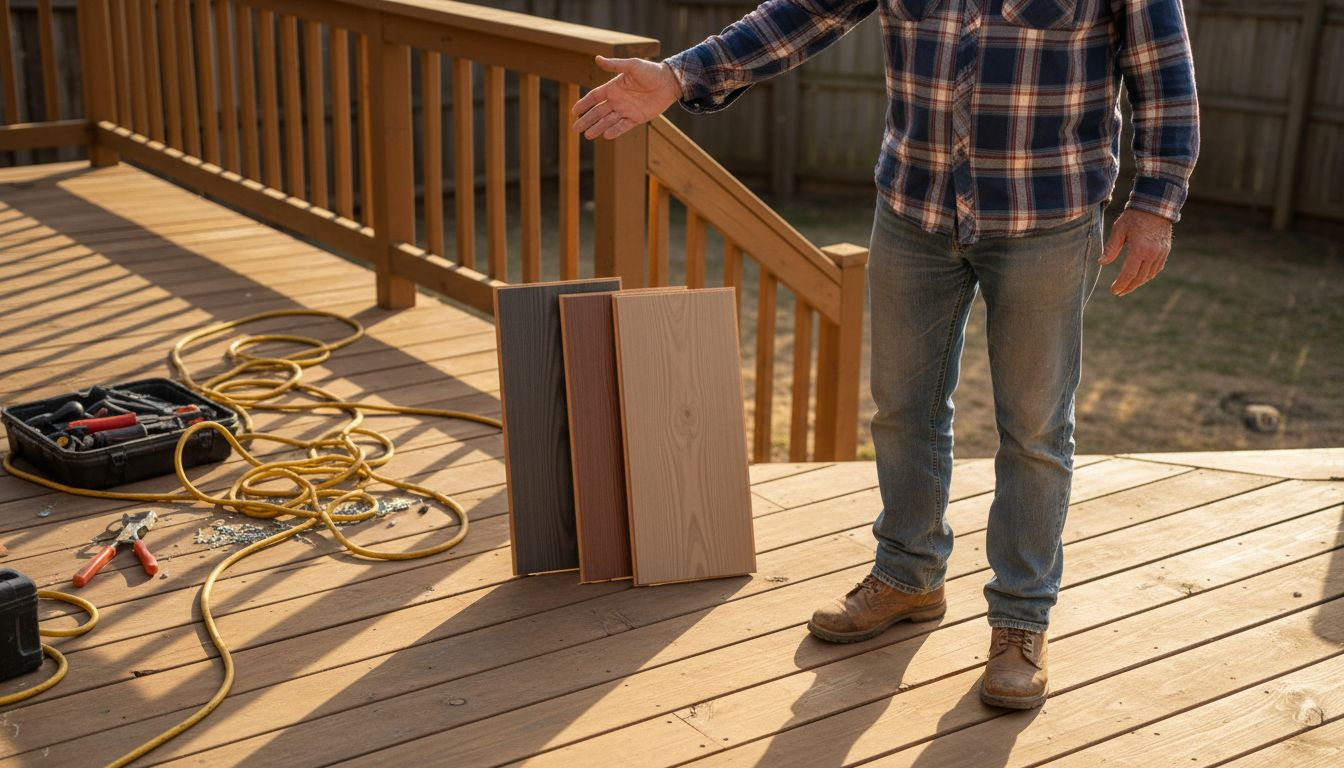
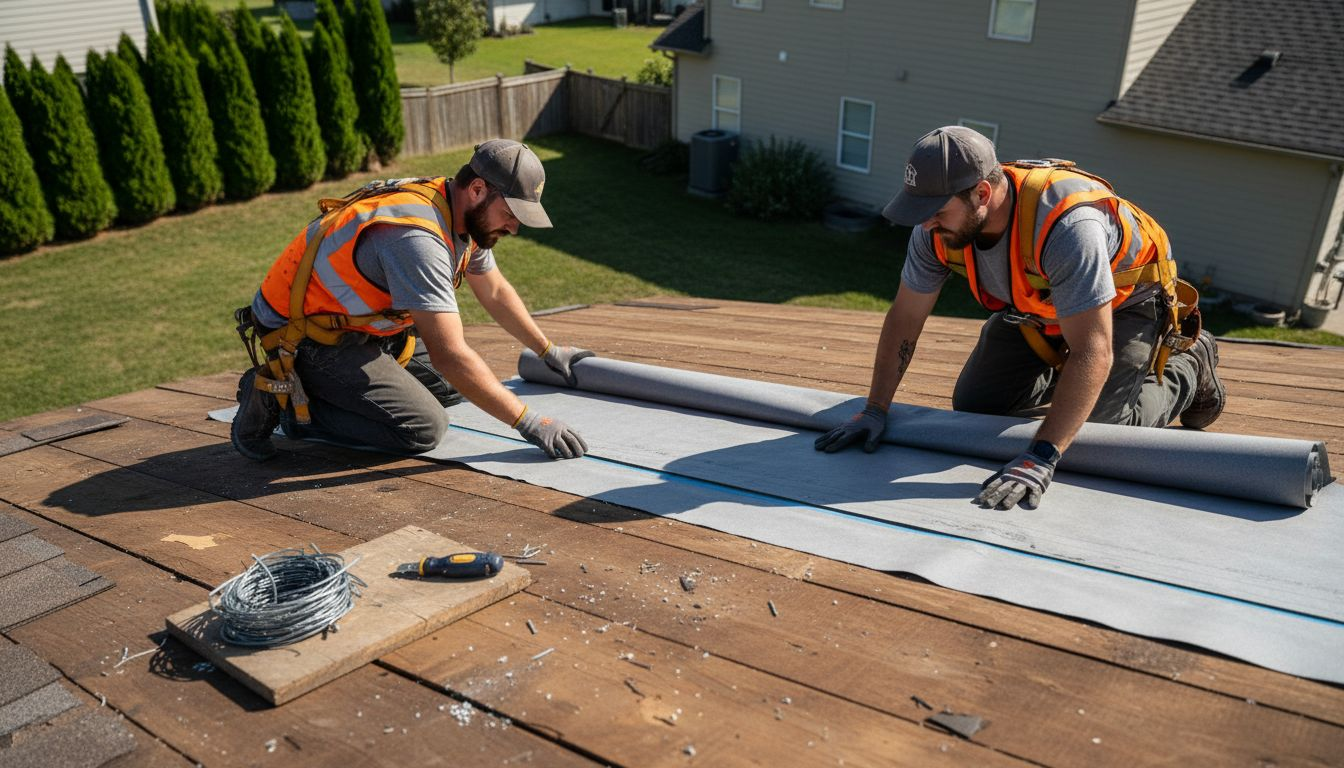
Step 2: Choose Materials and Hire a Contractor
Selecting the right roofing materials and finding a qualified contractor are critical steps in ensuring a successful roof replacement project. Your choices will impact your home’s protection, energy efficiency, and overall appearance for years to come.
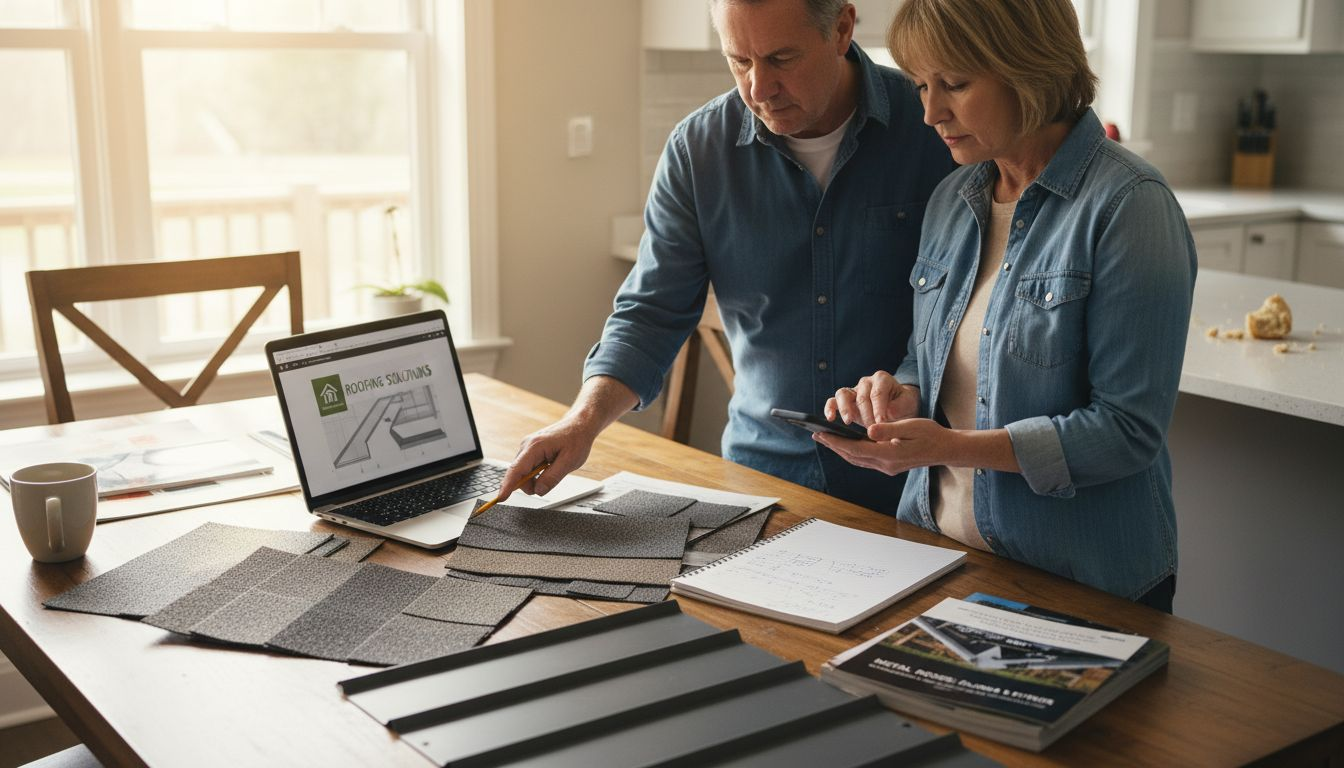
When choosing roofing materials, consider factors like durability, cost, and local weather conditions. Roofing material selection involves weighing options such as asphalt shingles, metal, slate, and tile. Each material offers unique benefits:
Here’s a quick comparison of popular roofing materials and their main attributes:
| Material Type | Durability | Cost Range | Aesthetic Appeal |
|---|---|---|---|
| Asphalt Shingles | 15-30 years | Lowest | Traditional residential |
| Metal Roofing | 40-70 years | Moderate to high | Modern or rustic |
| Slate | 75+ years | Highest | High-end, classic look |
| Tile | 50-100 years | High | Mediterranean or Spanish |
- Asphalt shingles: Most affordable, widely available
- Metal roofing: Extremely durable, energy-efficient
- Slate: Premium look, extremely long-lasting
- Tile: Great for specific architectural styles
- Wood shakes: Natural appearance, good insulation
For contractor selection, focus on finding a professional with proven expertise. Look for these key qualifications:
- Valid state licensing
- Comprehensive insurance coverage
- Positive local references
- Experience with your chosen roofing material
- Transparent pricing and written estimates
Choosing a contractor isn’t just about price – it’s about finding a professional who understands your specific roofing needs and can deliver quality work.
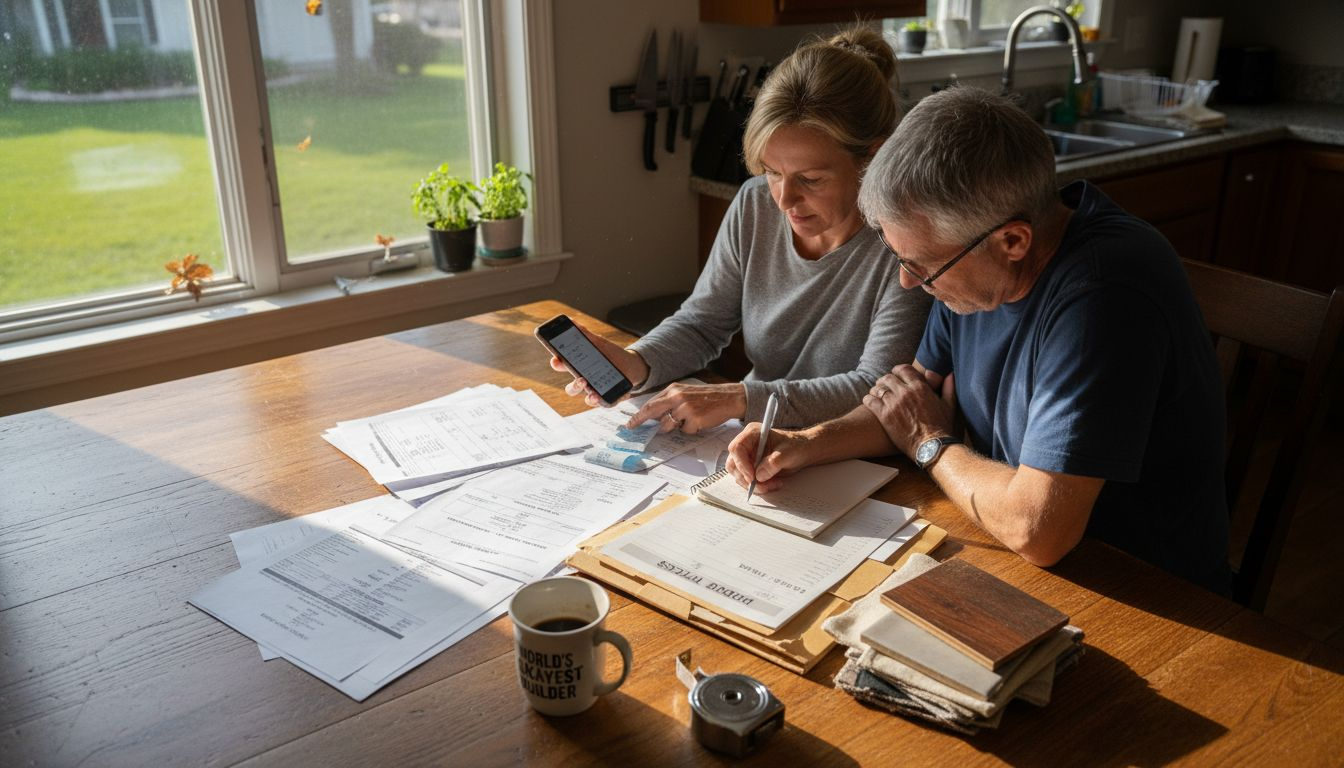
Ensure you get multiple quotes and ask detailed questions about installation methods, project timeline, and warranty options. A reputable contractor should be happy to provide comprehensive information and address all your concerns.
Pro tip: Request to see previous project photos and speak with recent clients to verify the contractor’s quality of work and reliability.
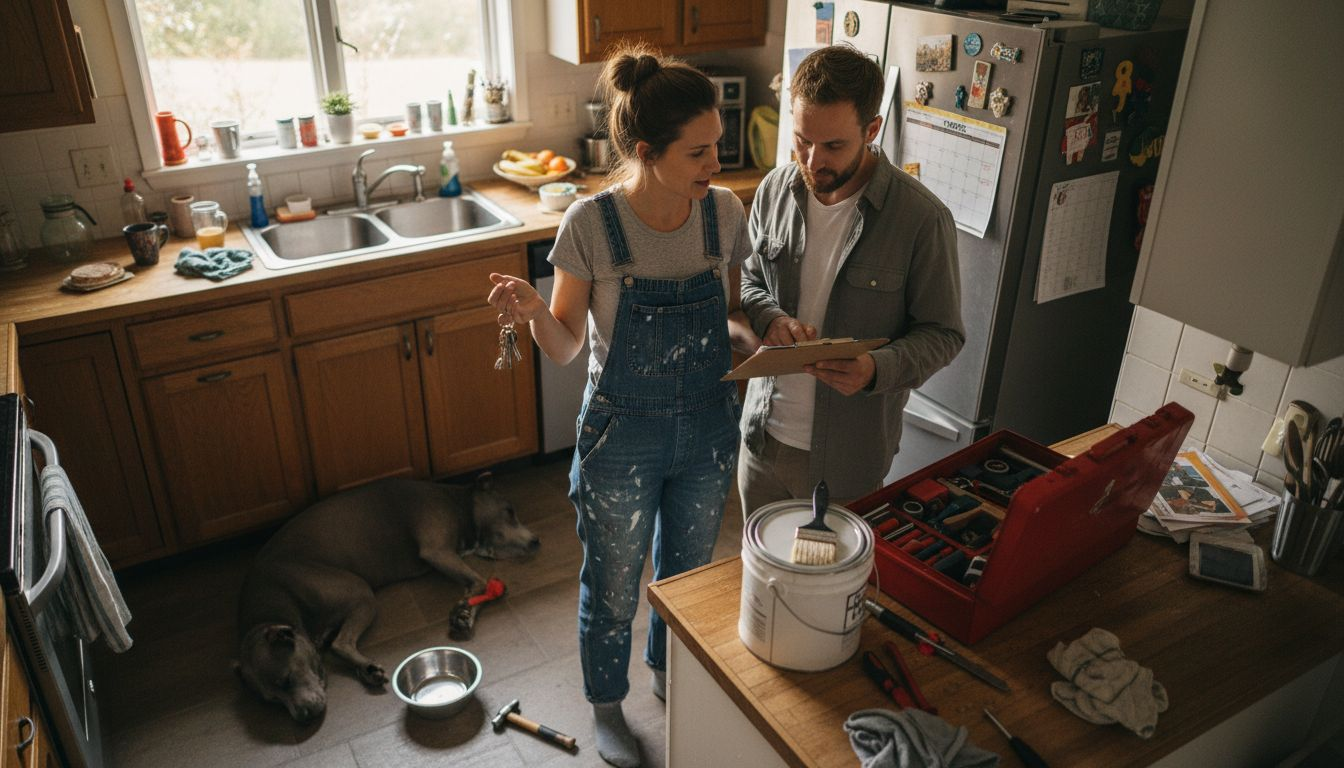
Step 3: Schedule and Secure Key Home Areas
Preparing your home for a roof replacement project requires careful planning and strategic protection. Weatherization planning involves creating a comprehensive strategy to minimize disruption and protect your property during the renovation process.
Start by identifying and securing key indoor and outdoor areas that might be impacted by the roofing work. This preparation will help protect your belongings and ensure a smooth project execution:
- Clear the attic of valuable items
- Move outdoor furniture and decorations away from work zones
- Cover interior items near exterior walls with protective sheets
- Protect landscaping with temporary barriers
- Remove wall hangings and delicate items from rooms adjacent to work areas
Effective scheduling and home preparation can significantly reduce potential damage and stress during roof replacement.
Communicate closely with your roofing contractor about the project timeline. Discuss access points, parking for work vehicles, and specific areas that require extra protection. Consider the potential impact on daily household activities and make necessary arrangements for pets, children, and home office spaces.
Use this summary to understand which home areas must be secured before a roof replacement:
| Home Area | Key Risk During Project | Suggested Safety Measure |
|---|---|---|
| Attic | Falling debris, dust | Remove valuables, cover insulation |
| Yard/Landscaping | Equipment damage | Use temporary fencing, clear plants |
| Living Spaces | Vibration, dust | Remove wall hangings, cover items |
| Driveway/Parking | Vehicle risk | Relocate vehicles elsewhere |
Pro tip: Take photographs of your home’s current condition before work begins to document the original state and protect yourself against any accidental damage.
Step 4: Clear the Surroundings and Protect Belongings
Preparing your property for roof replacement involves meticulously protecting both indoor and outdoor spaces. Property protection strategies are crucial to preventing damage and ensuring a smooth renovation process.
Your comprehensive protection plan should address multiple areas:
Indoor Protection Strategies:
- Cover furniture with sturdy plastic sheets
- Remove fragile items from walls and shelves
- Protect electronics and sensitive equipment
- Close windows to prevent dust infiltration
- Move valuable items to interior rooms
Outdoor Area Preparation:
- Relocate vehicles away from work zone
- Remove potted plants and garden decorations
- Protect landscaping with temporary fencing
- Clear areas around house perimeter
- Mark underground sprinkler systems
Thorough preparation minimizes potential damage and creates a safer work environment for roofing professionals.
Communicate with your roofing team about specific protection requirements. Walk them through areas needing extra care and discuss any unique property features that might need special attention during the project.
Pro tip: Create a detailed photographic inventory of your property before work begins to document existing conditions and protect yourself against potential construction-related incidents.
Step 5: Verify Completion and Inspect the New Roof
The final stage of your roof replacement project is a critical moment that ensures your investment delivers the quality and protection you expect. Professional roof inspection plays a crucial role in confirming that every aspect of the installation meets industry standards.
Your comprehensive roof inspection should cover these essential elements:
Exterior Roof Examination:
- Check shingle alignment and uniformity
- Verify proper edge and ridge cap installation
- Inspect flashing around chimneys and vents
- Look for any visible damage or irregularities
- Confirm no exposed nails or gaps
Interior Verification Points:
- Check attic for proper ventilation
- Look for signs of potential water intrusion
- Ensure insulation remains undisturbed
- Verify no daylight penetrates through roof deck
- Confirm no moisture or water stains
A thorough final inspection protects your investment and ensures your new roof will perform effectively for years to come.
Schedule a walkthrough with your roofing contractor to review the completed work. Ask questions, request documentation, and ensure you understand the warranty coverage for your new roof.
Pro tip: Request a detailed written report documenting the installation process and take high-resolution photographs for your personal records.
Ready to Make Your Roof Replacement Stress-Free and Secure
Preparing for a roof replacement can feel overwhelming when facing challenges like thorough inspections, choosing the right materials, protecting your home, and finding a trustworthy contractor. This guide highlights the importance of a detailed roof assessment, careful scheduling, and protecting your property, all essential steps to avoid costly mistakes and disruption.
At J. A. Kelly Contracting Services, we understand these concerns deeply. Our expert team specializes in delivering reliable roofing solutions tailored to your unique needs in Moncton, New Brunswick. From expert inspections to quality installation and thorough project management, we help you navigate each phase confidently.
Explore our comprehensive Roofing Archives for more insights and expert advice. Don’t leave your roof replacement to chance. Visit J. A. Kelly Contracting Services today to request your free estimate and secure your home with trusted craftsmanship. Take control now and protect your investment with professionals who prioritize your peace of mind.
Frequently Asked Questions
How do I assess my roof’s condition before replacement?
Before replacing your roof, conduct a thorough visual inspection to identify any damage such as cracked or missing shingles. Look closely at edges, around vents, and at other potential leak areas. Document your findings and consider hiring a professional for a more detailed assessment if needed.
What materials should I consider for my new roof?
Consider factors like durability, cost, and local weather conditions when selecting roofing materials. Popular options include asphalt shingles, metal, slate, and tile, each with unique attributes in terms of lifespan and appearance. Assess your priorities to find the best fit for your home.
How do I prepare my home before the roofing work begins?
To prepare your home, start by moving valuable indoor items and outdoor furniture away from work zones and covering any delicate items. Secure any outdoor landscaping with temporary barriers and communicate clearly with your contractor about access points and areas that require protection.
What protection strategies should I implement for my belongings?
Protect your belongings by covering furniture with sturdy plastic sheets and relocating fragile items to a safe area. Make sure to close all windows to keep dust out and remove potted plants from exterior work zones. Taking these steps can help minimize any potential damage during the roof replacement.
How can I verify that the roof replacement was done correctly?
After the project, conduct a detailed inspection of both the exterior and interior aspects of your new roof. Check for proper alignment of shingles, inspect areas around chimneys and vents, and look for any signs of water intrusion in the attic. This final check ensures that the installation meets standards and protects your investment effectively.
What should I do if I encounter issues after the roof replacement?
If you notice any problems with your new roof, such as leaks or visible damage, contact your contractor immediately for a follow-up inspection. Document the issues with photos and detailed descriptions to facilitate communication. Addressing these concerns promptly can help ensure that your roof remains functional and well-protected.
Recommended
- Roofing Replacement: Complete Guide for Homeowners – J. A. Kelly Contracting Services
- Roofing Installation Guide: Step-By-Step for Homeowners – J. A. Kelly Contracting Services
- Step by Step Roof Installation Guide for Homeowners – J. A. Kelly Contracting Services
- Roof Repair Guide: Step-by-Step Fixes for Homeowners – J. A. Kelly Contracting Services
- Heat Pump Replacement Tutorial for Canadian Homeowners – CoolFix Appliance & HVAC Service